968CS / winter mods & repairs / engine detail
1. cam and vanity cover
2. oil deposits and port cleanup
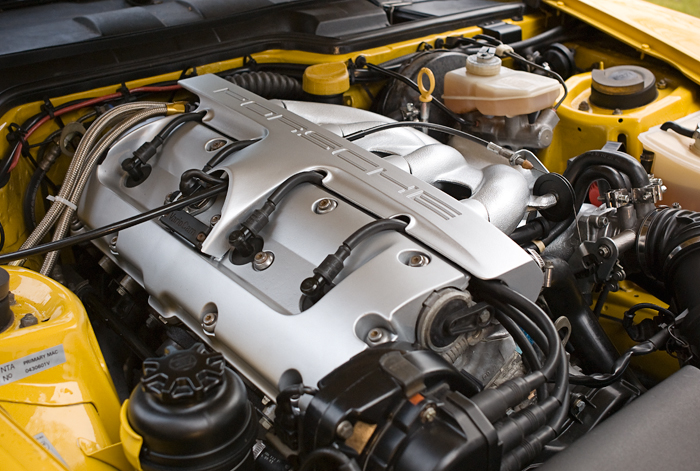
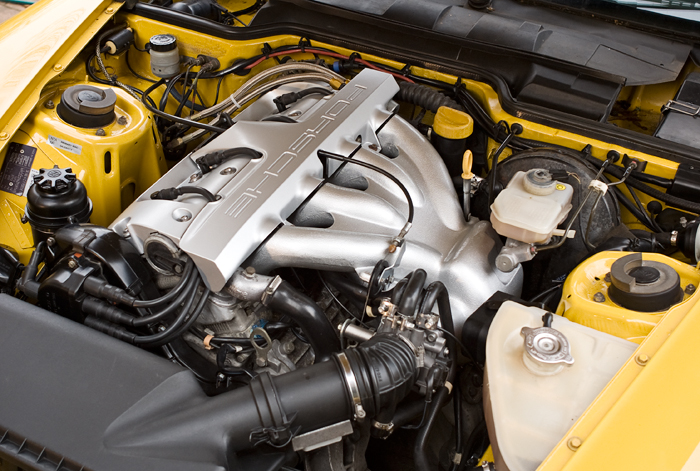
3. manifold
4. brake booster
1. cam and vanity cover
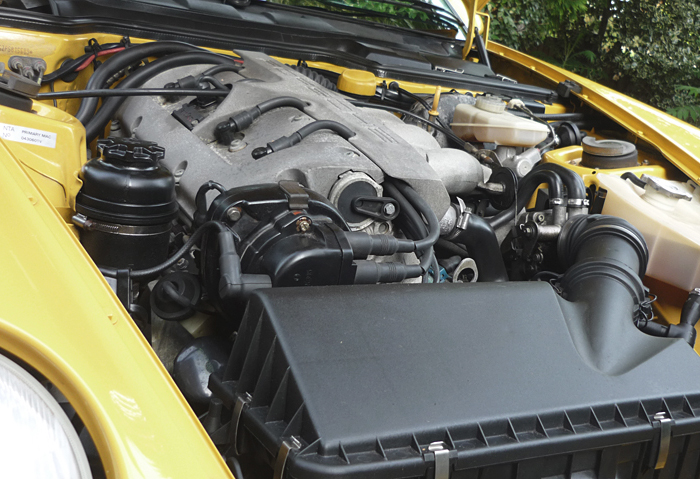
16 years and its never seen a wire brush.. most of the black plastic and rubber is ok. Its just all big metal bits that need attention.
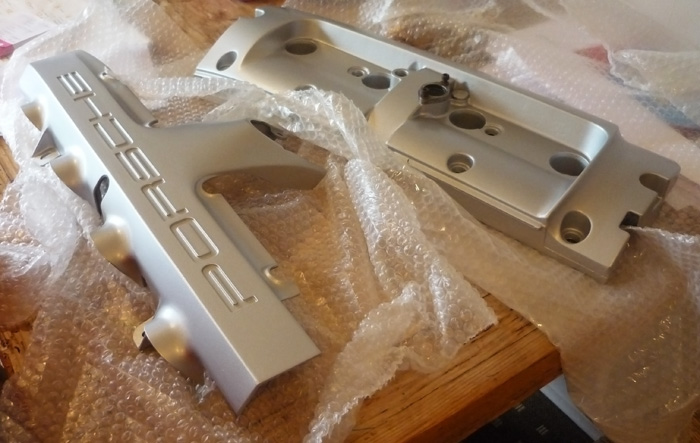
My cam cover and spark plug vanity cover was take to a local firm to be shot blasted and powder coated. There are two rubber mounts that prop up the "VARIOCAM" badge and these literally stick onto two flat roughened mount points on the cam cover. Don't forget to rip these off before drying in the oven. To remove the cam cover see my page on cam inspection.
2. oil deposits and port cleanup
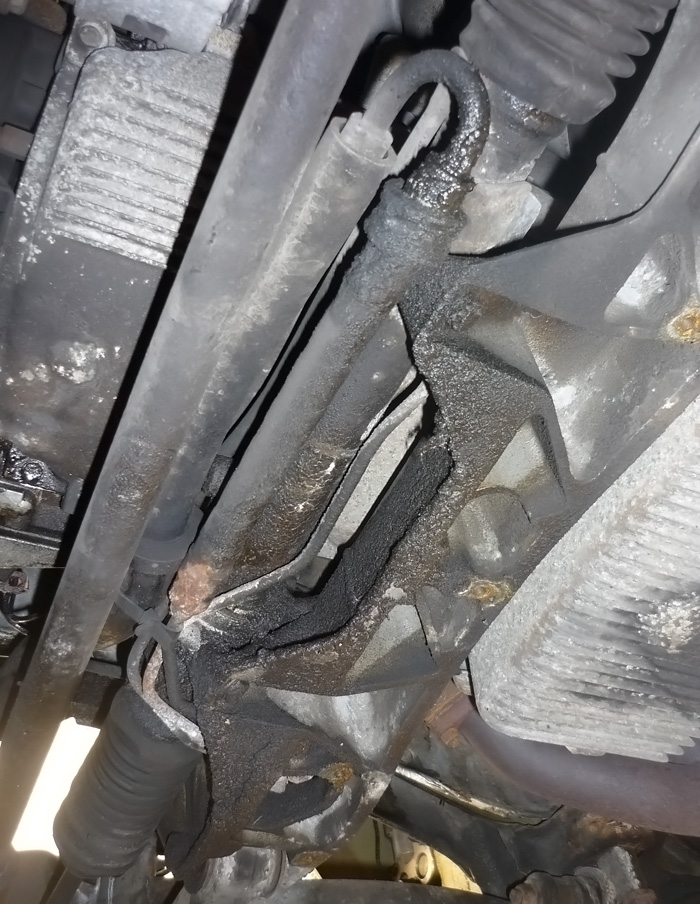
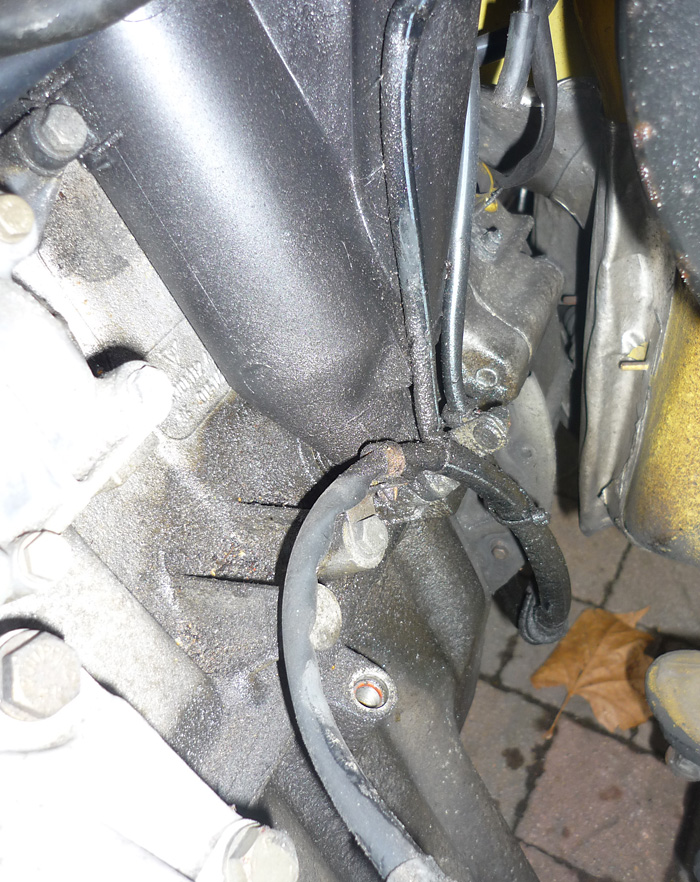
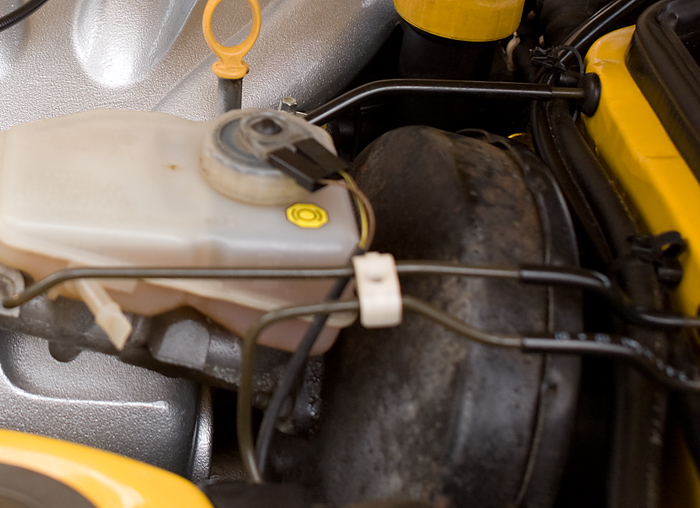
Another common 968 issue is the 2 hoses that join onto the bottom of the power steering fluid bottle. These are notorious for leaks and need to be checked every so often and tightened. I had a lot of PAS fluid on the bodywork below my bottle and it takes a lot of cleaning up. I also noticed a lot of gunk on the PAS high pressure line, chassis member and steering rack. This doesn't seem to be coming from anywhere and there no mention of nay associated leaks in my service history so i'll just have to keep an eye on it. It could well be from PAS fluid that has run down from those loose hoses.
With the manifold out I also noticed that a lot of oil around the base of the dipstick. This has obviously collected from all those oil level checks over the years so it was another area that needed a good clean.
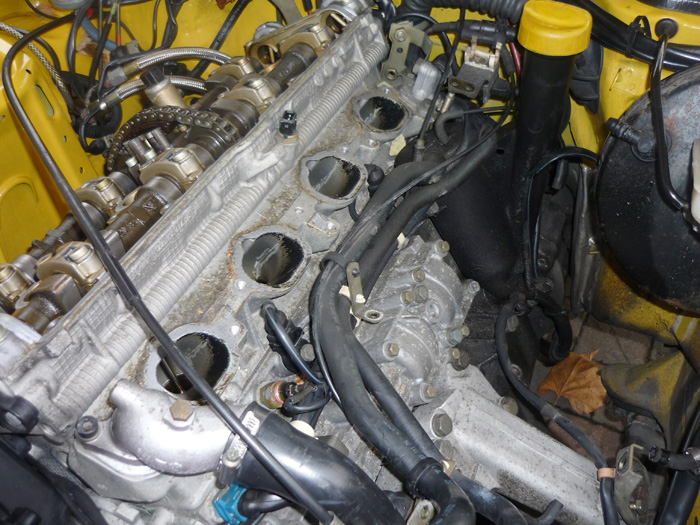
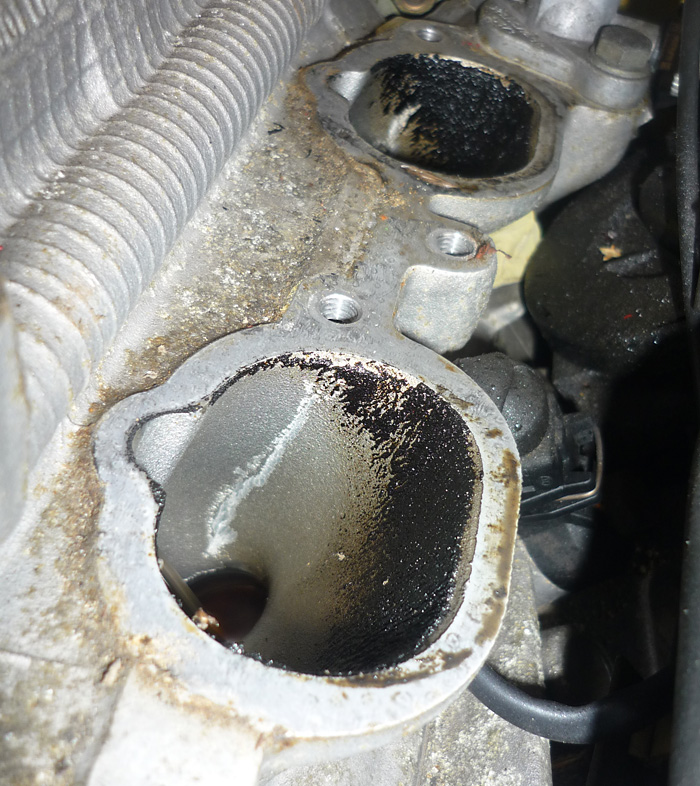
The mainfold posts and cylinder head ports also had a lot of sludge in them that has collected over the years from the crankcase breather gases. I found brake dust cleaner most effective in removing this.
3. manifold
Getting the manifold powder coated was a bit trickier. If you would like some help removing the mainfold then drop me an email. There are all sorts of connections and vacuum hoses and it can be a bit daunting if you don't know what you are looking for. Once you've don it once though its a doddle.
It's easy enough to remove but its a bit complex in that there are a lot of hoses and connections and brackets to be undone and if you don't know what you are looking for you might find that the thing never comes free because there's something you've omitted.
So here's a guide:
1. remove "PORSCHE" spark plug cover from engine
2. unclip the fuel rail black plastic cover (2 plastic tabs)
3. unclip all the injector electrical connectors
4. disconnect all the spark plug leads and remove them and the fuel rail cover away
5. unscrew the main fuel feed and return lines that connect to the rail (do not bend the rail pipe when you do this but using 17mm and 19mm spanners). Catch the excess fuel as it comes out.
6. unscrew the bracket at the rear of the manifold behind the fuel presusre regulator, 2 M6 screws
7. remove oil dipstick
8. unclip all electrical injector connectors taking care to catch the seals inside
9. remove the connector off the back of the fuel pressure regulator
10. disconnect and remove the airbox
11. pull electrical connector off off idle speed positioner (underneath throttle body)
12. pull of electrical connector off of throttle valve switch (RHS of throttle body)
13. disconnect 2 coolant hoses from throttle body (catch the coolant)
14. disconnect the middle vacuum hose from throttle body
15. disconnect thin vacuum hose from throttle body (that runs to vacuum valve rear RHS of engine bay)
16 disconnect thin vacuum line that goes into the manifold underneath the throttle body
17. disconnect hose that clips onto the valve going into the brake booster
18. disconnect vacuum hose that connects to lower RHS of manifold
19. unscrew the manifold from nearby bracket that mounts onto the engine carrier
20. follow the the two pipes that connect to the throttle body... they run underneath the manifold and parallel to the fuel rail.You will see that they are munted to a bracket that screws onto the manifold underside. Unscrew this.
21. unclip the throttle cable from the throttle body and unscrew the pulley and mounting plate from the manifold, move these clear
22. disconnect the last thin vacuum line that connects to the back of the manifold next to where the pipe from the brake booster connects
23. undo all the M8 screws that bolt the manifold onto the cylinder head
23. lift the manifold up and forwards and out
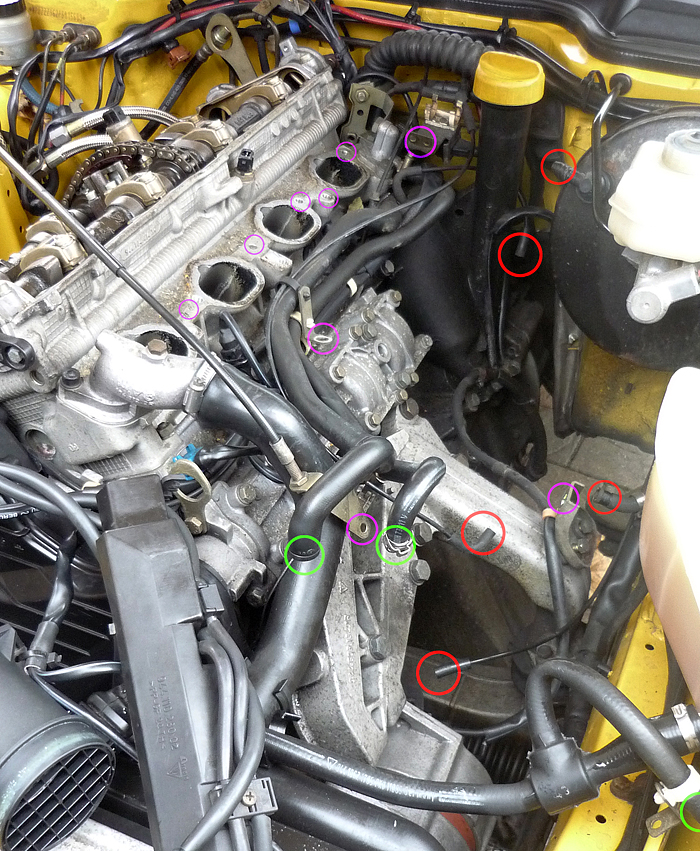
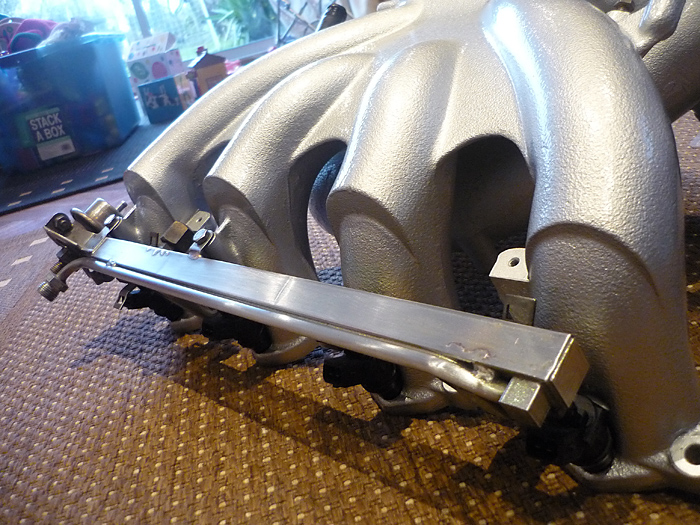
PURPLE = mounting and metal brackets
RED & GREEN = hoses
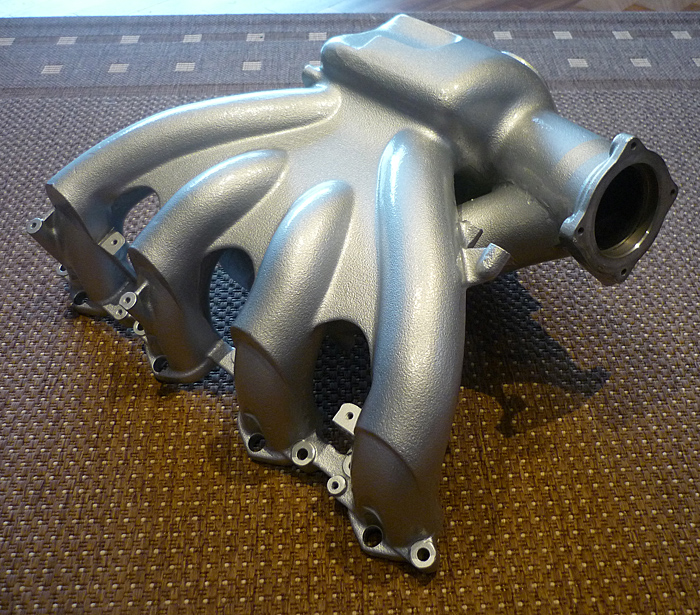 manifold nicely cleaned up and painted manifold nicely cleaned up and painted
4. brake booster
My brake booster was also in a real state. The paint was heavily speckled and there was a lot of rust on the surface. It looked like someone had tried to paint it in situ as well because I had black paint on the end of my master cylinder.
Afetr removal the muck was scraped off (mud flicks up from under the car and bakes onto the underside) and then I sanded it down and then primed with acid etch, regular primer and then paint and lacquer.
Taking it out is a simple enough job but a bit of a pain in the arse in the footwell:
( remove manifold)
1. undo the 2 nuts holding on the master cylinder to the booster
2. undo and remove the two brake lines (catch brake fluid with a rag underneath)
3. pull of master cylinder, be careful not to lose the rubber gasket that goes against the booster
4. remove the wooden board in the passenger footwell
5. get a torch shining up into the pass footwell, look up and undo the screw that holds the plastic footwell air vent and remove the air vent out of the way
6. pull back sound deadening material and locate 3 nuts centred around the clevis that is attached to the brake pedal rod, undo these (they are awkward so swear and shout as much as you can)being careful not to lose the associated washers
7. pull out the pin on the retaining nut that holds the clevis and brake rod together then push out the nut (I used a hammer and a clamp)
8. after that prise off the brake booster, carefully routing it through the 2 brake lines then up out of harms way
When you reassemble, be sure to dry the master cylinder out fully then bleed it out of the car by attacing the reservoir, filling with brake fluid then attaching hoses (some spare bleed nipples can help) back into the res or into a bucket. Compress the cylinder several times and get the brake fluid pumped through the system with no air bubbles.
nasty corroded brake booster
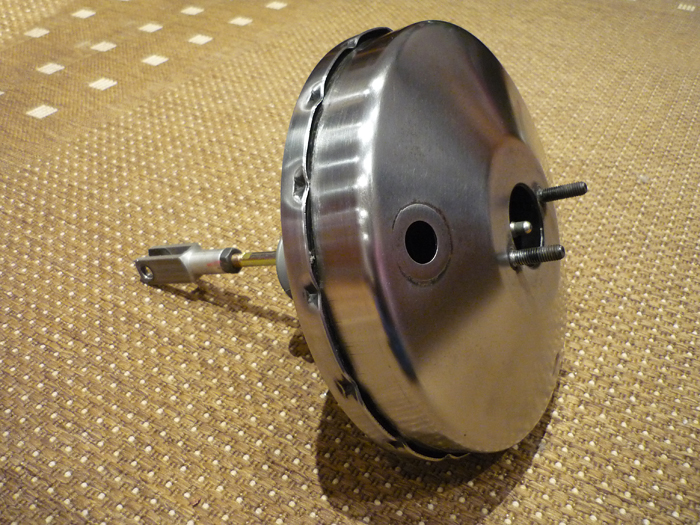
cleaned and sanded
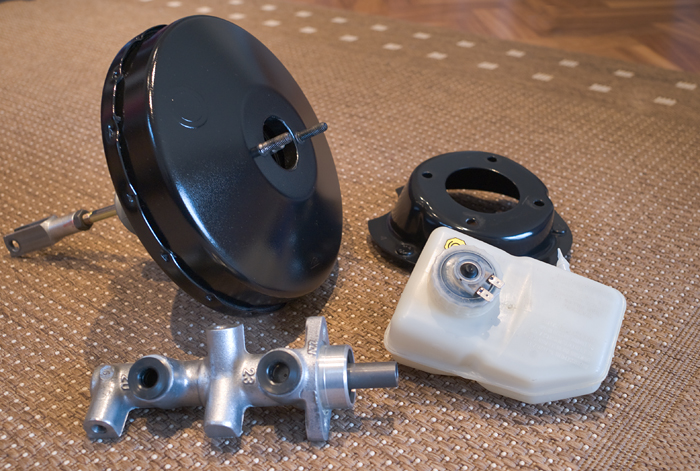
booster (back mount separated), master cylinder and reservoir cleaned and polished
more to come soon
|