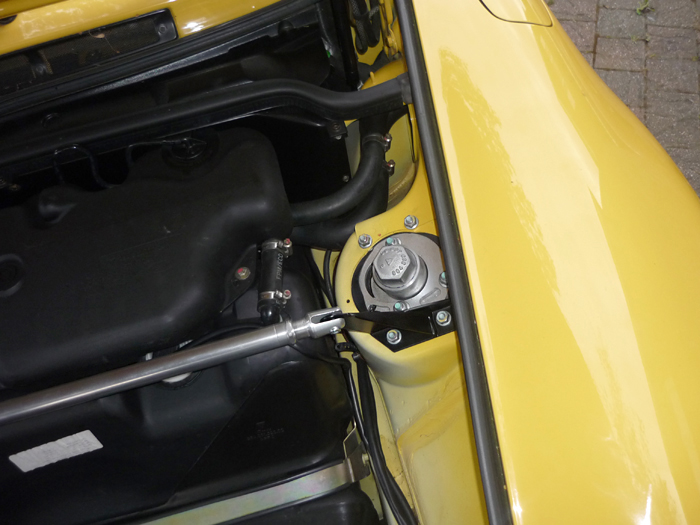
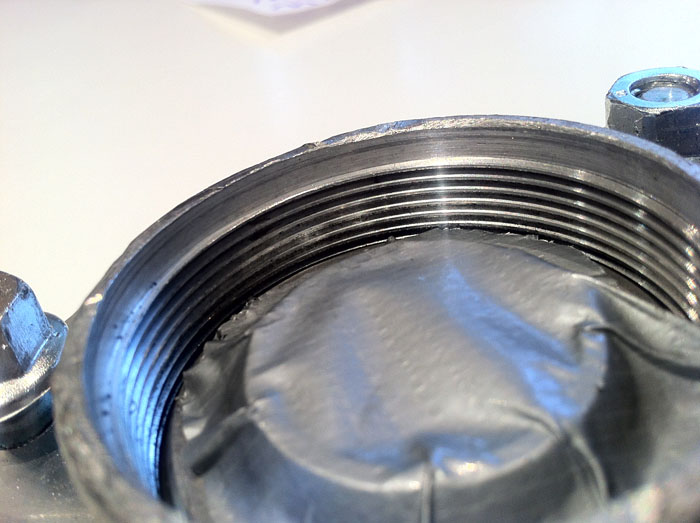
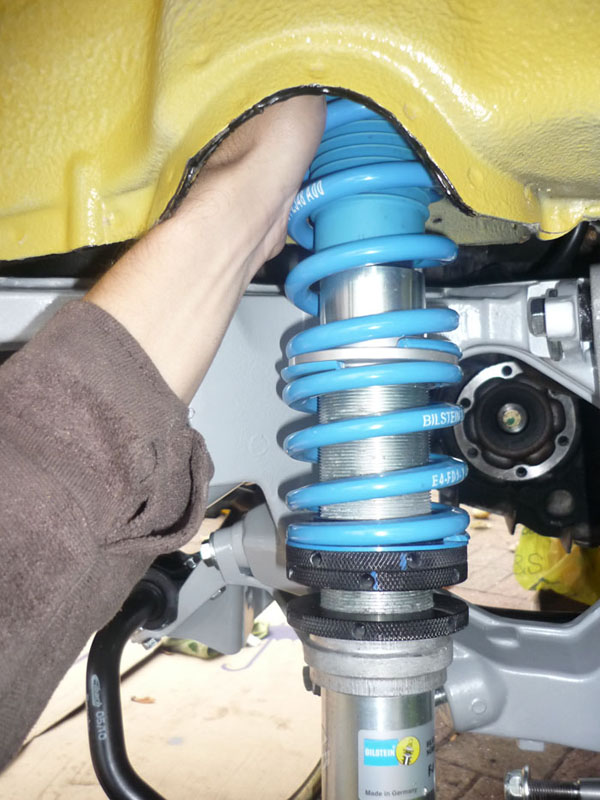
IMPORTANT UPDATE Once I foudn out the hard way that if yuo fit PSS10 with RS monoballs then despite what you might think and calculate during assembly, under extreme loads and steering inputs there can be interference on the front between the top hats and the gasket lip on the underside of the monoball plate. After noticing that my ride height had altered I checked out my monoballs and discovered this had happened to the front offiside:
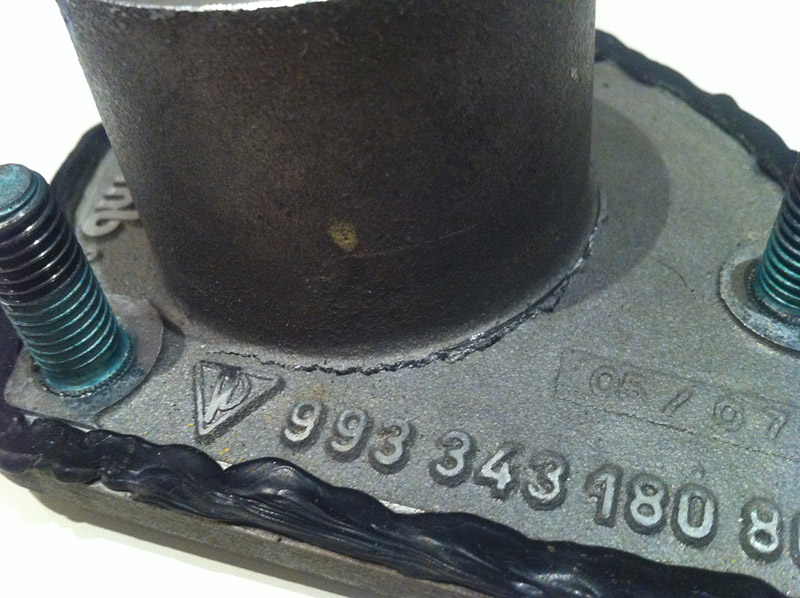
It was obvious that the top hat had been banging against the grooved lip (that acts as a keyway for the dust gasket and retaining spring). This had actually caused the casting to crack and had pushed up the whole front corner of my car upwards a little and also wrecked the geometry on that wheel in the process.
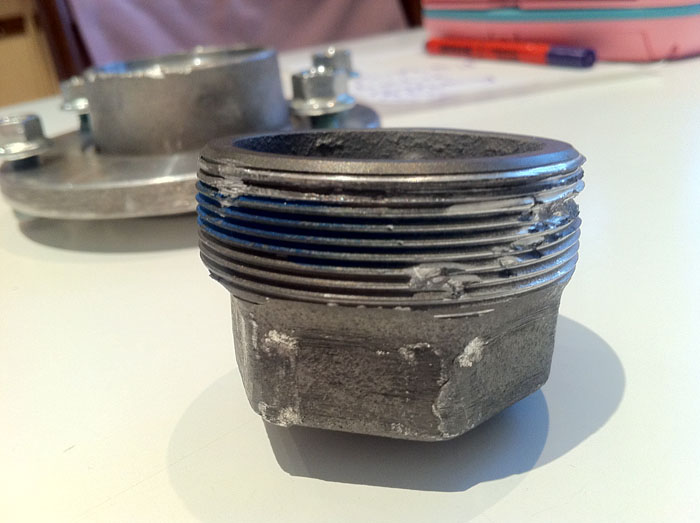
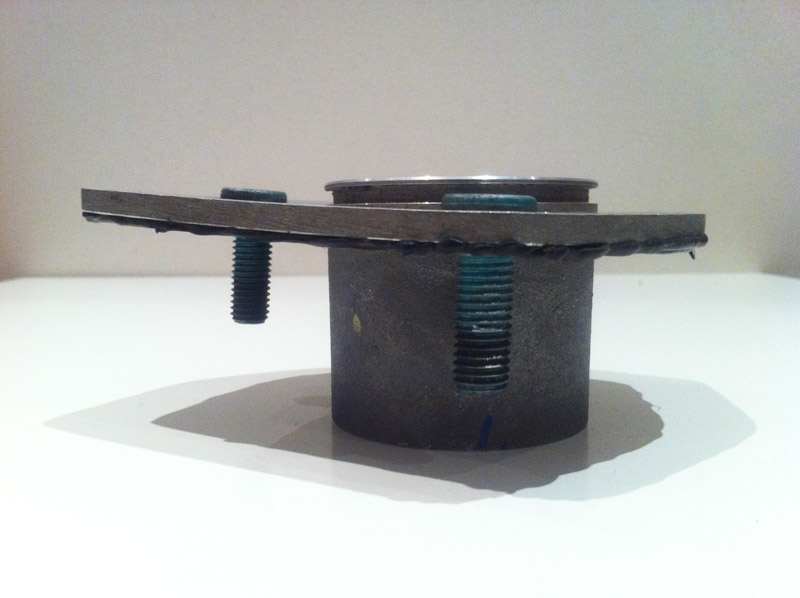
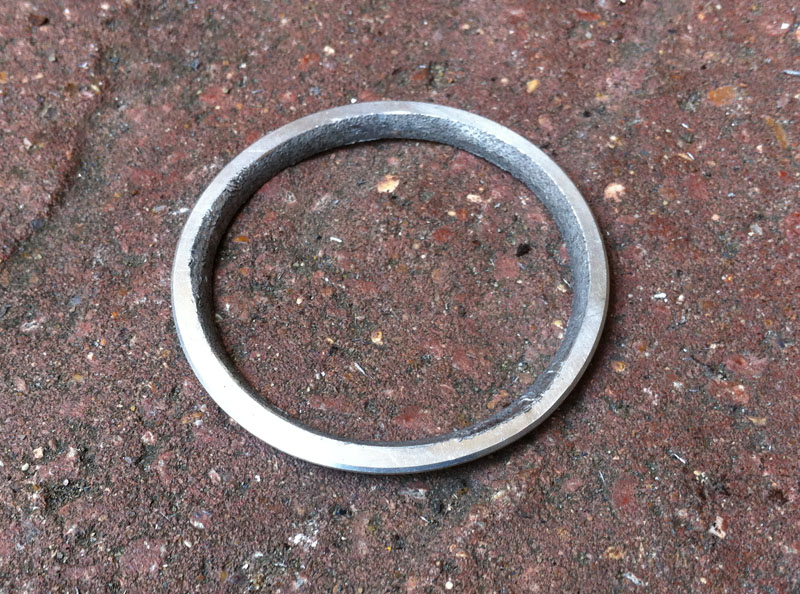
My solution was to saw off the ring to make the plate lower profile.
I tested this extensively in place with different steering inputs and the top hat can no longer make contact.
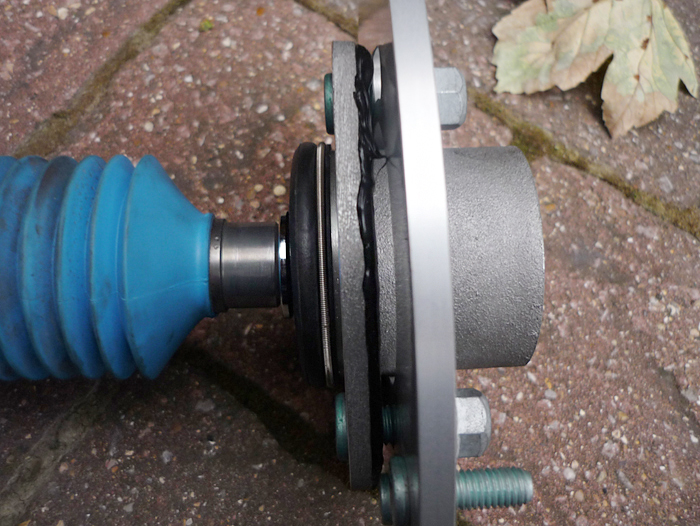
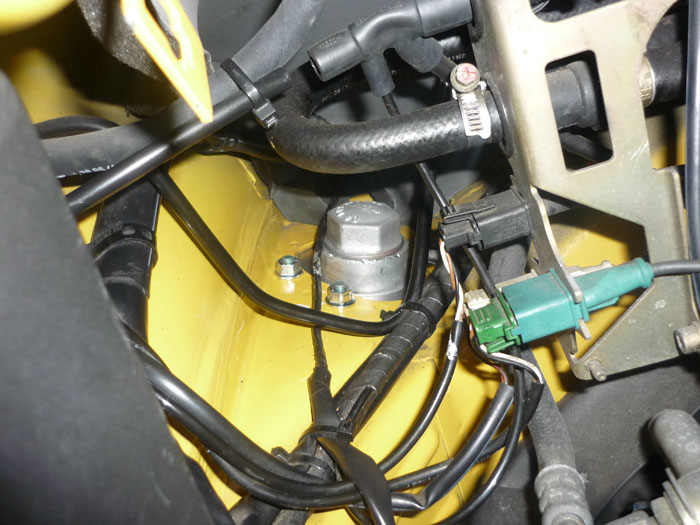
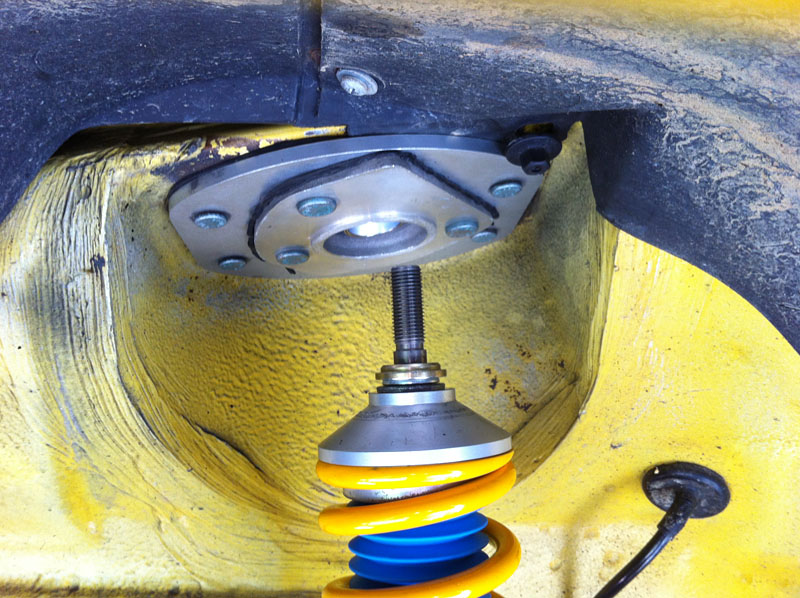
In situ. In an ideal world the PSS10 spindles would be longer and you could use a bigger metal spacer (the OE RS one) between the top hat and the bearing.
RS Top Mounts + Strut brace Once you have rebushed the front and rear A arms to RS spec, fitted RS uprights, tie rods and uprated the coilovers and the rear subframe bushes, the monball RS top mounts complete the RS supension specification. There are other far cheaper monoball solutions out there on offer of course but I wanted to keep to the original porsche RS items. Be careful if you are going down this route though. There are people who say they use bilstein or KW suspension with RS top mounts but no one person on any forum I know of was able to warn me of the pitfalls or give me correct information wth regard to which parts one needs to order and which parts to leave out. You are kind of out on your own here and you can't even expect Porsche to know because you are completely mixing brands. With regard to RS top mounts and PSS10, suffice to say that I will tell you in this article how it really is and what you need to do to get it working.
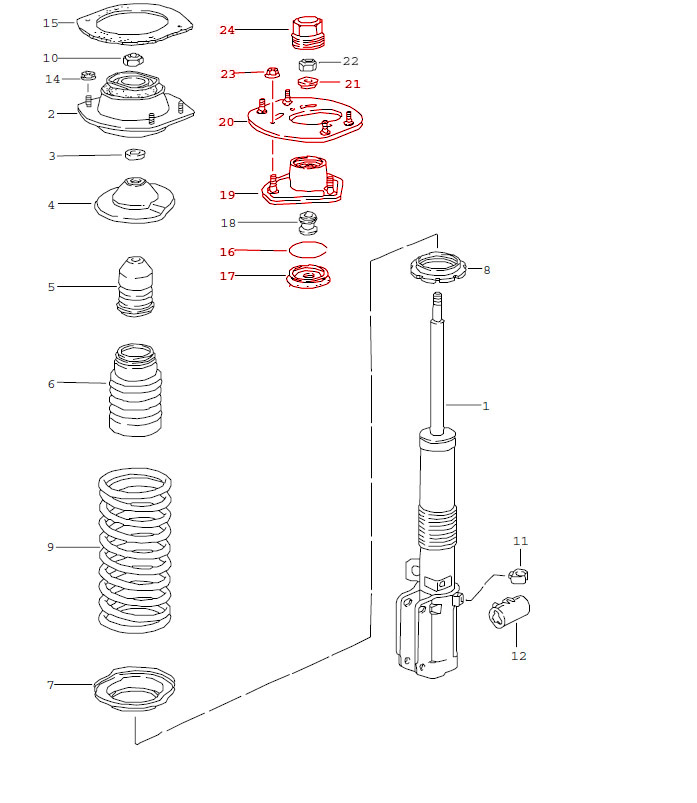
Lets look at the PET diagram for the front axle first. I will explain why in a minute but the first thing is that you won't need part 18, the thick spacer sleeves. You probably won't need the top lock nut 22 as well as you'll already have a nyloc one with your PSS10.
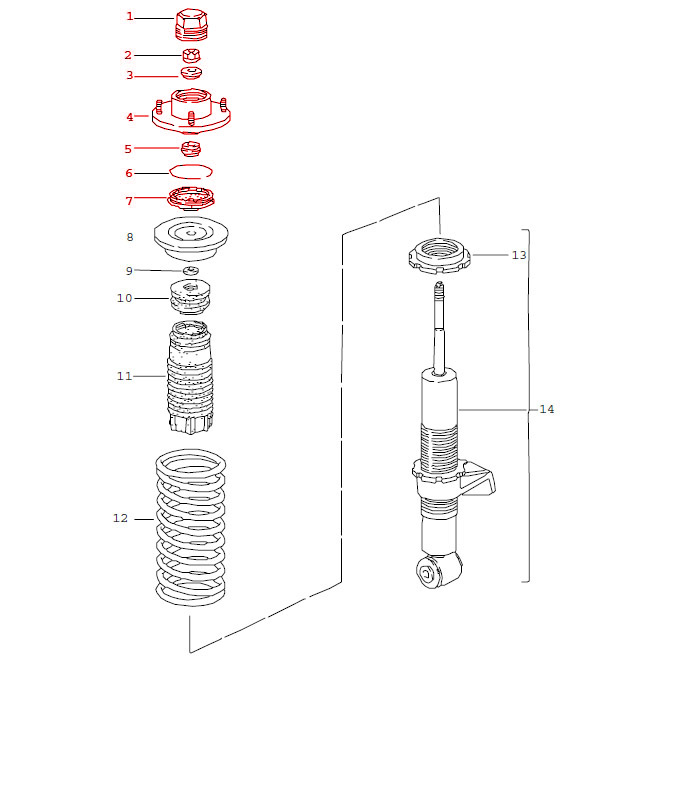
Looking at the rear, i'll explain why in a sceond but you won't be needing the RS top hat number 8 here. Again you can probably use your own PSS10 lock nut as well so don't bother with part number 2 either.
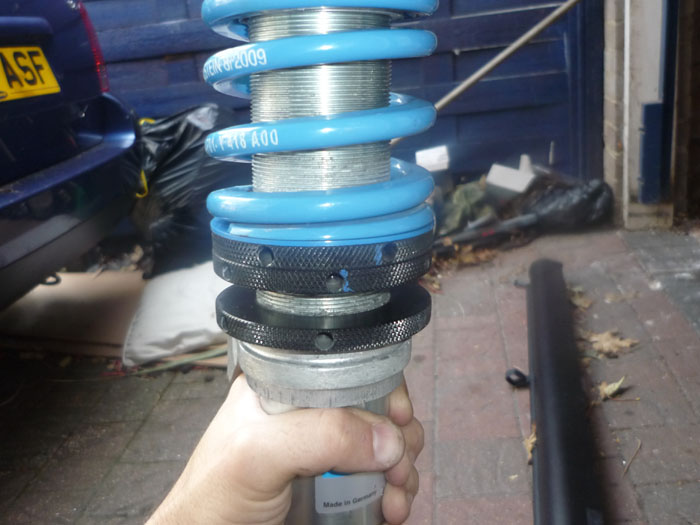
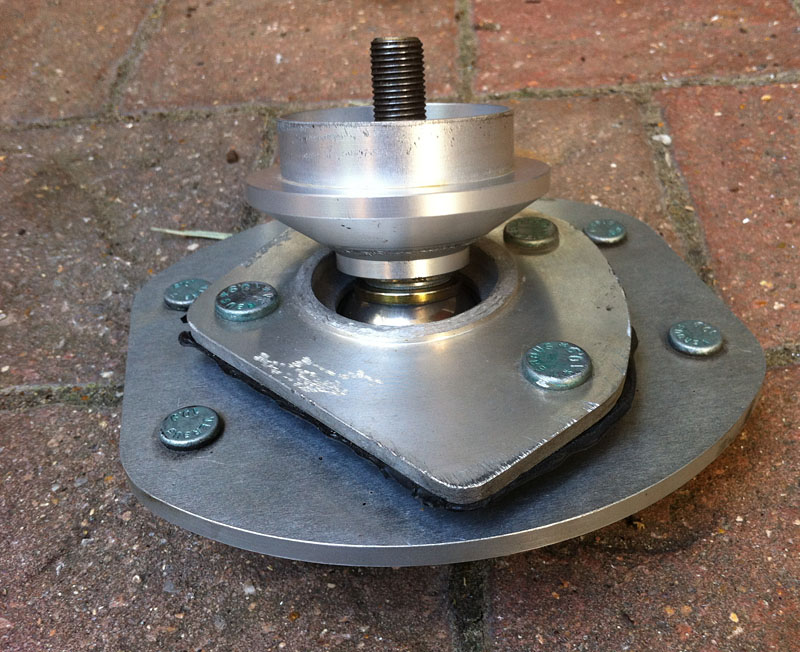
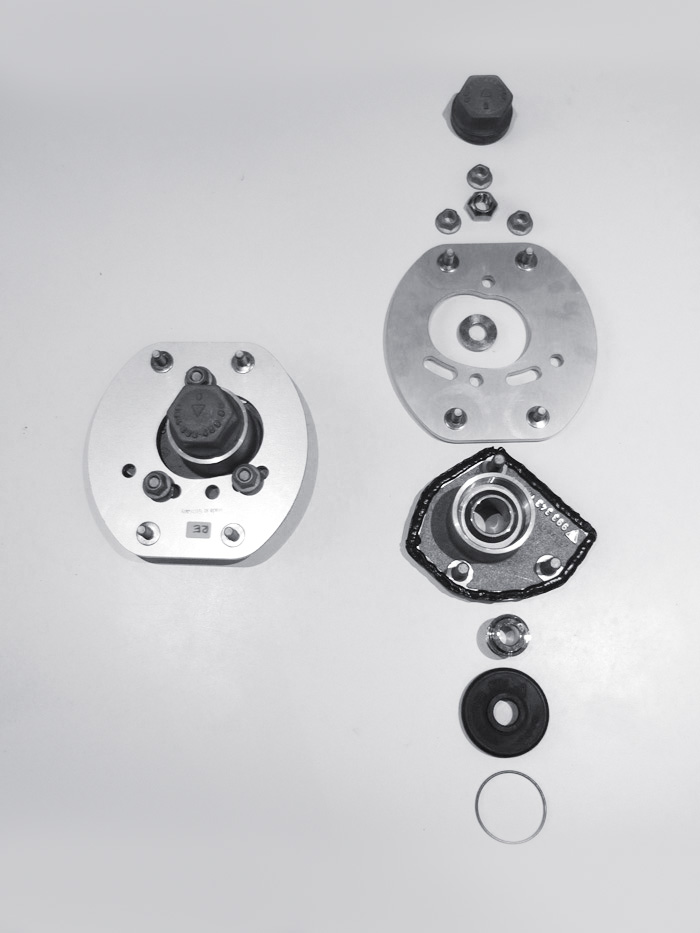
i kind of learnt the hard way and ordered everything so here you can see the fronts. One assembeled, one layed out in parts.
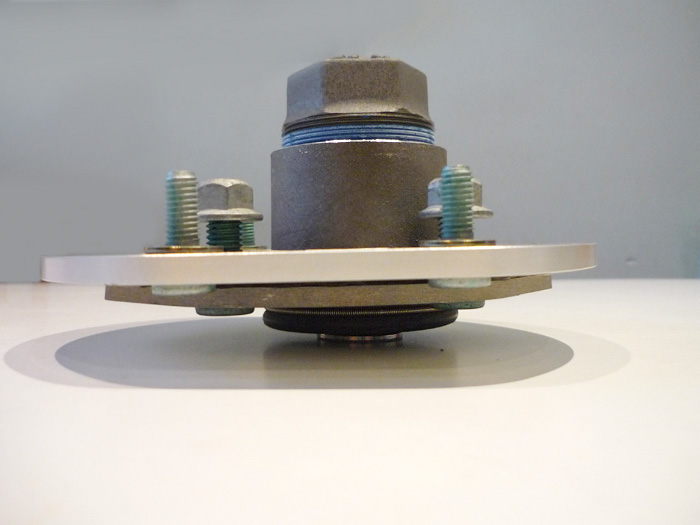
Assemebled in side view.
Here's the rear. That little loop is actually a spring which just secures the rubber boot around the main bearing casing.
Assembled in side view.
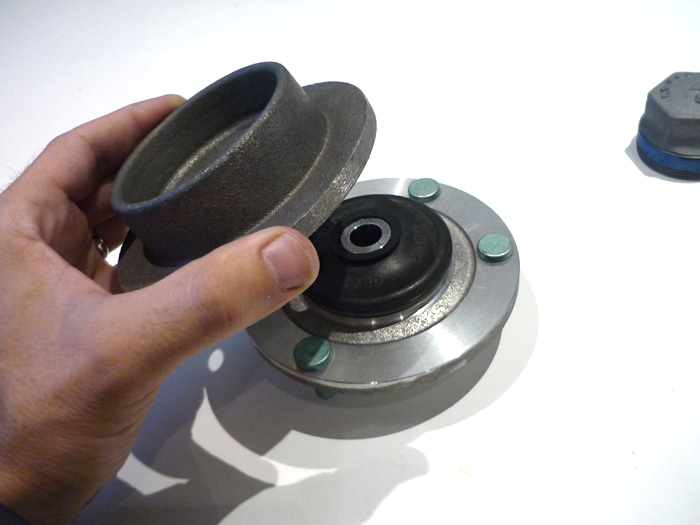
Turning everthing upside down ...
Here you can see the standard PSS10 top hat.
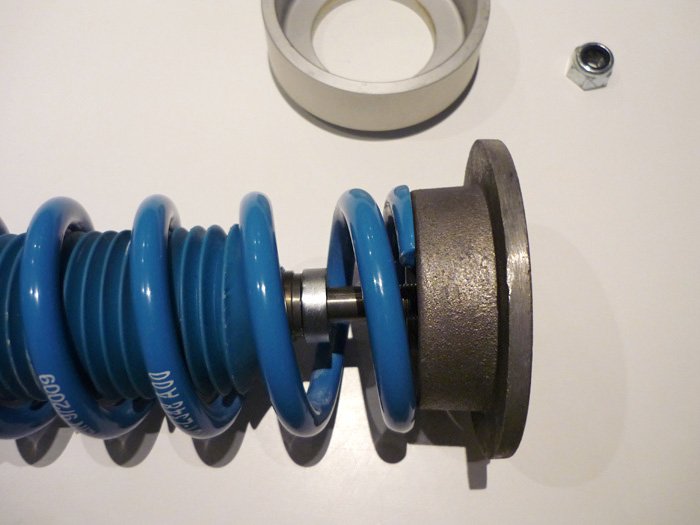
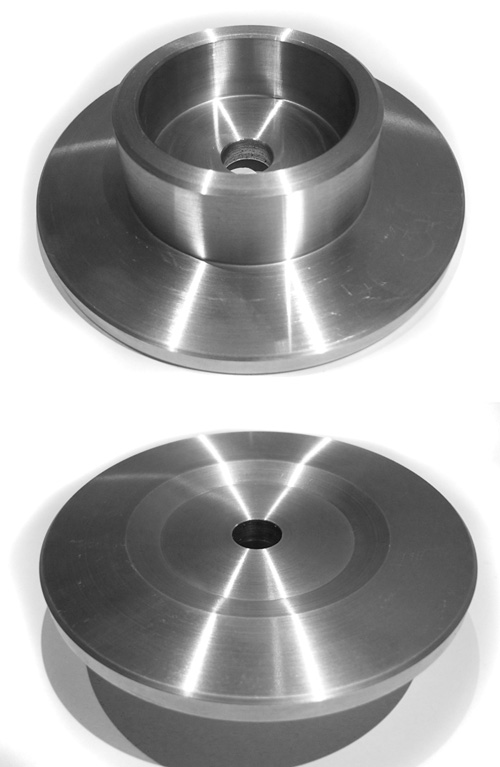
Here you can see that the RS top hat is for a much bigger spring diameter and does not fit inside the PSS10 spring. You can't use the original PSS10 top hat because its a completely hollow ring whereas you can see in the above pictures that it needs to be solid so that it buts up against the monoball.
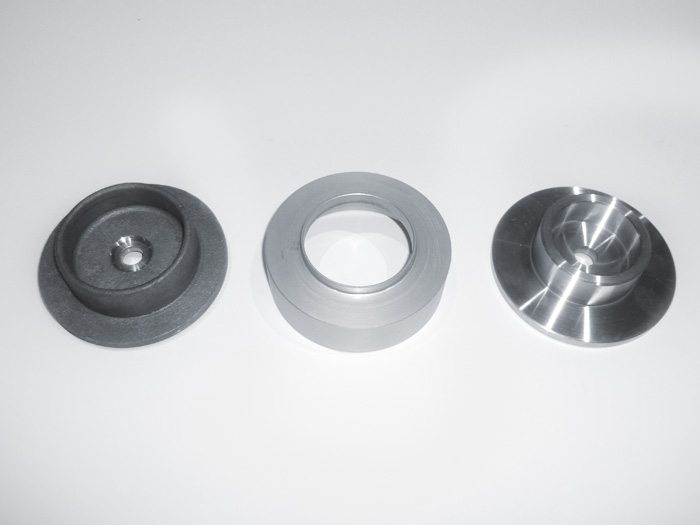
The answer is to have something fabricated yourself. These cost me just £50 for the pair and they are exact copies of the RS mounts but in machine aluminium. The only difference in dimensions is that the collar is the right diameter for my PSS10 spring inner diameter.
RS, PSS10, mine.
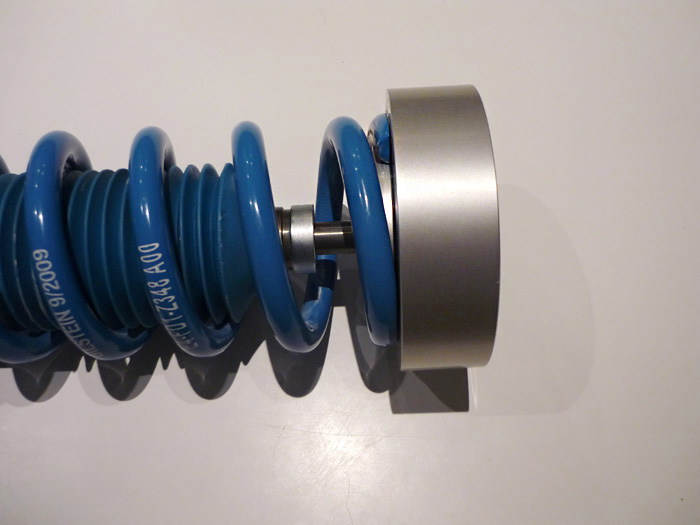
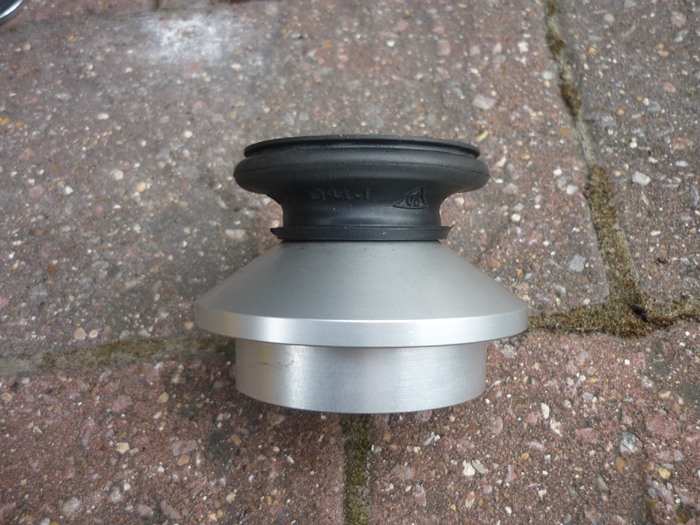
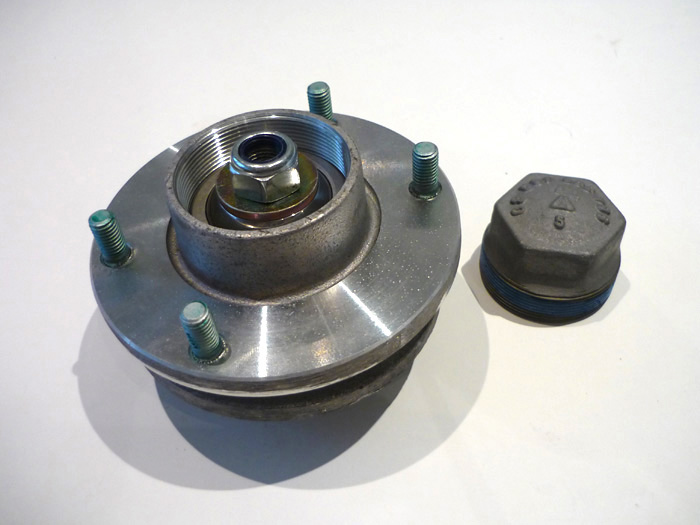
Here is the rear reassembled with the new custom made top hat. Perfect !
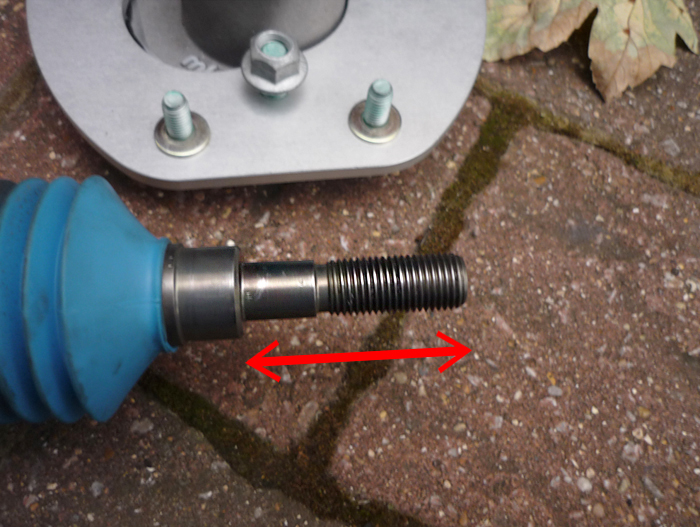
Now lets look at the fronts. You will notice that the spindle length from the end to the wider collar isn't very long. This is the space you have available onto which the top mount can fit.
If you remember the front top mounts have a thick spacer sleeve on the underside thats a few CM long.
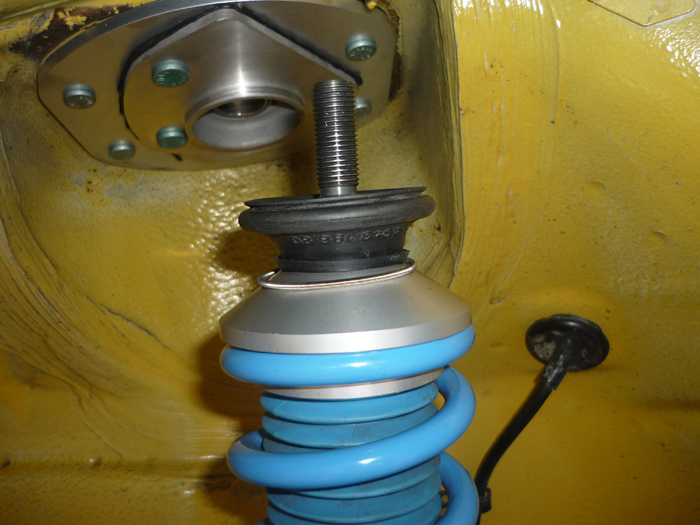
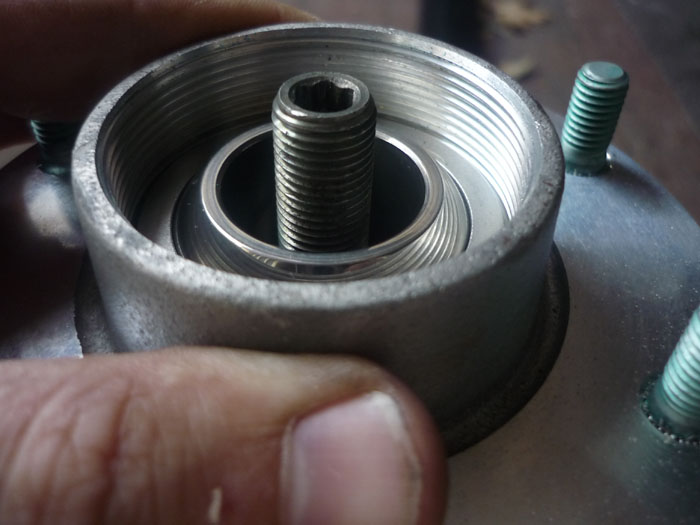
Push the top mount onto the damper body and up againsy the collar as far as it will go ...
And on the top side the end of the shaft is nowhere near clearing the monoball
let alone the spacer that has to go on top .... there is no way you are going to get a nut on top of that !
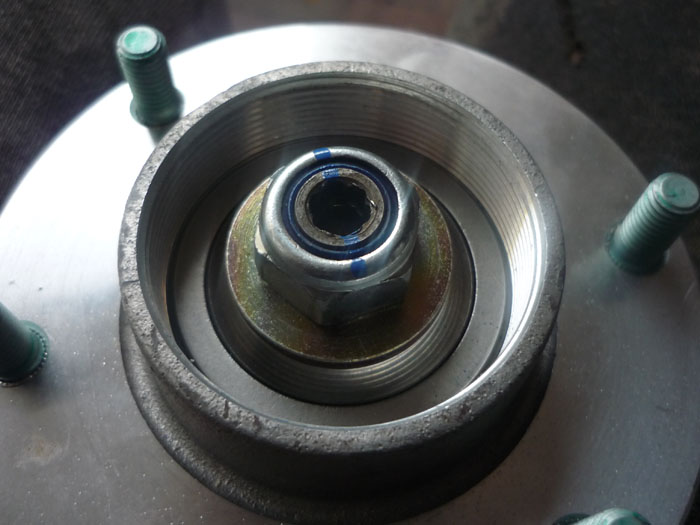
The answer is pretty simple. You just have to omit that tall spacer and use a regular one. So that means you'll need x4 of part #21 in the top diagram rather than x2.
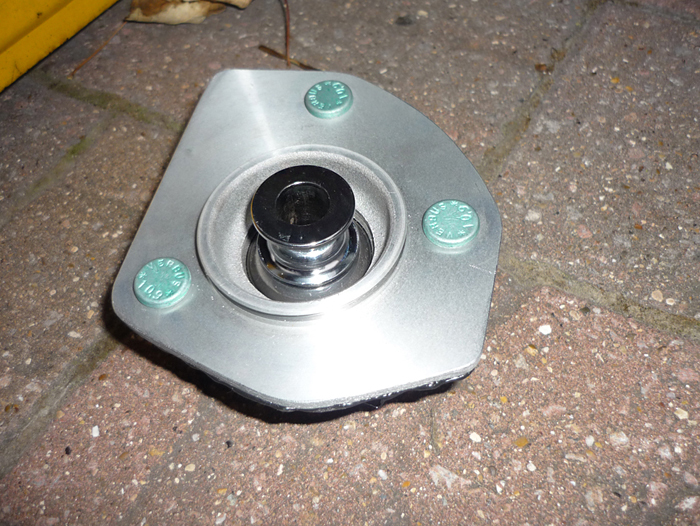
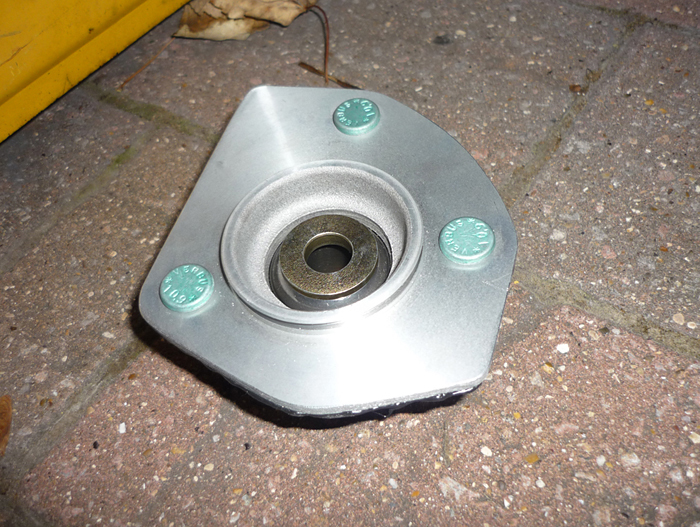
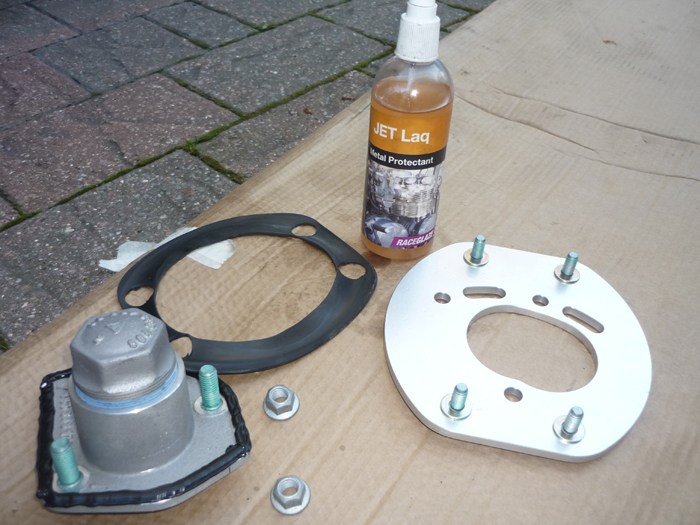
I'm using Jet Laq here. I coat the metal surfaces with a thin layer of this stuff. It sets like a wax and helps stop corrosion. Don't forget your rubber gasket. I reused my original ones. There is a specific RS part numbered gasket for the front but I didn't bother as the regular one seems to fit just fine.
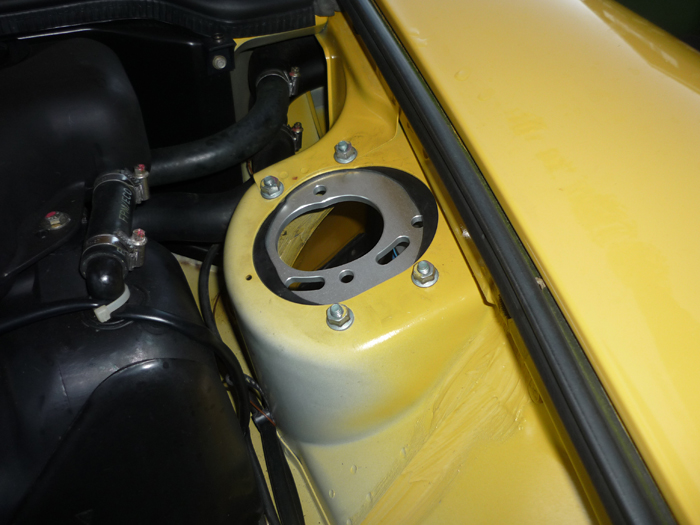
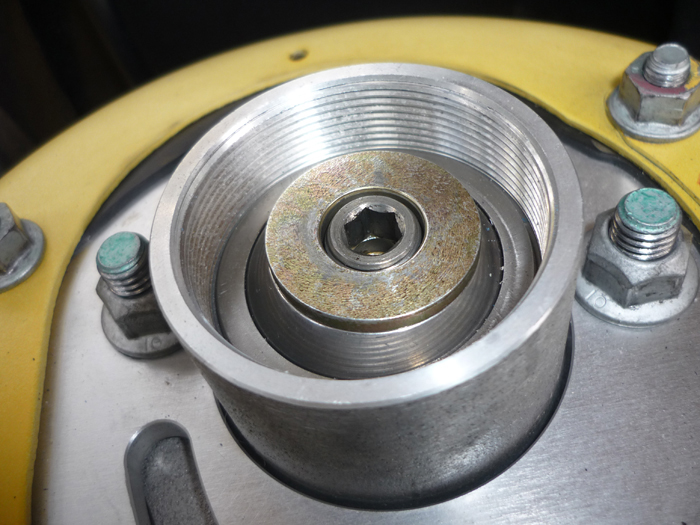
Fit the outer plate up into the supension tower. (ignoring the strut brce for a minute). The tightening torque is 33nm. Then fit the inner bearing/ bearing housing and tighten it to the outer plates with the three M10 nuts to 64nm.
The rubber dust boot normally fits over thet long spacer which we are now not using so I elected to pull it right over the very top of the spring top hat.
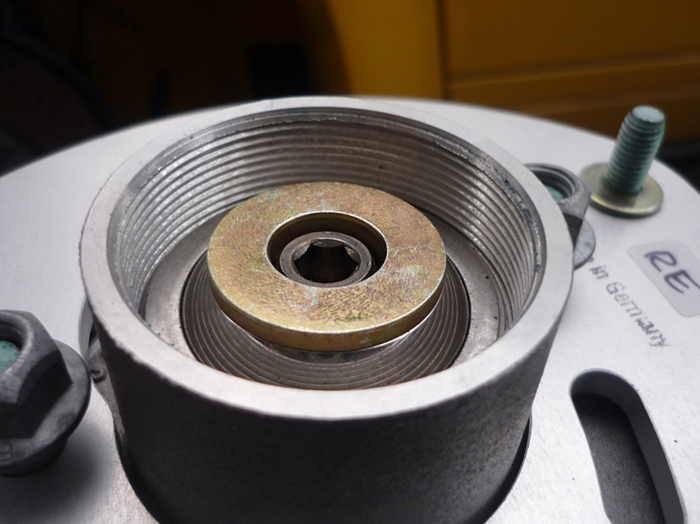
Inside I still used my original PSS10 washer so that the conical top hat does not foul the inisde of the top mount bearing housing when the daper body moves fore and aft, inboard and outboard. After the PSS10 washer you need the gold washer as in the right of the picture, This is the one with the little shelf which will mate with the monoball.
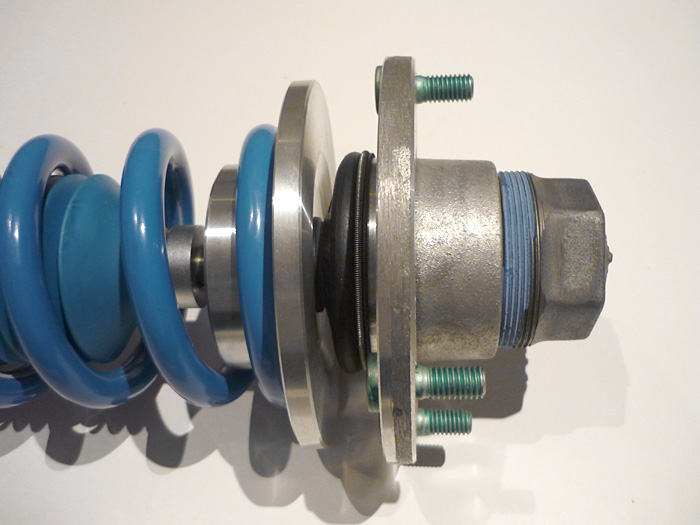
Here is the damper ready for install.
Slip on the top hat with the boot and then the PSS10 washer and then the gold spacer. Don't forget the retaining spring as well.
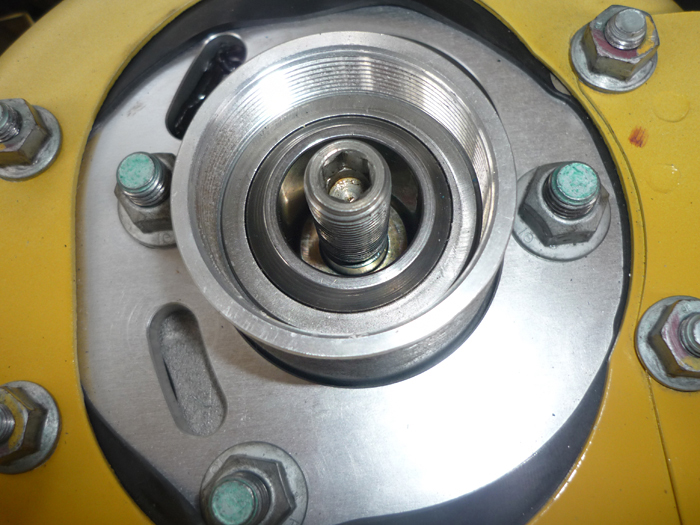
Jack the lower wishbone up gradually, guiding the damper body with a firm hand. On the top yuo need another gold spacer on the other side of the monoball. Slip this in as it will help keep the damper spindle central as you push upwards.
Its a good idea to remove it momentarily though at some point and peer down to check that the lower gold spacer is properly seated in the monoball.
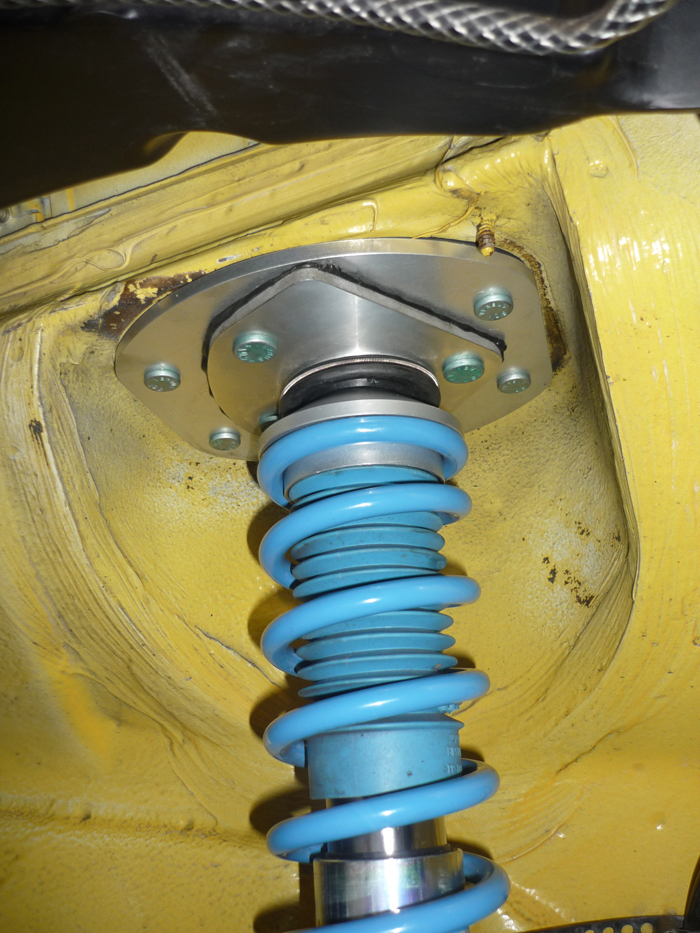
here's how it all looks from underneath. You can pull yuor spring up and around the top of the boot.
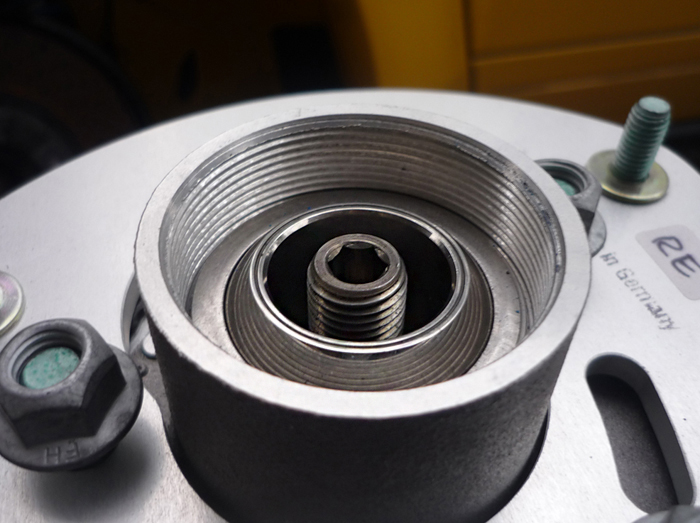
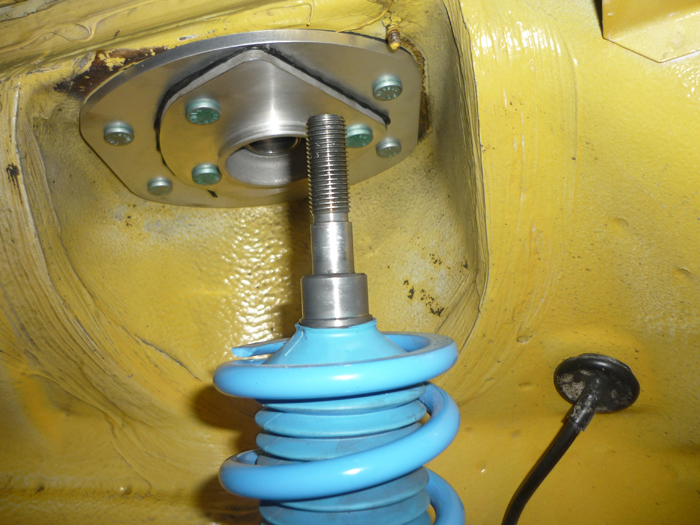
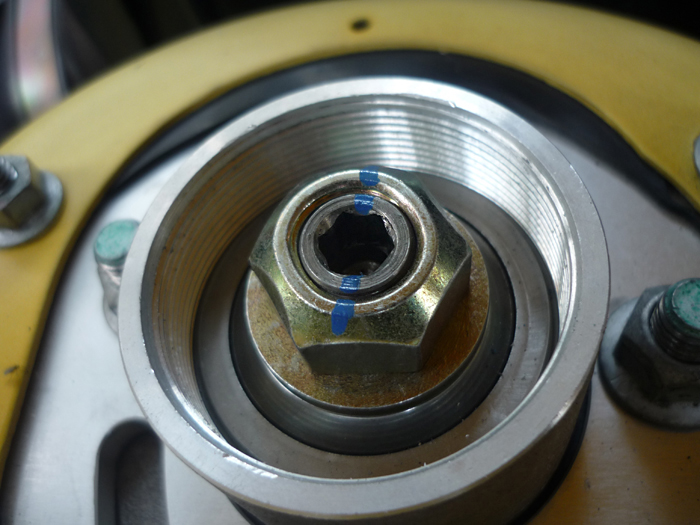
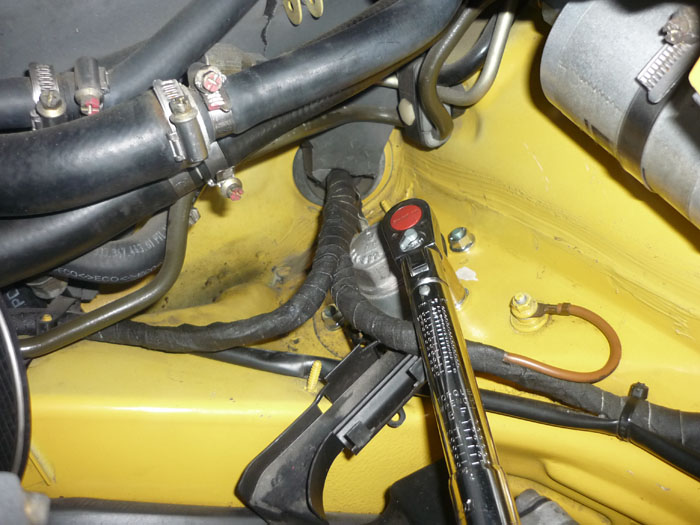
Counter hold the spindle and then tighten. I decided to mark everything up.
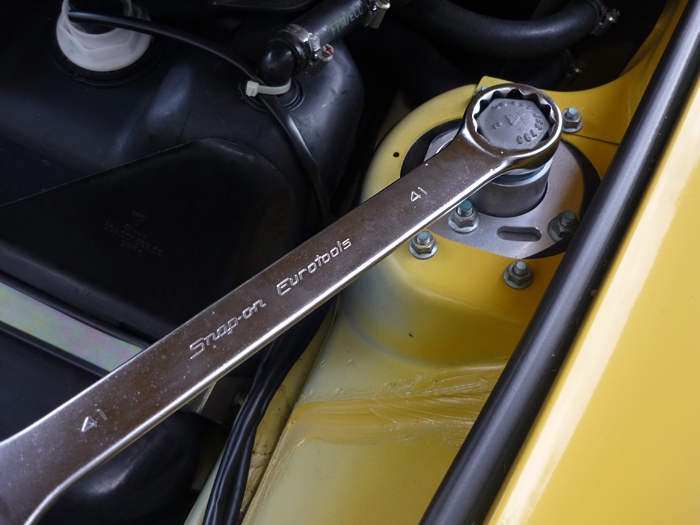
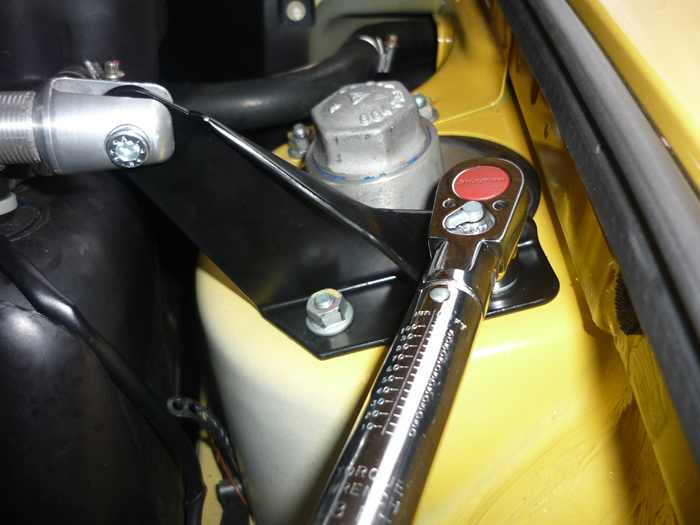
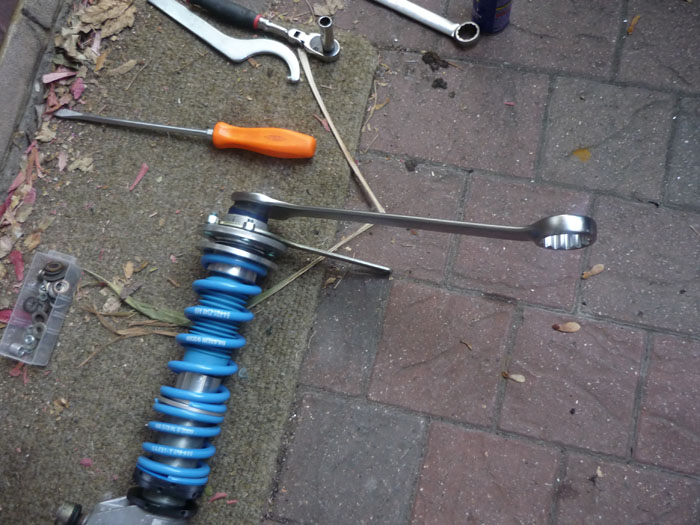
The cap can go on now. You'll need a massive 41mm spanner for this. Porsche recommend a massive 180nm of torque. Not quite sure why. Note that they also recommend never to take the cap off when the car is resting on the wheels.
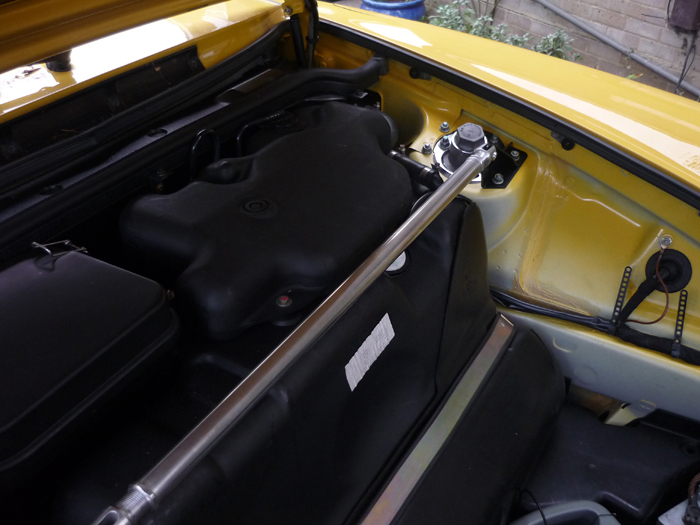
You can now put the M003 strut brace on. Fairly obvious this one. You do need to lengthen the thing by about 8-10 turns each side.
Now onto the rear, you will wamt to wind the collars down. I did this by aroudn 10 turns so that the spindle is long enough up top to go through the monoball.
Place the bearing on.
And then the spacer sleeve and then your lock nut.
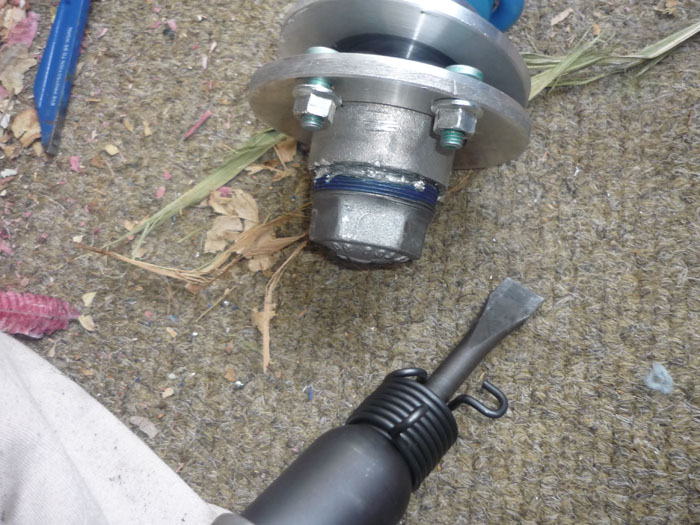
Unfortunately I managed to cross thread the top cover when I screwed it on. I was very gentle with this but somehow it still threaded as I was tightening it. After just a couple of turns it was completely imobile. The metal is very soft and there is a ton of locktite powder on the threads so just beware. Here I am trying to twist it back off. No amount of force would move it so would you believe, I ended up having to chisel the damm thing off !
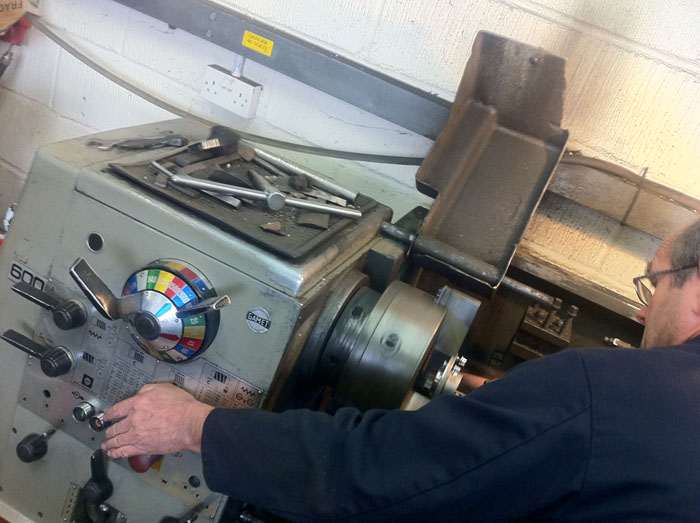
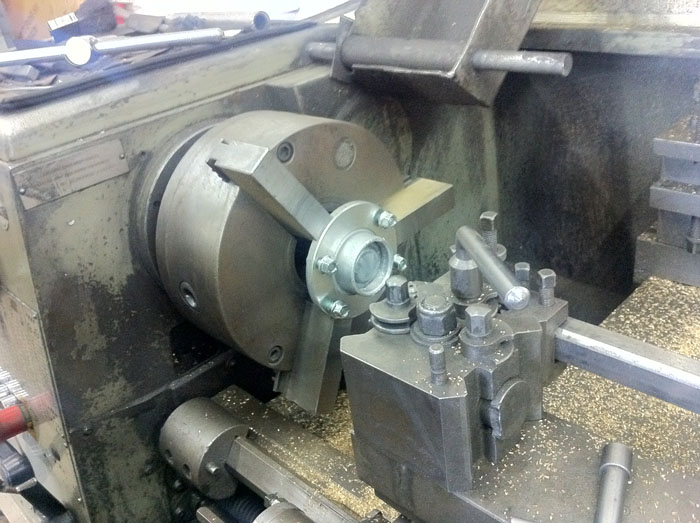
And then I had to take the bearing to my metalwork man and have him very carefully remake the thread ....
And also rebuild the thread on the chiselled end cap !
Finally with all this done I was then able to fit the rear dampers back on.
The torque of those end caps is a monumental 180nm by the way. I dont fully understand why and porsche also coat the whole thing in tons of locktite. I did mine tight but not that tight. Suffice to say that they won't be coming loose any time soon. I shall give my subjective impressions of the RS solid top mounts in a separate article early in 2012.
|


 Now lets look closer at the rear setup.