Cat Bypass Pipe
I've always planned on getting a sportscat of some sort. My car is fitted with the well known RSR silencers and they sound good but i've always hankered after something a bit louder and ab it more opened up in character. I am told that if you remap a 993, you get more benefit if you have a sportscat of some kind as well. Seeing as I don't ever take the car on circuit it's a no brainer for me really.
The thing is, when I looked into it, the idea of a full cat bypass appealed more: cheaper, lighter (saves 12kg at the rear over a cat), less restrictive and freer flowing so potential better power gains and a more responsive throttle, louder and more burbly. Of course the cat will have to go back on for MOT time but I intend to make that yearly job as painless as possible with a good selection fo stainless nuts and bolts. From decats i've done before there is a small chance that low down torque may suffer but I will just have to find this out and maybe compensate for it in the map if necessary.
I shall now describe the removal of the rear PU, bumper, silencers and catalyst. This can obviously serve as the basis for many different DIY's as rear bumper removal is the same route you would take if you are:
- Fitting new rear bumper supports (which corrode quite frequently)
- Inspecting the rear chassis support plates for corrosion (more on this later)
- Fitting an uprated or a Rennsport engine carrier
- Fitting motorsport or performance headers
- Fitting a new catalyst heatshield
This job isn't for the weak of heart. It's not difficult but it does involve removing quite a bit of stuff and if you are going for the whole hog and removing the cat then you will undoubtedly run into some seized, rusted and rounded deformed screws. Once you've started it's a fair amount of work to get the car all back together again and drive it to a dealer or someone with an oxy-acetlyele torch or a decent stud extractor or the like so make a decision and then go for it !
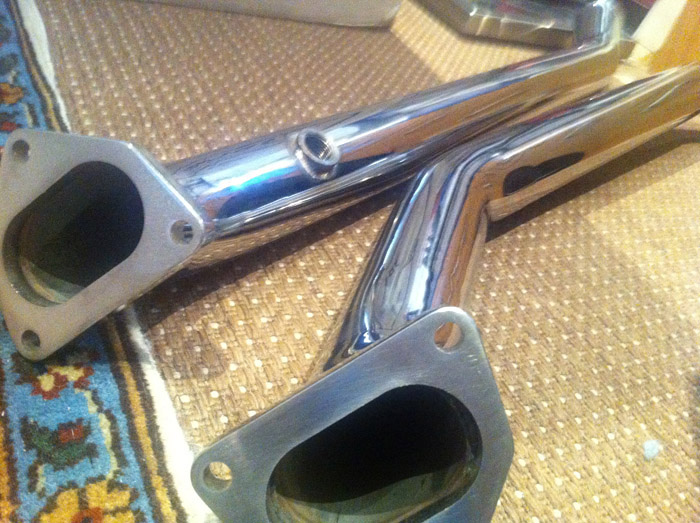

Here are my Design Tek cat bypass pipes. They were only around £240 and you can get ones even cheaper but I wanted stainless. You can also get very short bypass pipes that connect up the silencers to the same side headers by I personally didn't investigate this option. I am told that the two long pipes make a nice noise, more metallic and higher picthed than a long central decat thats shaped like the original catalyst.
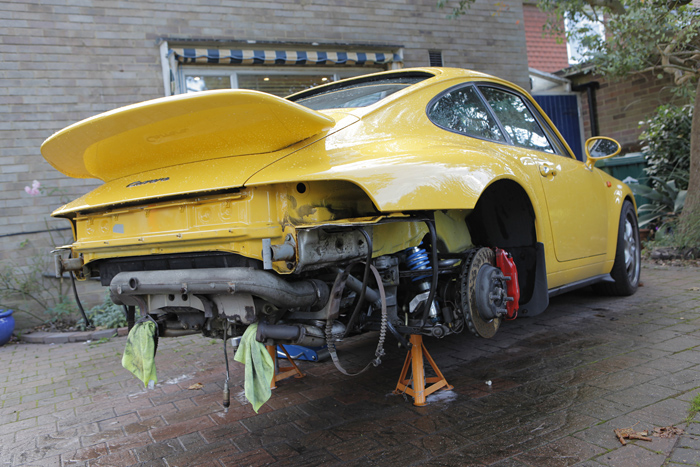
Get the rear of your car up on to axle stands and remove the two rear wheels and then open the boot lid.
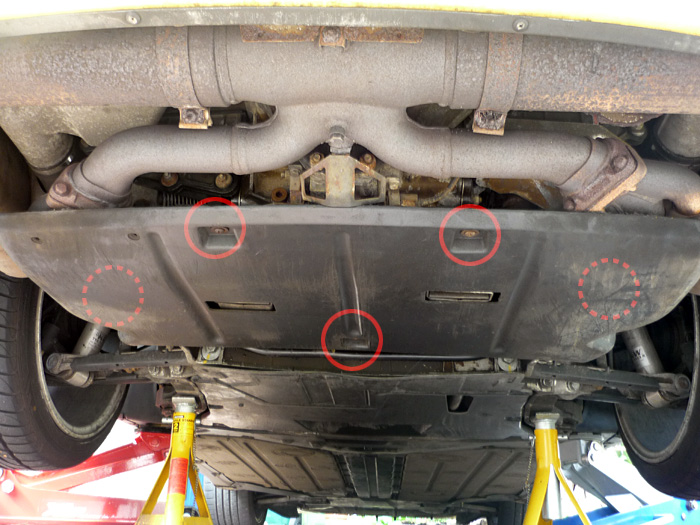
Also remove your engine undertray.
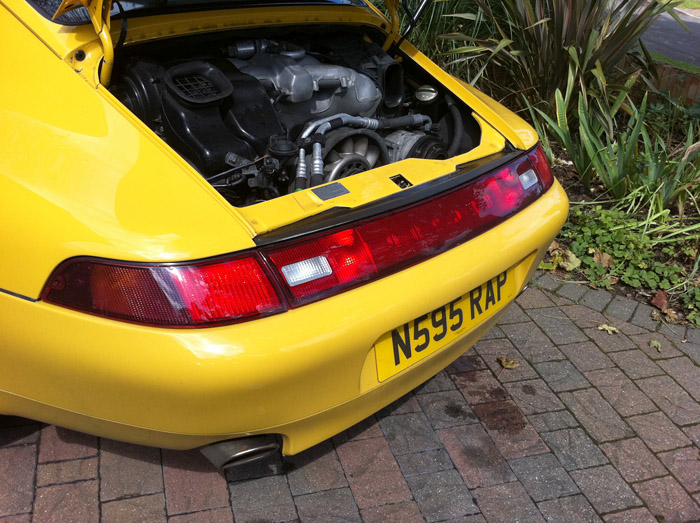
Unscrew the rear light clusters.
Unlatch the central brake light cover.
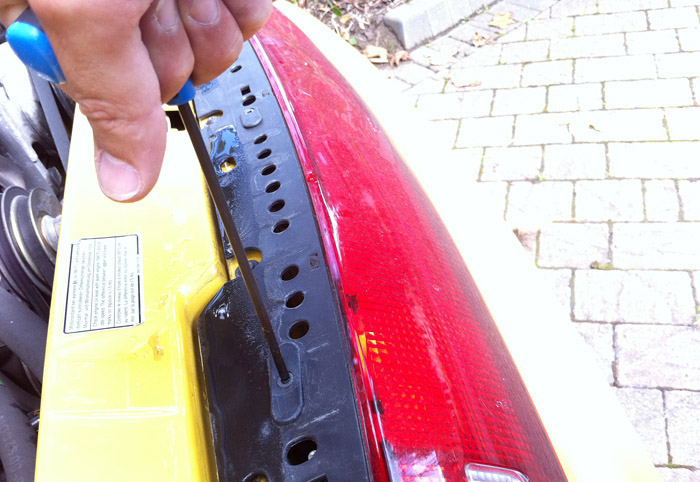
Undo the three hex screws.
Unclip the central wiring connector.
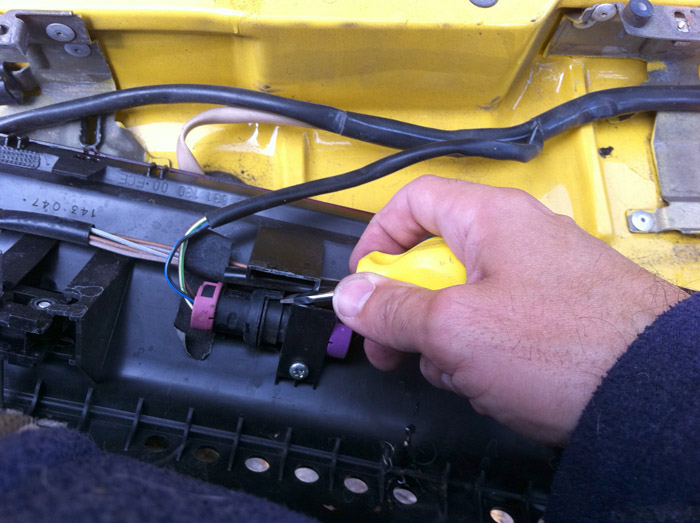
In the rear offside corner of the engine bay you will see an angular plastic box or shroud. SImply pull this off to reveal various wires and connectors.
You want to pull apart this multiconnector. The lower clip is the end of the rear light clusters loom and once separated here you can simply thread it through the whole and then pull away all three light clusters.
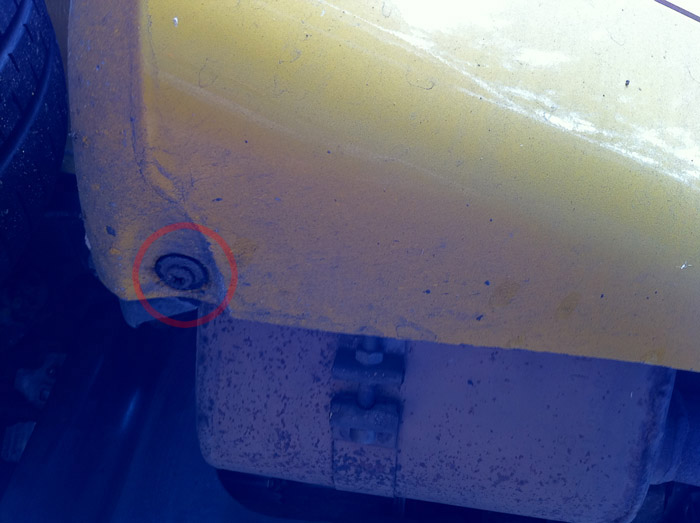
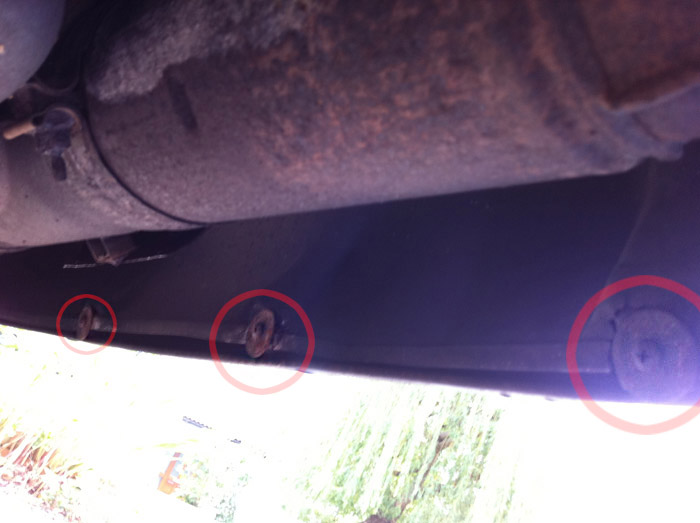
Now turn your attention to the lower rim of the rear PU (bumper). Remove the rearmost section of both rear arche liners and then undo two screws either side of the car on the flanking edges of the bumper. Just a phillips screwdriver required here.
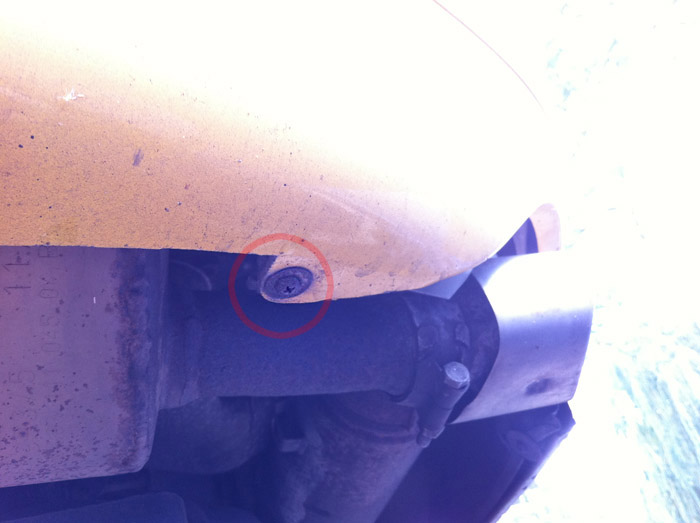
The second on is a little further back near the exhaust tip.
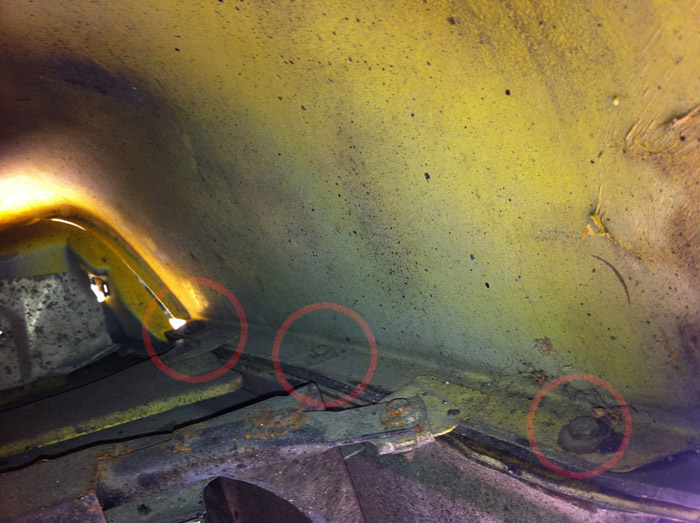
With the rear section of the rear arch liners removed, peek inside looking toward the back of the car and you will see 3 more screws that will need to come out, You will need an 8mm socket for these. You can ignore the rogue one that the bumper support bracket goes through. This actually only affixes to a tab on the rear wing and not the bumper.
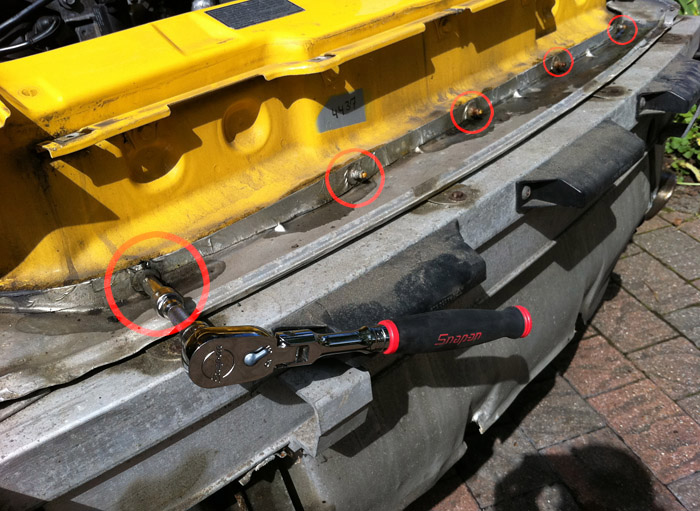
Now look at the cery rear edge of the bumper and you'll see its affixed to the lower edge of the catalyst heatshield. Remove these 4 screws here too.
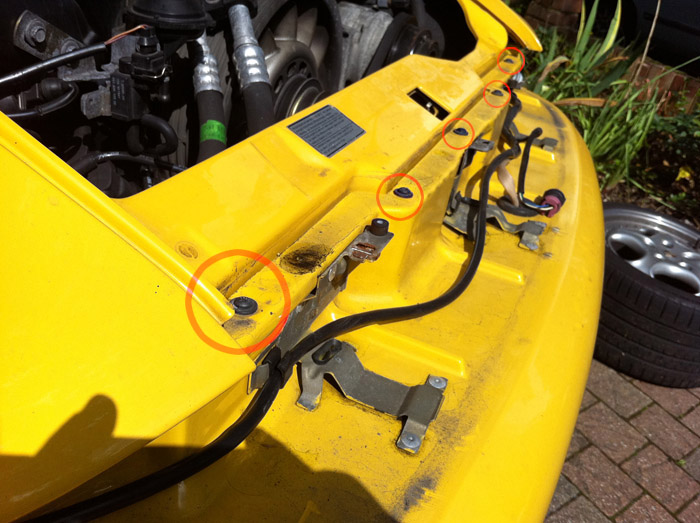
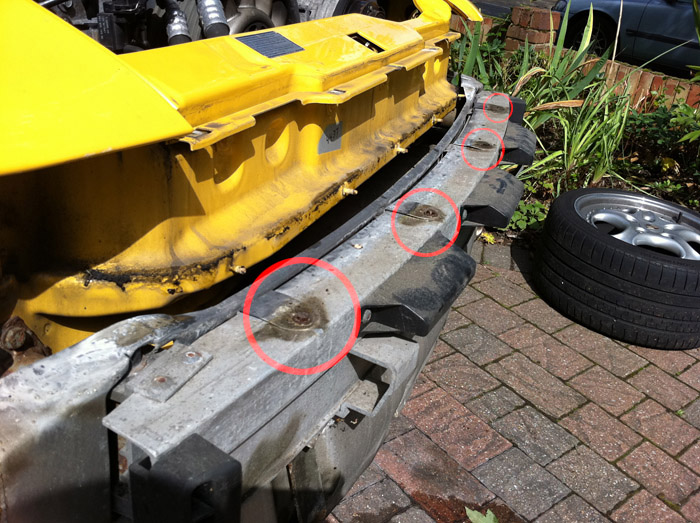
The last thing to undo is the 5 screws on the top side of the PU.
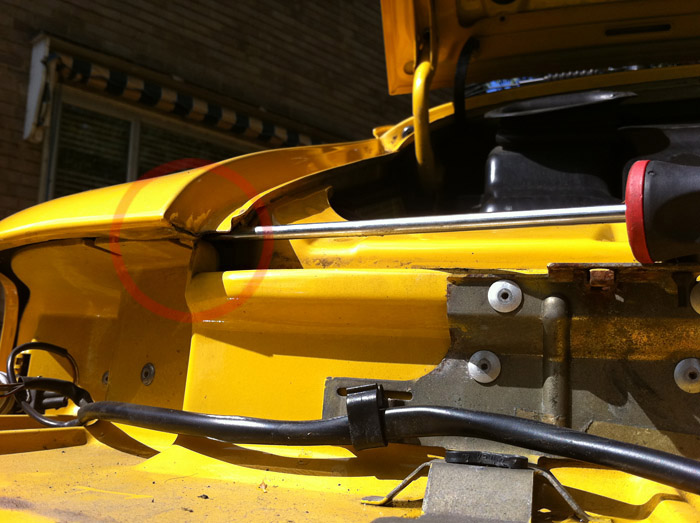
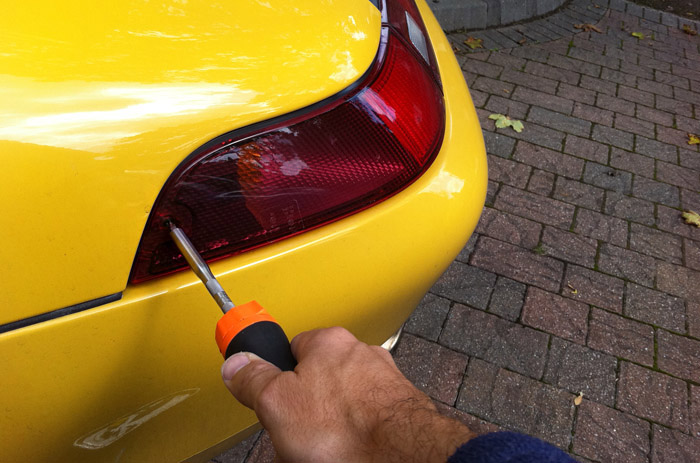
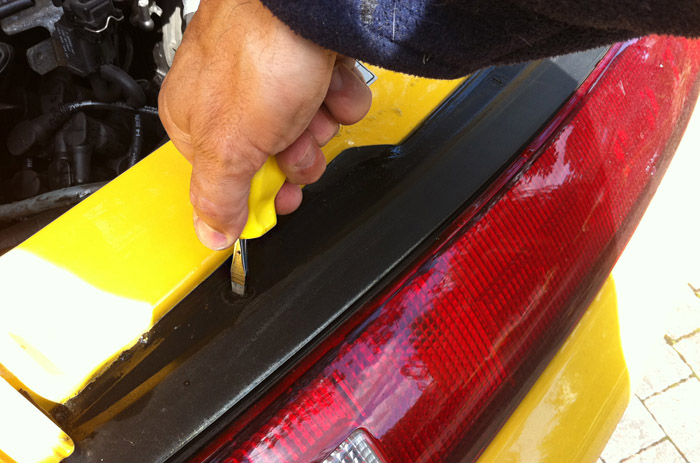
Now get a look underneath the rear corner of the wing. You'll see that a flap made in the PU clips upwards and against the inisde of the wing. Slide a screwdriver or preferably something softer in from the side as in my picture, and press gently down on the flap whilst pulling the whole of that side of the bumper towards you, yur hend gripping at the wheelarch area. Do this both sides and you'll be able to tease the whole thing off.
Gently does it and get it out of the way and somewhere safe. Remember its a painted surface and one tiny scratch could ruin it and that's easily done when you are walking around with a huge PU.
Remove the upper heatshield by loosening the 5 6mm nuts on the captive screws.
That comes off very easy. Now remove the 4 screws that hold the main centre heatshield in place.
You'll be able to push the heatshield back out of the way so you can access the two hex head bolts that hold the actual bumper in place.
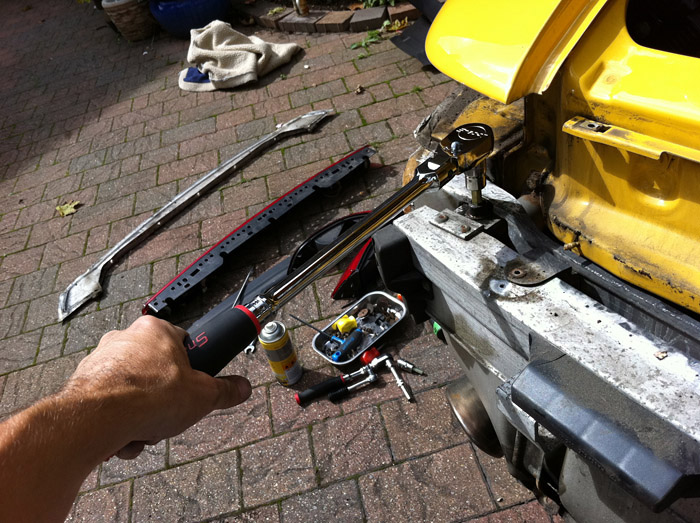
I would advise some penetrating fluid here, a good quality 10mm hex driver and a long ratchet or breaker bar. Loosen them and then after a while they will simply lift right out.
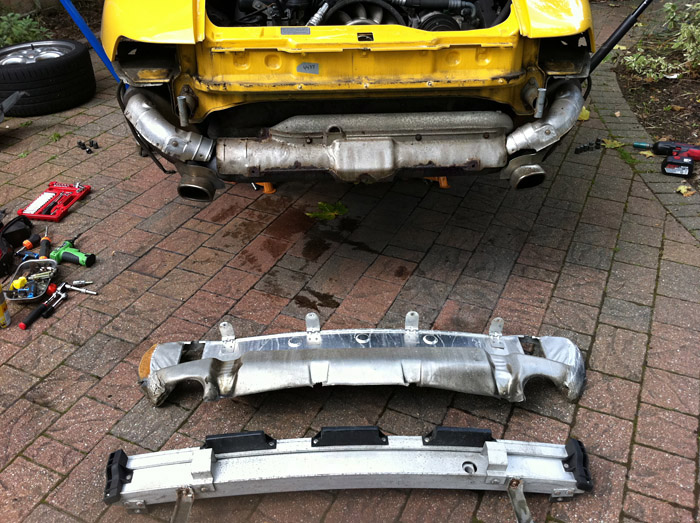
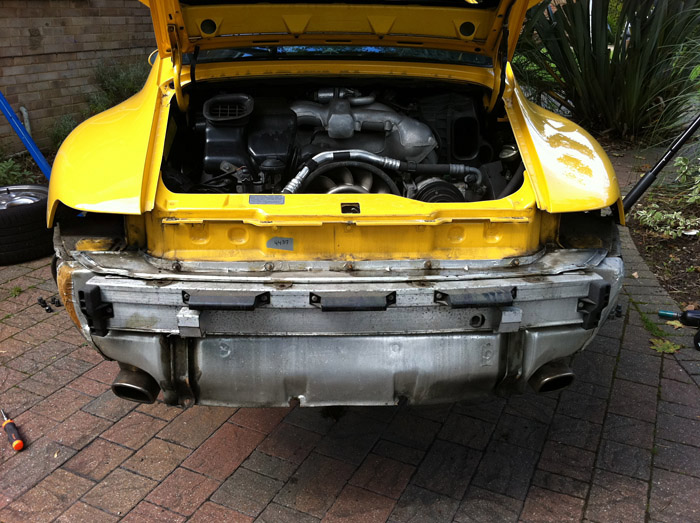
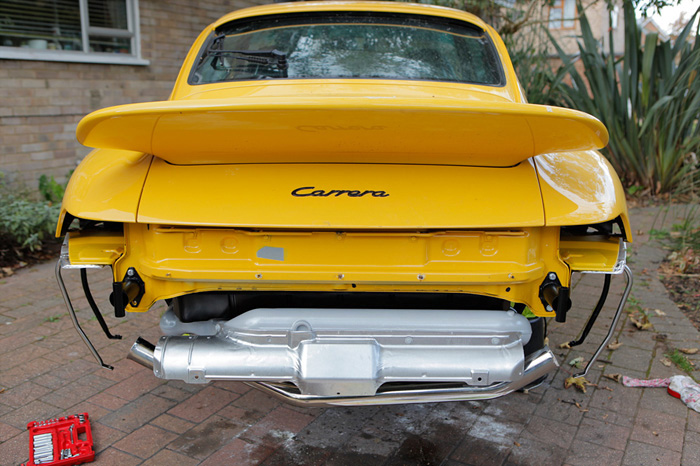
Remove the bumper and the heatshield.
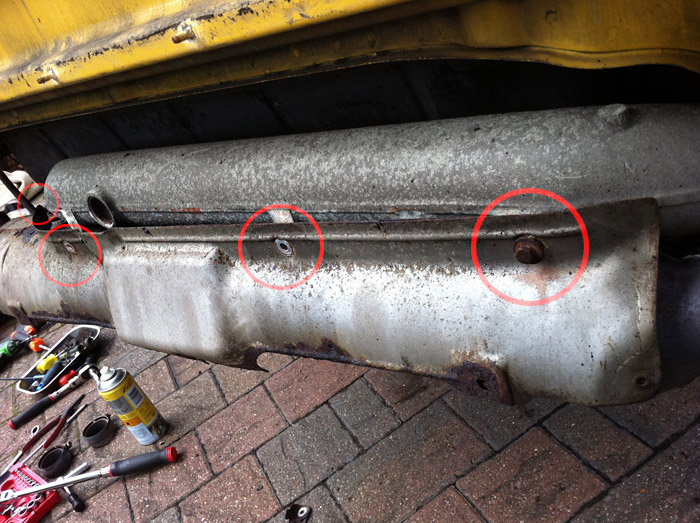
Now just the catalyst heat protection plate which may well be in quite a bad state in which case its a good idea to buy a new one. Take off the 4 screws. I advise a soak in penetrating fluid and some heat beforehand. There is a high chance that these can strip as one of mine did and then you will have a job on your hands removing the headless stud from the thread inside the heating tube.
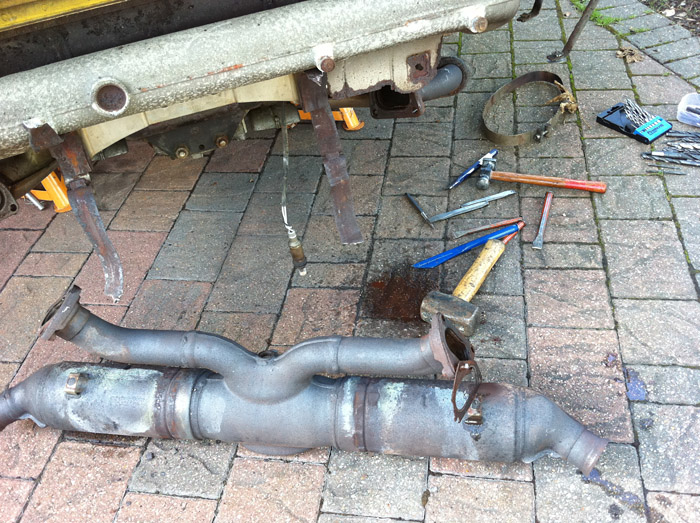
Like the silencers, the cat is held on by two straps (although its connection to the heat exchangers will support it alone). My screws on these were rusted and deformed to nothing so I just hacked the hell out of the straps and used some giant molegrips and side cutters to break them apart. I won't be needing them for the cat bypass pipes in any case.
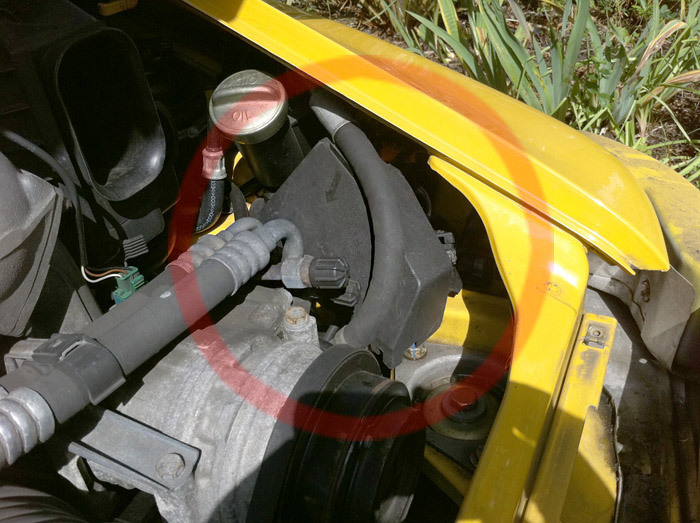
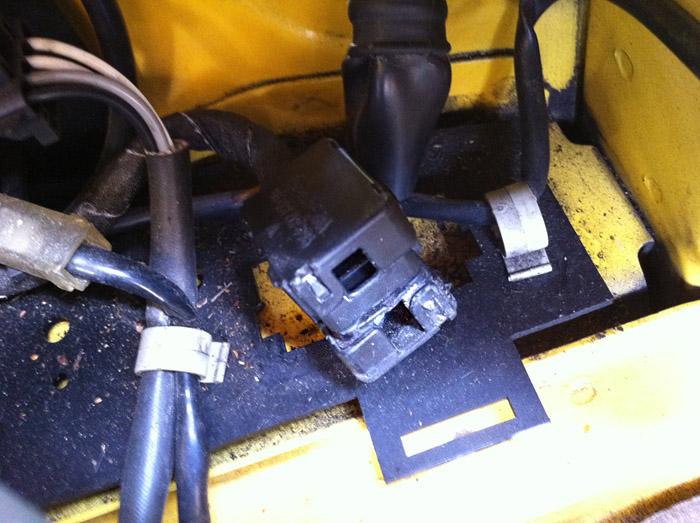
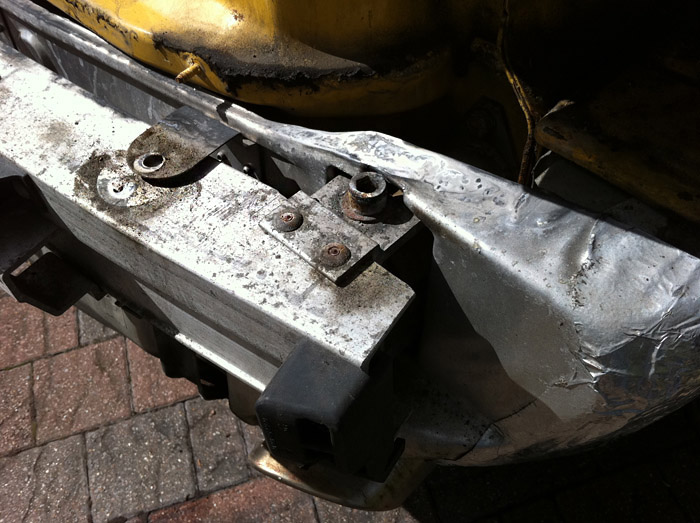
Now remove the supprt that protects the oxygen sensor and also acts as the grounding for two of the engine undertray fasteners (seen in the top right of the above picture).
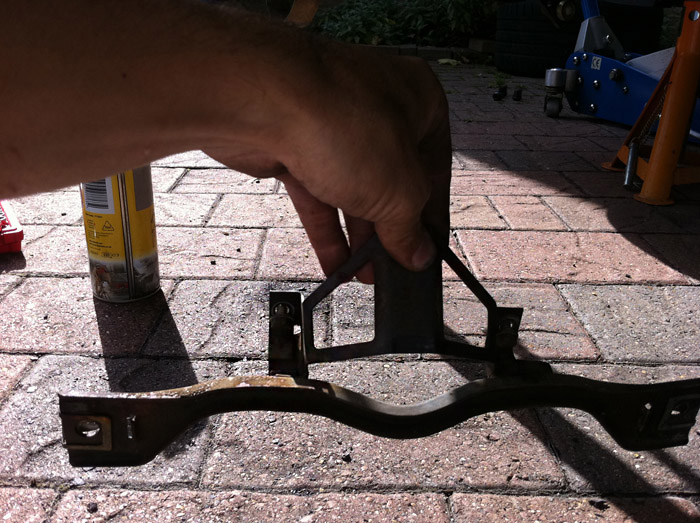
Now removed.
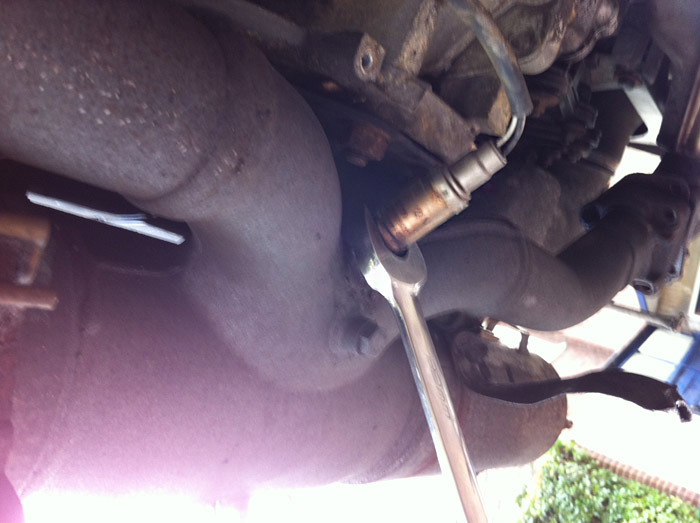
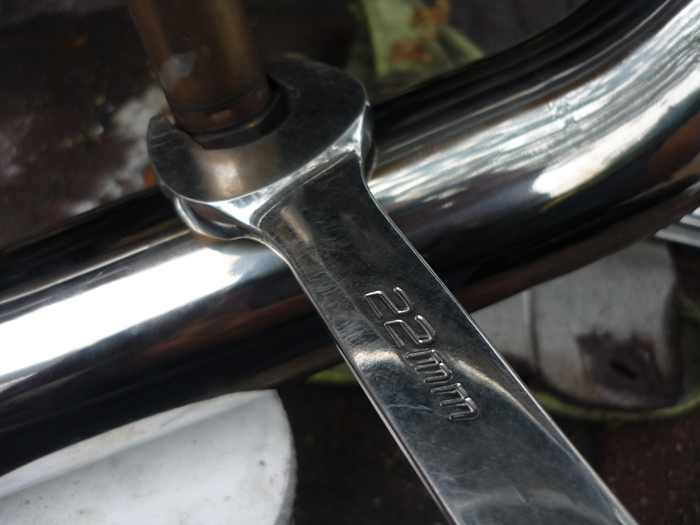
I think this a 22mm from memory. Loosen the oxygen sensor from the cat but you don't want to twist the wires too much so just get it loose first of all ... much better to rotate the cataylst once it's free.
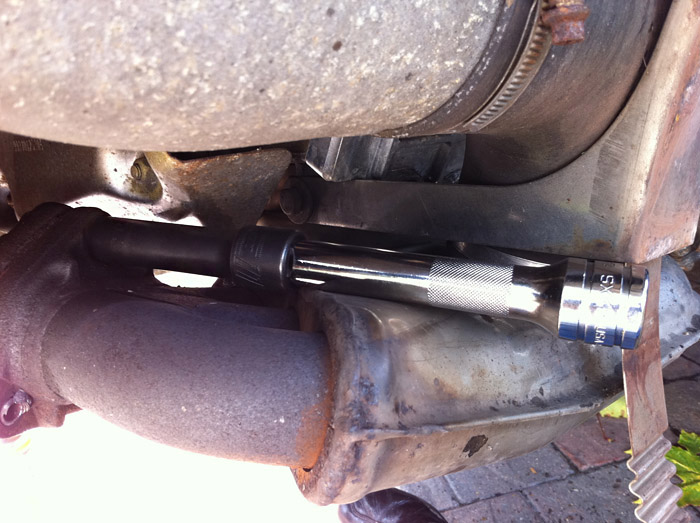
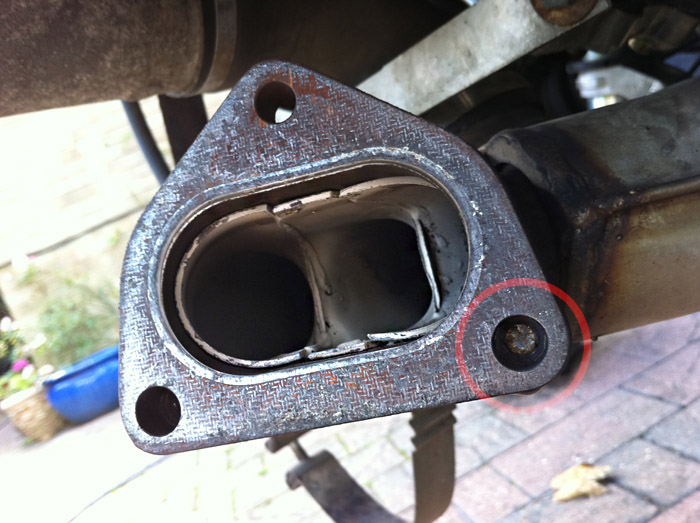
Now comes the fun bit. Take a look as your car to heat exchanger screws to see what you are up against. You might want to soak these in penetrating fluid overnight beforehand. Some heat will help as well so have a gas burner to hand.
Although mine looked pretty deformed, very rusty and in some places completely mutilated after almost 20 years, I was actually rather lucky here. Two or three of mine came off straight off with a regular 13mm socket. Another 2 or 3 came off after hammering on a 12mm or in one case, 11mm socket.
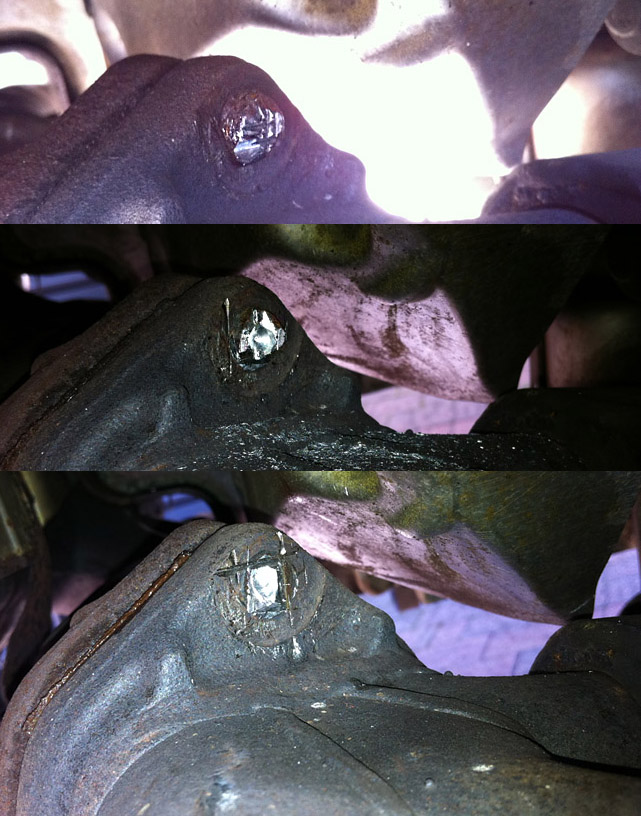
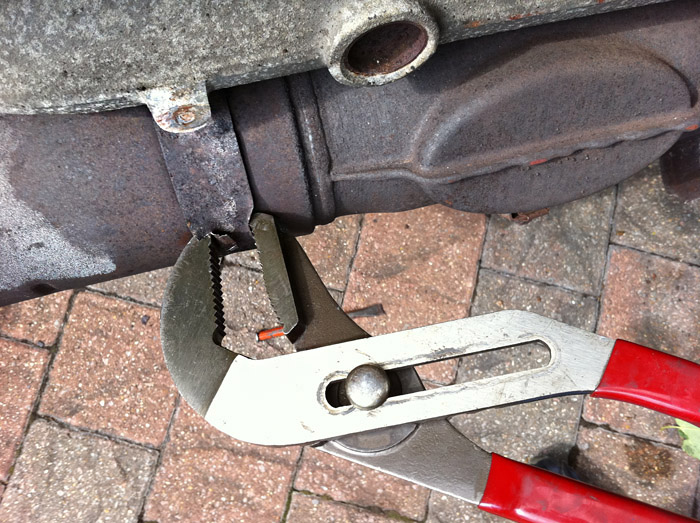
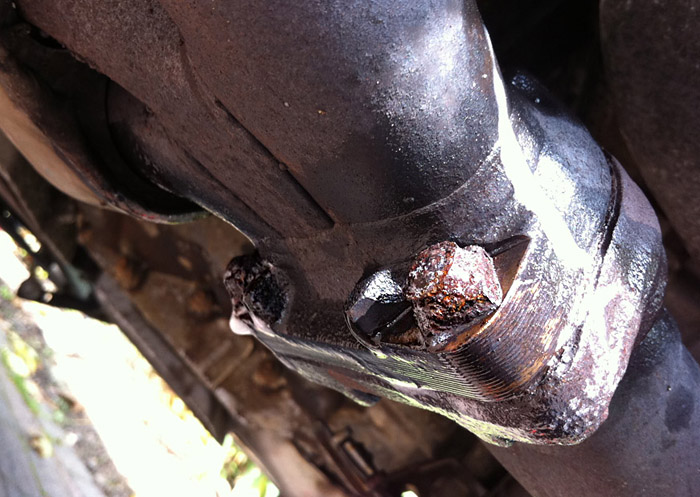
This final one was the killer though. You can see in the picture story there that I started out by chiselling it and then tried some drilling and then some more chiseling. Sadly I don't have a dremel with a cutting disc and this may have made life easier but as it stood I had to do about an hour's worth of pretty hardcore hammering and chiseling. You can see in the last picture there that I cut a sort of square into the head, taking off the edges of the head a north, south, east and west.
This eventually gave me anough weakness in the screw to allow me to really rock teh whole catalyst back and forth from the other side. After some fairly hefty force the whole thing just snapped off, job done. It was one of those more satisfying moments you could say.
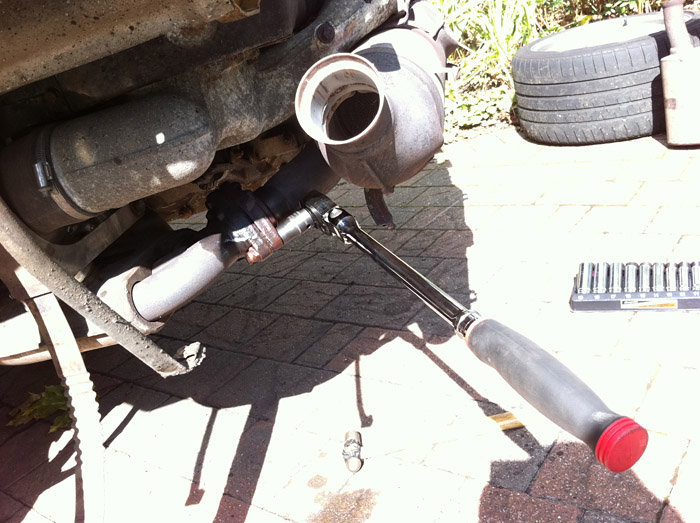
So cat off, rotate it round to fully release the O2 sensor.
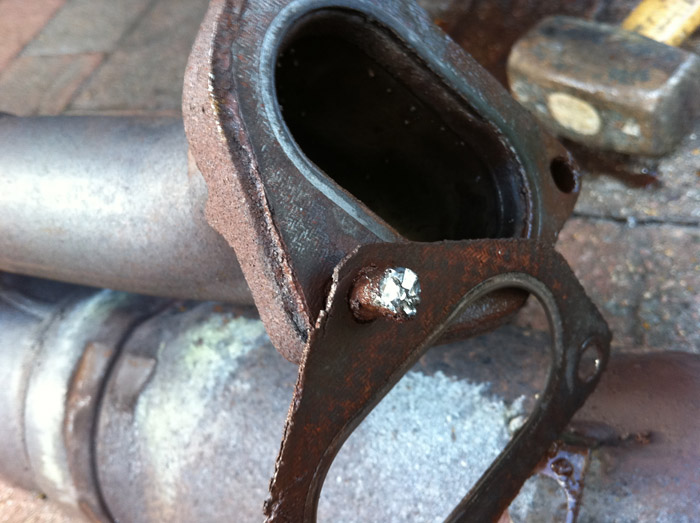
Then you need to go and and push out and remaining screws or studs with a thin round punch and hammer.
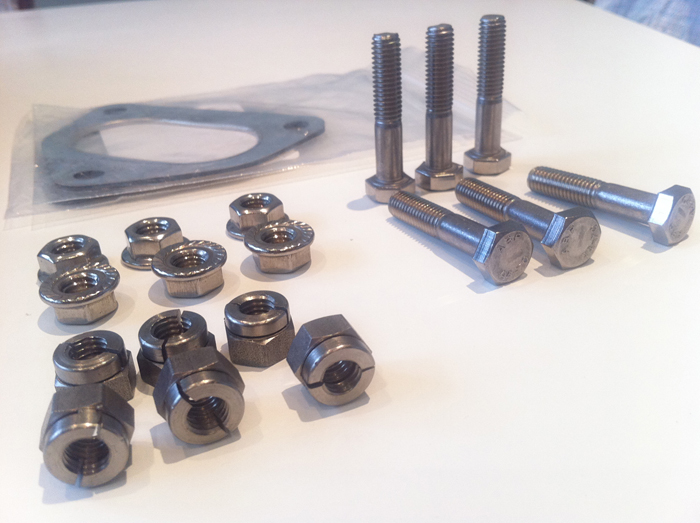
To fit the pipes on I bought some custom stainless bolts. I also bought a selection of lock nuts, some plit beam type and also regular type with teeth of the face. You will need two gaskets as well.
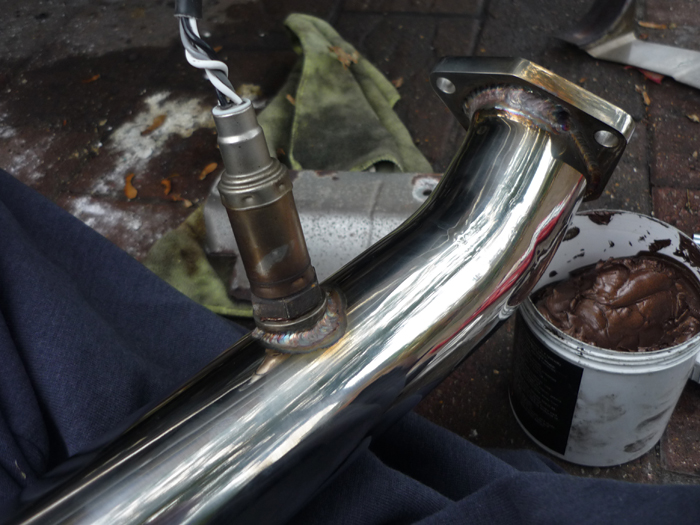
To get the O2 sensor on I rotated the pipe mostly and then nipped the sensor up tight with a 22mm spanner.
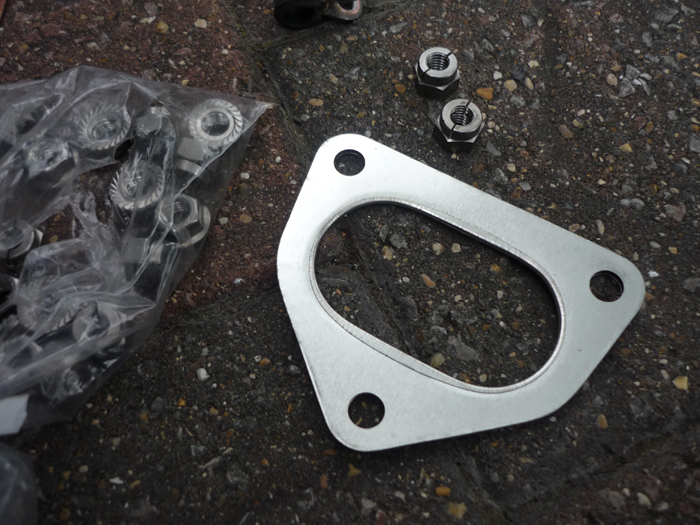
Heat exchanger to bypass pipe gaskets.
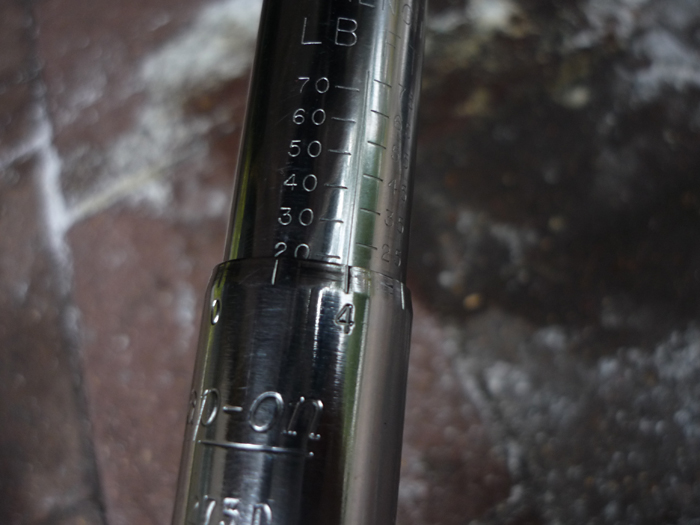
Torque up all your bolts when connecting to the heat excahngers - 23 NM
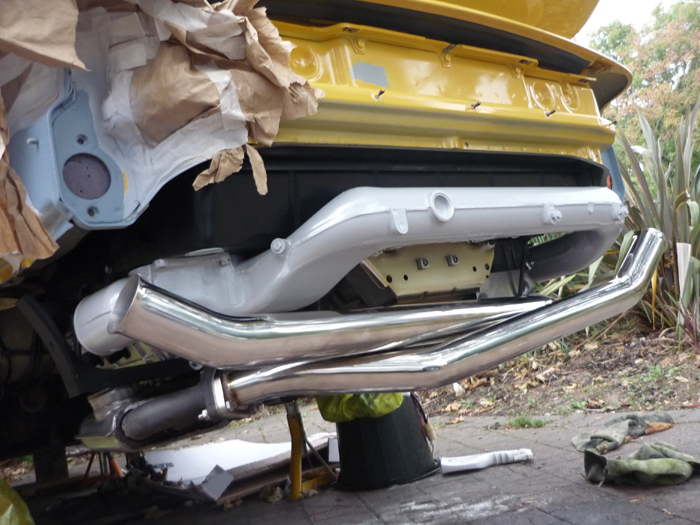
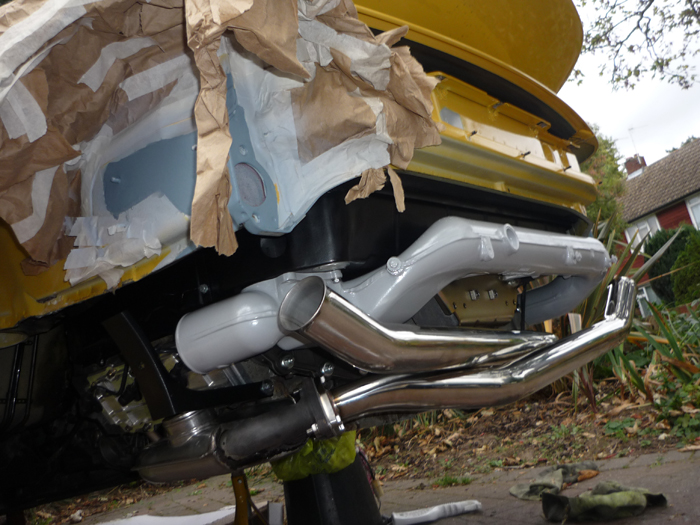
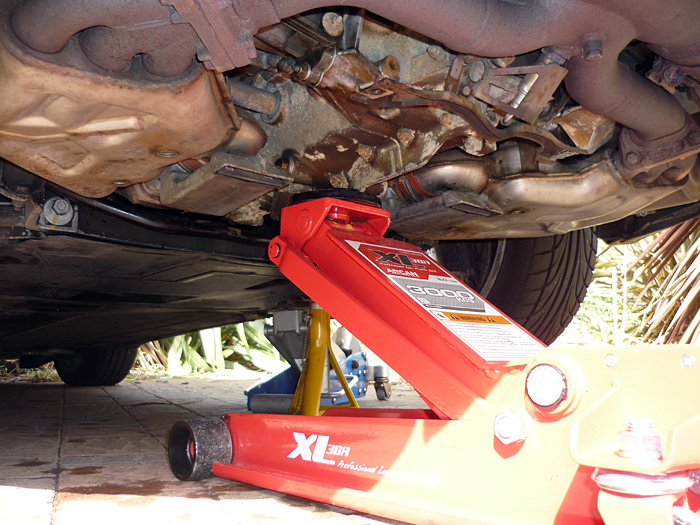
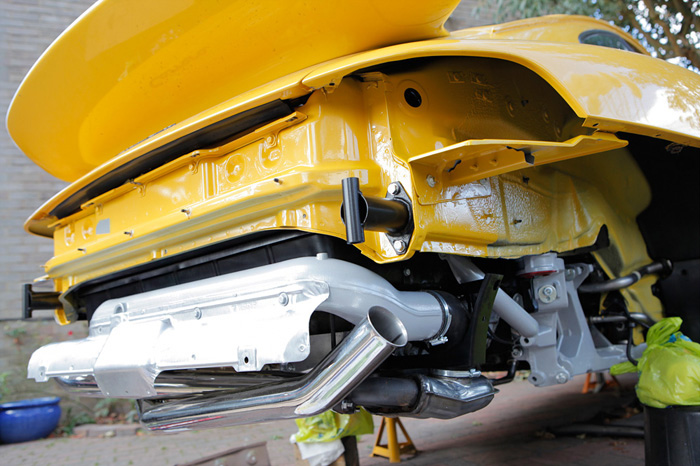
Here they are in place.
I found that the heatshield situation changes a bit with bypass pipes. There are a few to leave out like the bracket that comes off the engine carrier. I did fit a new main cat heatshield though as you can see in the picture. This covers the bypass pipes quite well and although they won't get as hot as a catalyst its still a good idea to have that there I think.
That's pretty much it although I will update this page with some impressions and sounds clips when the car is back on the road.
|