Cayenne Cruise retrofit
If you've got a Cayenne with no cruise then the official routes are: 1. Pay for OPC to retrofit cruise from the offical tequipment catalogue. The price is something like a whopping £599+vat 2. Pay for a 3rd party company/workshop (awesome gti, Wrightunes ) for around £350 3. buy the parts yourself new from any porsche dealer for around £350 and fit it yourself. The stalk used to be around £60 but porsche cottonoed on so the stalk is now an exchange part and costs over £300 IIRC. The official part list goes like this (although ive not tested this): 955 613 261 00 B41 - switch - 1@40.82
The final option is to sit on ebay or call round some breakers. Note that many of the mainstream breakers will still charge over £200 for a stalk as amny of the porsche specialist breakers are rip off merchants themselves. I decided to sit it out on ebay, set up some alerts for searches tagged "cayenne cruise" and soon enough i'd won myself a complete clockspring + indicator, light and cruise stalks for just £99
Let's look at installing the actual stalk first:
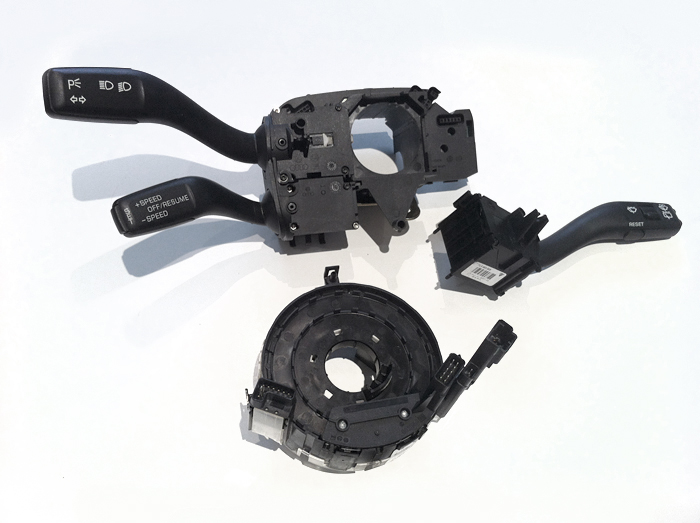
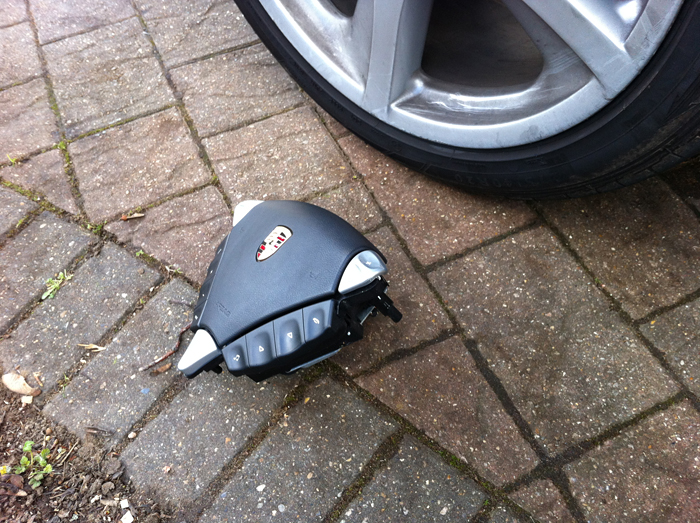
Here's what came through the post, complete with plenty of those long tox headed screws
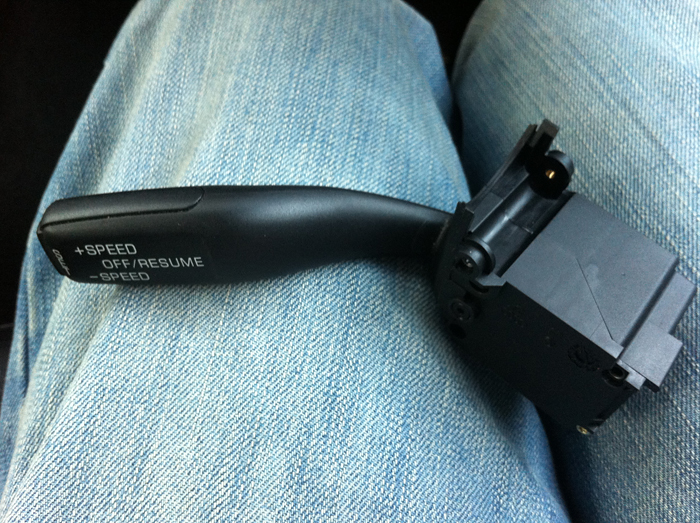
Here's what youre after.
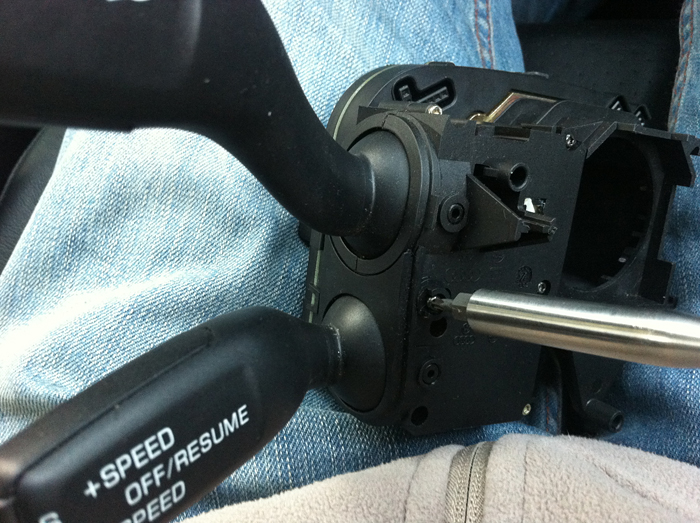
The torx screws that hold the stalks on
Here I am dsiassembling the cluster
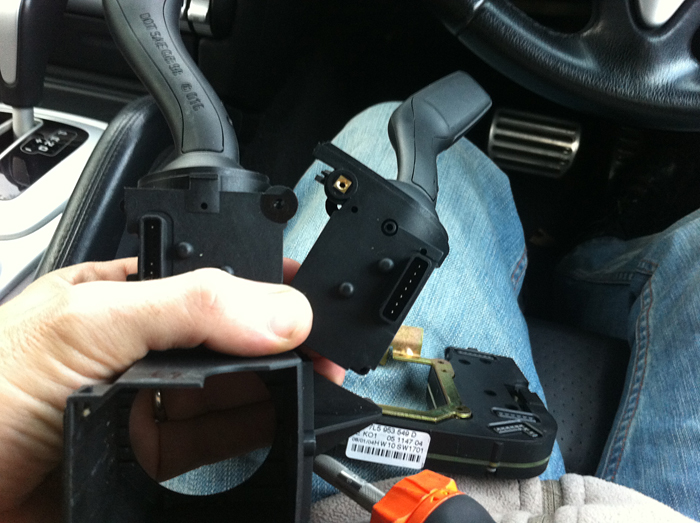
I have pulled the stalks off that backing frame and they are now free to be separated.
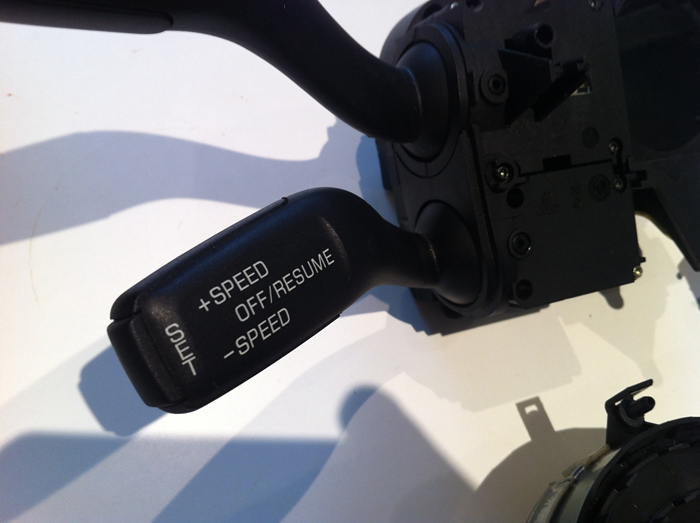
one cruise stalk ...
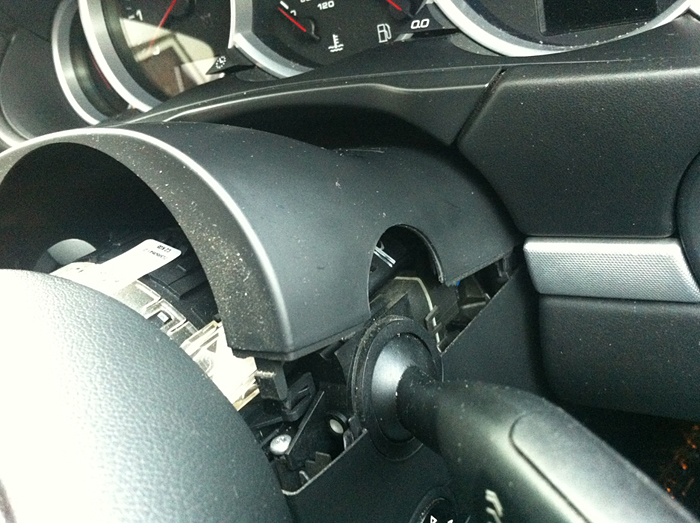
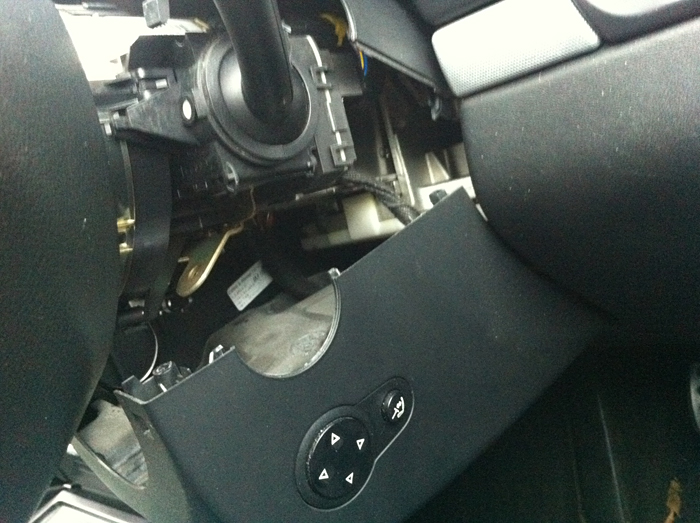
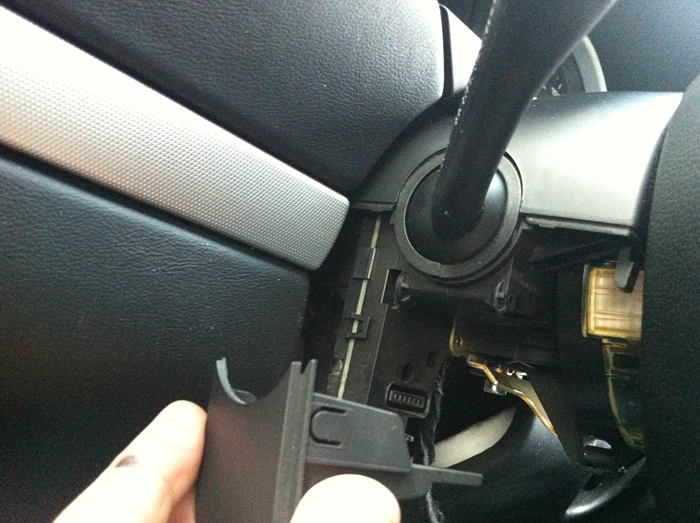
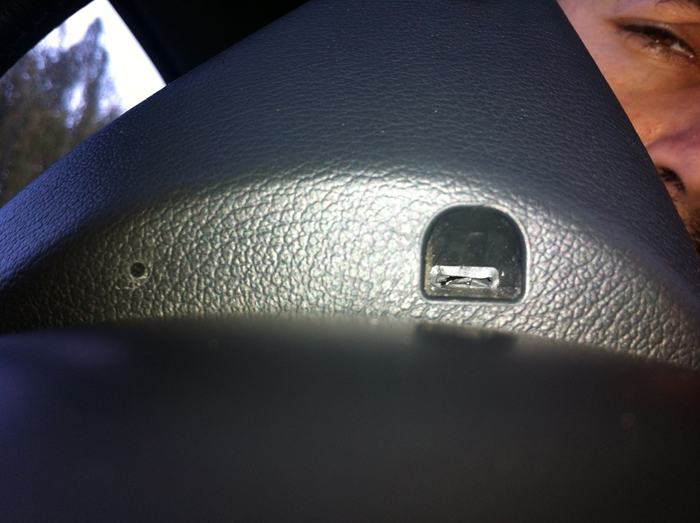
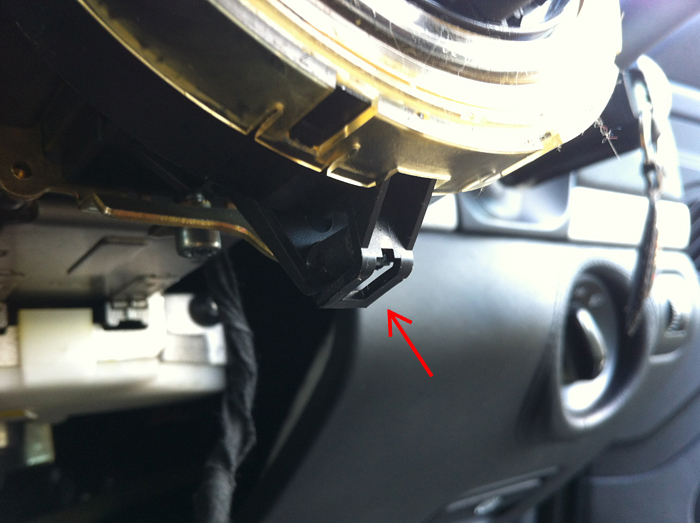
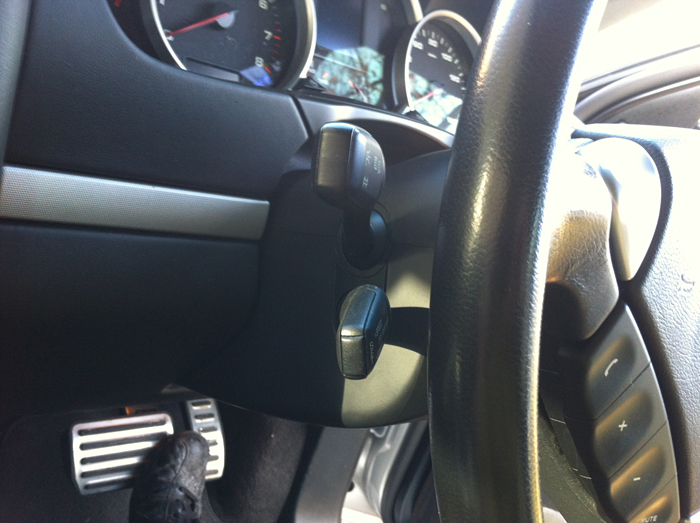
In your Cayenne, pinch the front lower edges of the top of the steering cowling (where you can see the tab in the picture) to release the locking tab. Now you can lift the top cowling piece off. Note that it is attached to apiece of material that runs deeper into the dash so I elected not to take it off completely, just angle it out of the way for the duration of the job.
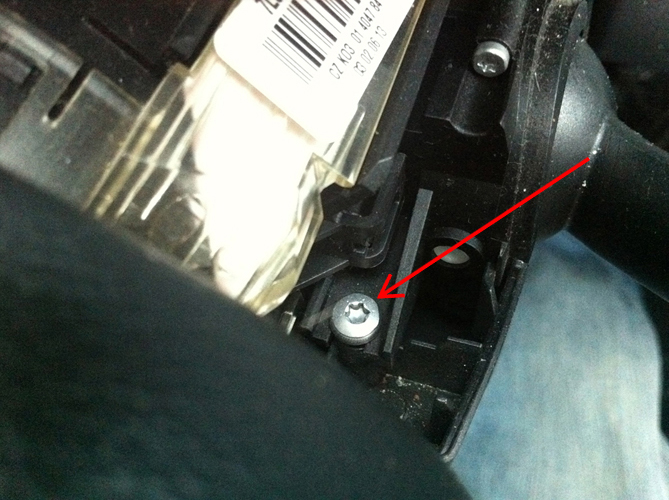
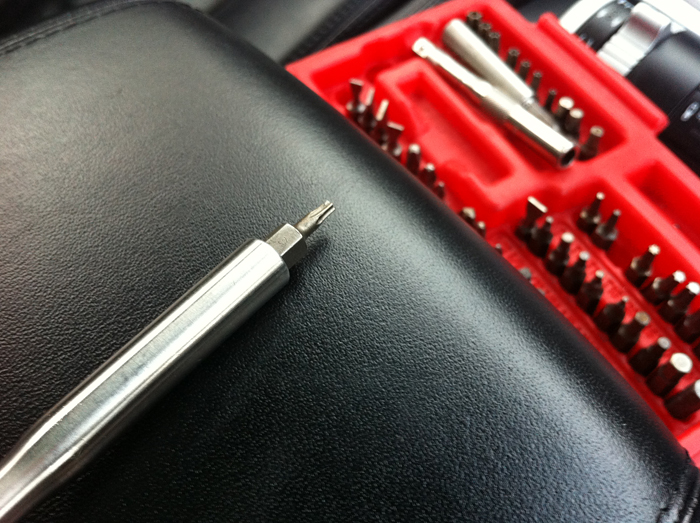
Looking down, the lower cowling is secured by two mini torx head screws, one either side.
Once these are undone you can angle it down.
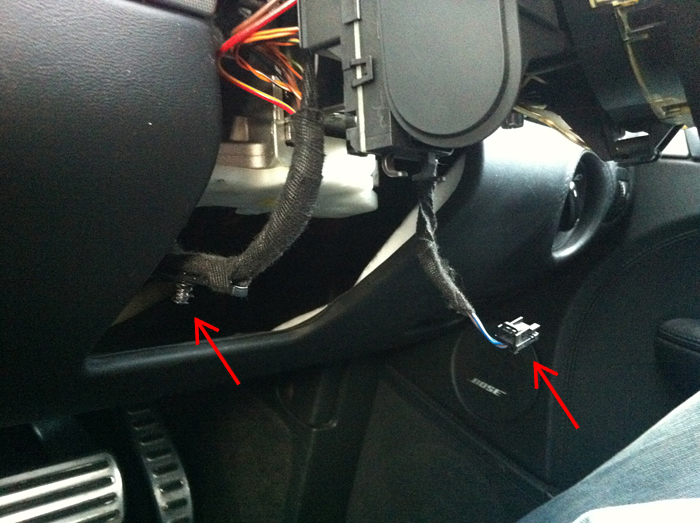
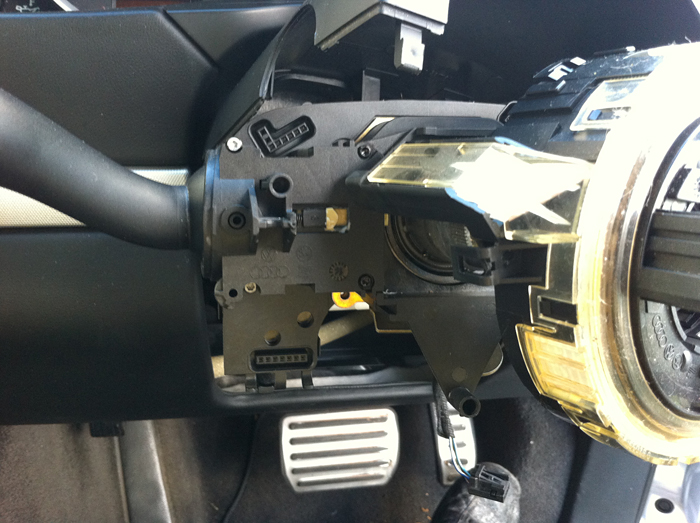
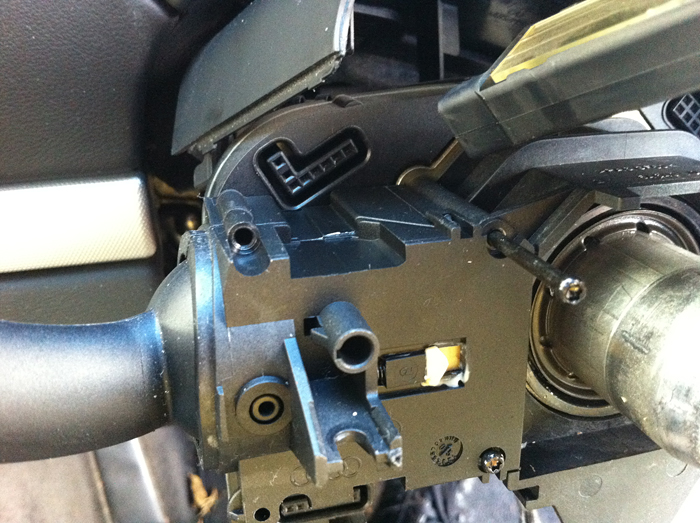
Undo the multiconnector for the steering wheel position adjustment joystick and also the loom bracket.
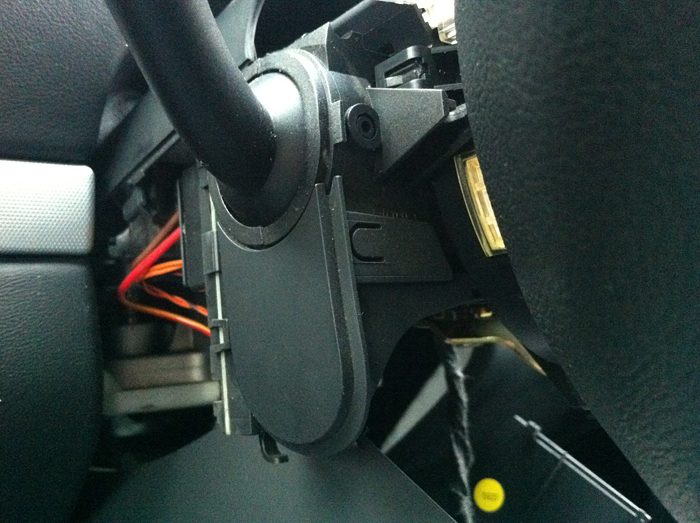
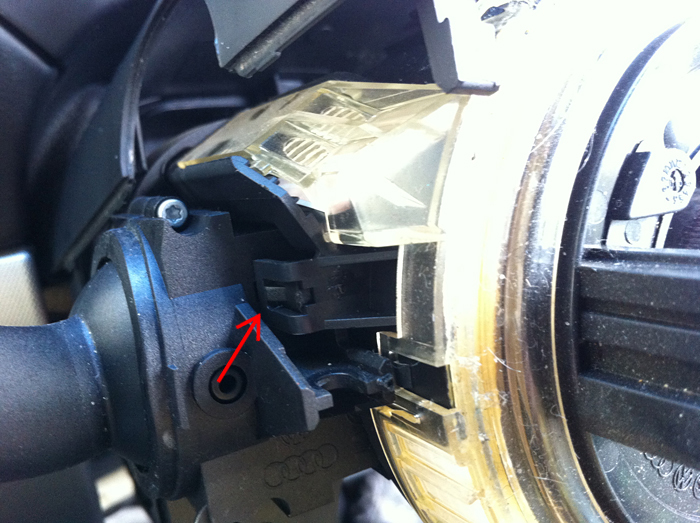
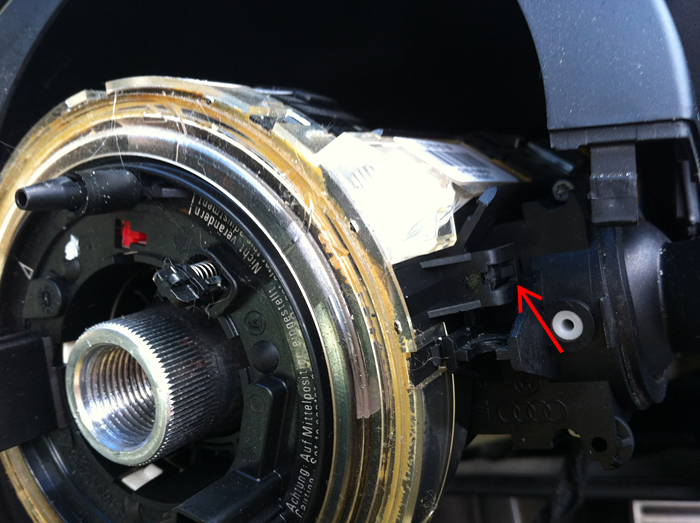
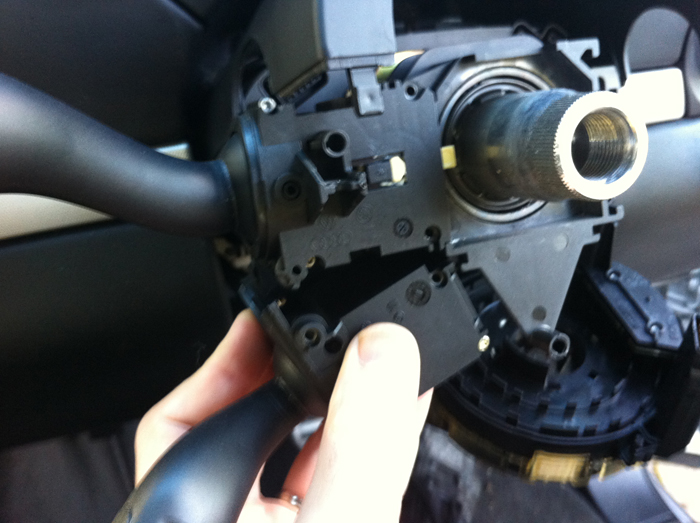
here you see the existing blanking piece that sits below the indicator stalk
I pulled this out, sort of wiggling it this way and that but to be honest you could easily breaks something this way. You are far better off waiting till later on when you have the clock spring off. Now you can't just go and slot teh stalk in.. shame that. The problem is on th back of the stalk is its protruding connecter that fits into that slot you can see in my picture. This means that its width is bigger than just the piece that fits in that space and it cannot be slanted in at an angle. You have to take off all the gubbins forward of the stalks so that it can be pressed in down against that female connection. This gubbins of course includes the actual steering wheel.
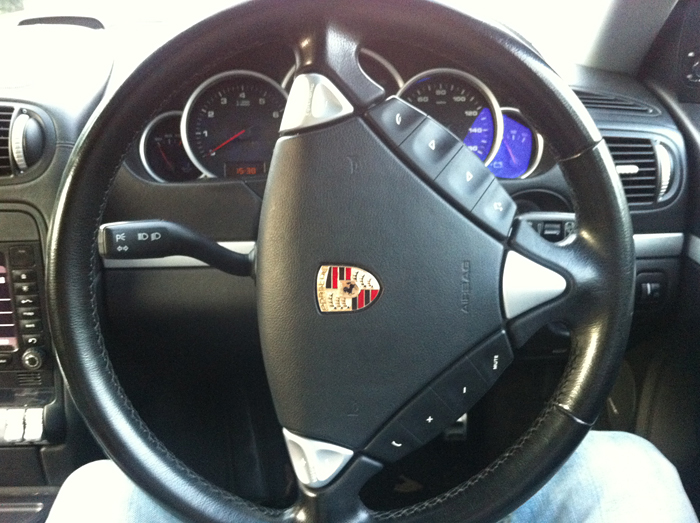
Now to get the wheel off ... turn the wheel 90 degrees and then you might want to turn the ignition off and then disconnect the battery and then leave the car for 30 minutes or so to avoid any accidental airbag explosions.
note the holes at the back of the wheel north and south .... you have to get a medium sized screwdriver in there and then pull up or rather push the screwdriver handle toward the centre of the steering wheel This will take a bit of fiddling and trial and error. You are basically releasing a piece of metal tubing which acts as a locking spring for the airbag. You can also pull on the lip of the airbag a little from the front and keep levering with that screwdriver. You can sometimes here it clock but it won't actually pop out. Keep at it and you'll eventually get the hang of it.
When it pops you can see the airbag connector.
Undo this (make sure yuove disconnected the battery and left the car for 30-60 mins).
get it out of the way.
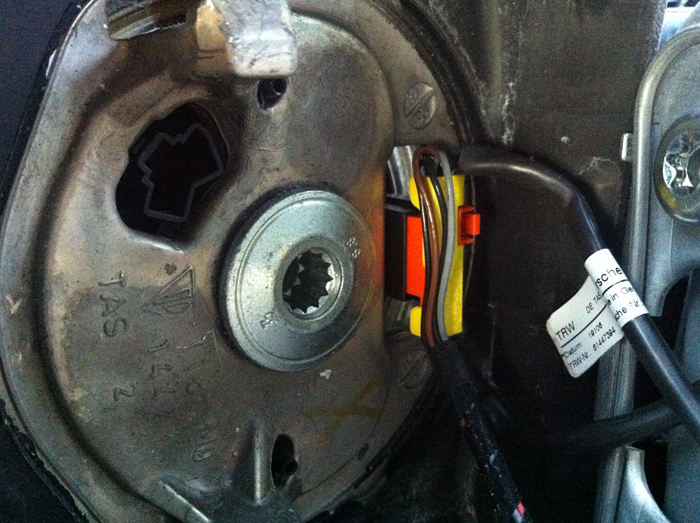
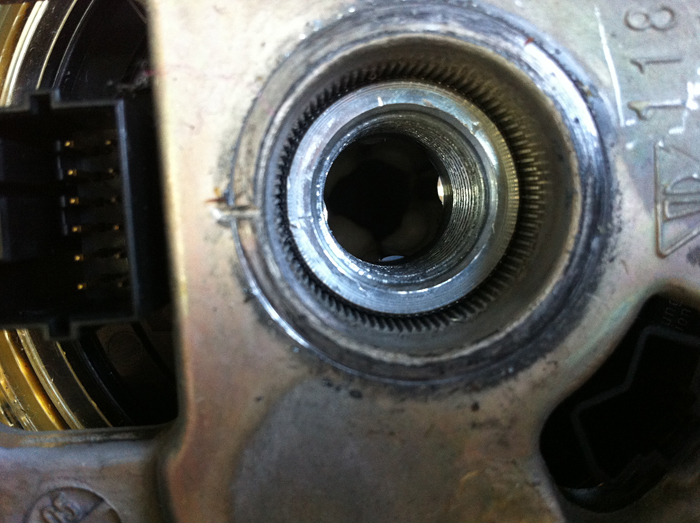
Get a 12mm triple square socket driver and undo the nut that holds the wheel on (preferably after you have marked its position with a scratch or a pen).
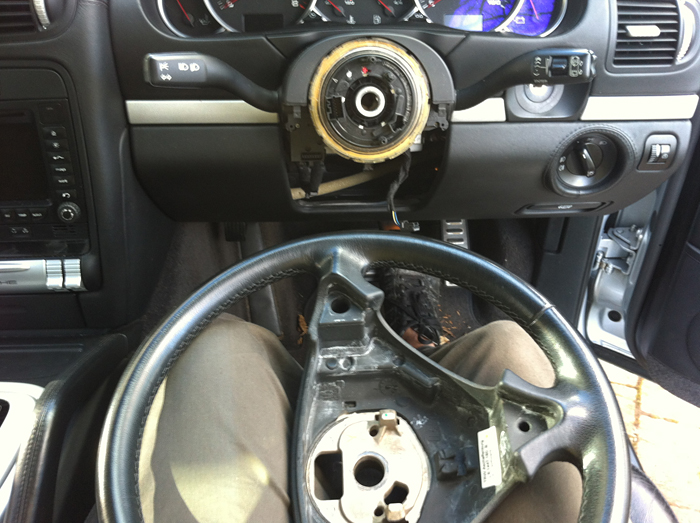
wheel off.
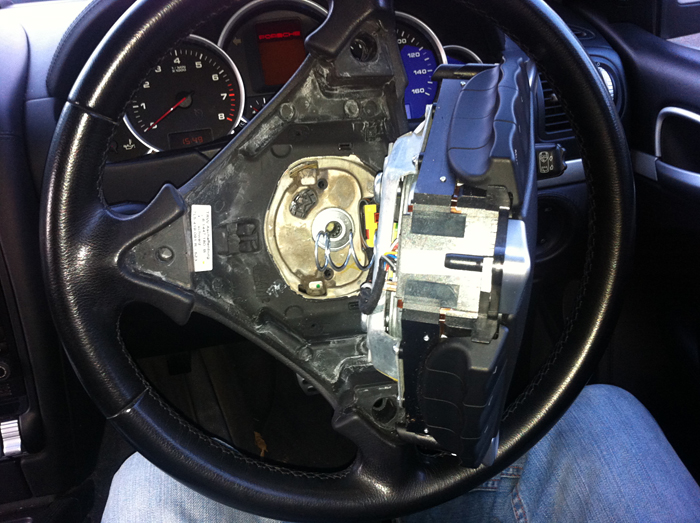
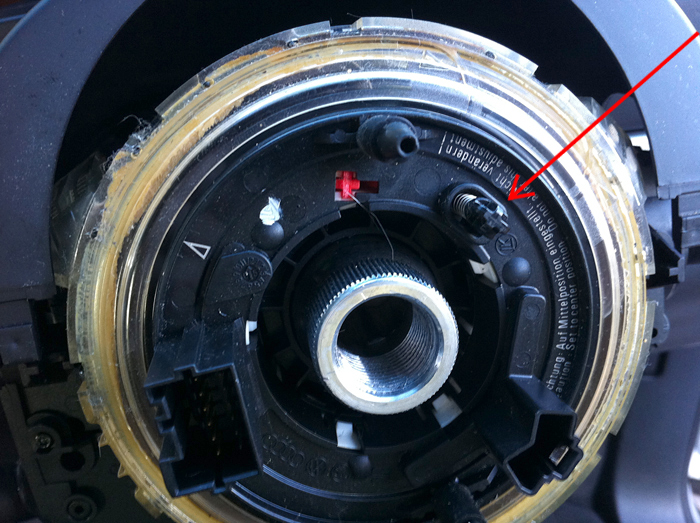
Now the clockspring/connector/steering angle sensor can come free. It has 3 tabs that just need a small tug. One below here.
One on the LHS.
And the final one on the RHS.
Pull the clockspring forward and get it out of the way. It has a connector on the RHS that you could potentially unclip to get it completely out of the way if you like.
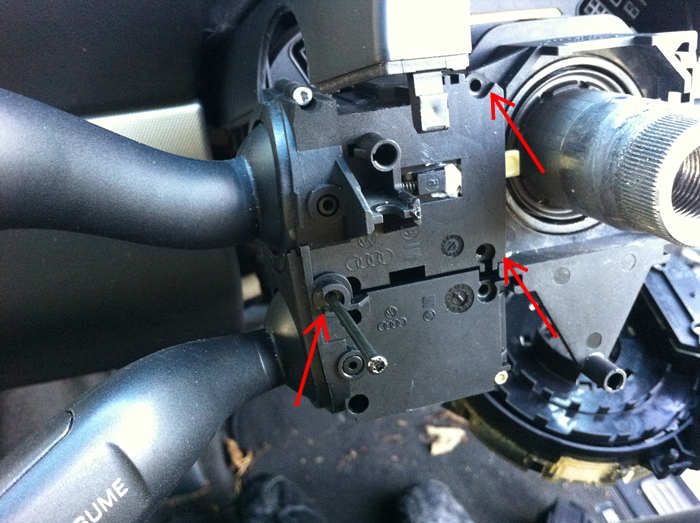
Now undo the screws to free up your indicator stalk.
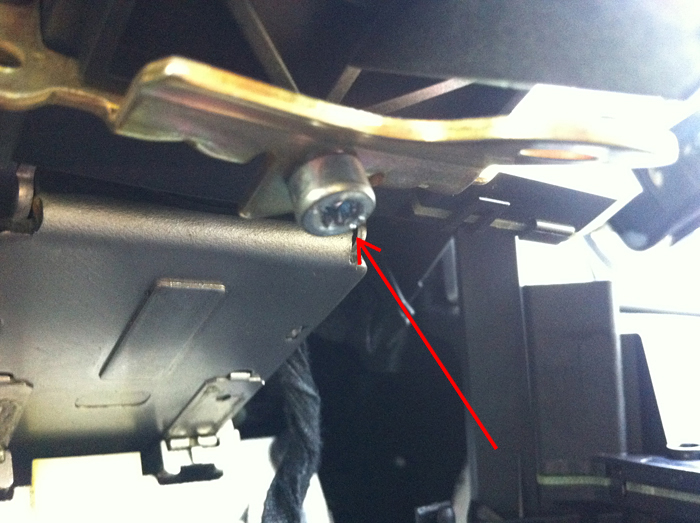
Undo this hex head screw on the underside
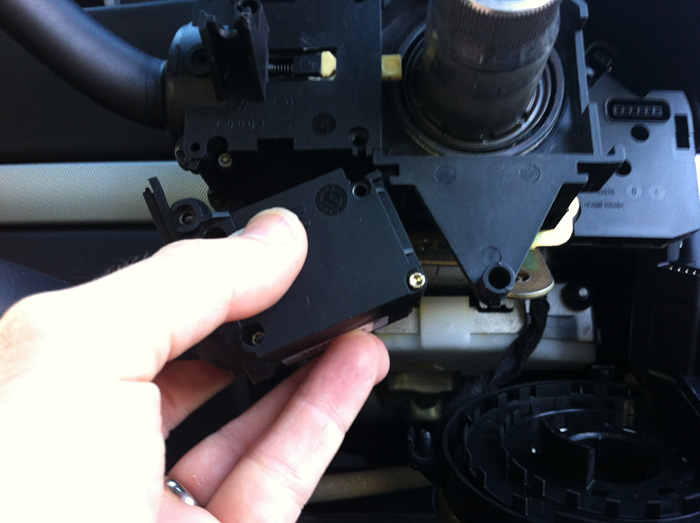
Now you can pull the cluster of stalks away from the backing piece
And then slot in your cruise ....
Insert screws and tighten it all up. And then push the assembly of clusters back onto the backing piece so that all the connectors slot in.
Now do this screw on the underside back up.
Clip the clockspring back on.
Fit the wheel using any markings you made and then tighten up the screw.
There you go.
Now there is a small piece of wiring to be completed which I will write up on soon.
After that is the final step of enabling the cruise with a durametric or the porsche system at your local friendly dealership.
|