|
Duranail
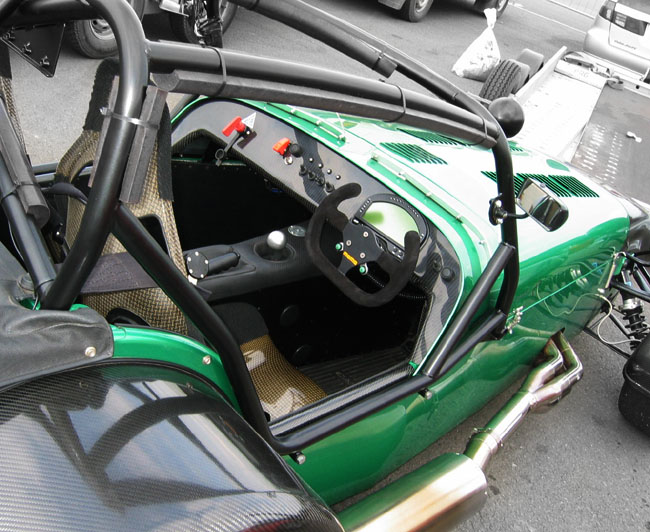
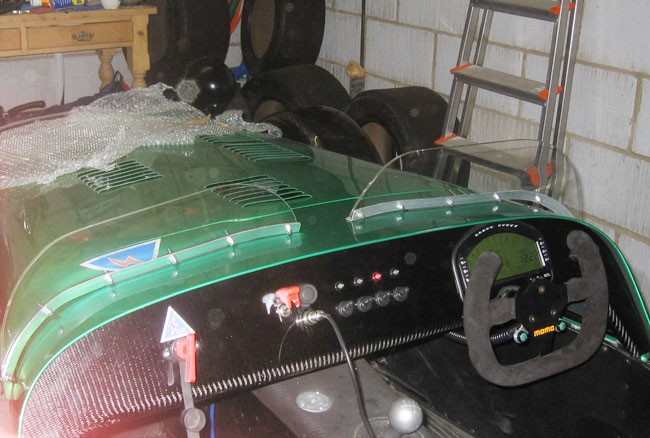
2.1 (for 2004 mods see here ) THE MYCHRON MXL and NEW DASH & SCUTTLE My thinking here was that I wanted the car to have data logging but instead of shelving out 1k+ for something half decent like a VBOX or spending even more than that upgrading my stack dash, A mychron MXL Pista at well under a thousand pounds would not only provide me with 8mb of logging of lots and lots of different channels and a potential upgrade to GPS trackmapping if I needed it, but it would also mean a change to a funky blue backlit LCD dash a La Motec ADL. I did look into the motec adl, beautiful piece of kit but to spec it to the level of functionality of the Mychron MXL Pista would mean around 4-5 thousand pounds plus !!! Besides, the MXL has 6 built in alarm LED's, a set of 'palindronic' shift lights, gear display, a rev tell-tale which lingers at your last maximum rpm, 6 configurable readings, lap time and section display etc..
Whilst the cage was off I got it re-powder coated and also had some brakets bolted on with captive nuts. The mirrors fit nicely to these and I have since drilled out a middle hole so that you can get to the hex bolt in the back of the mirror and tighten/loosen it as necessary without taking the mirror off the cage. I also had a small plate welded up for a bullet camera mount.
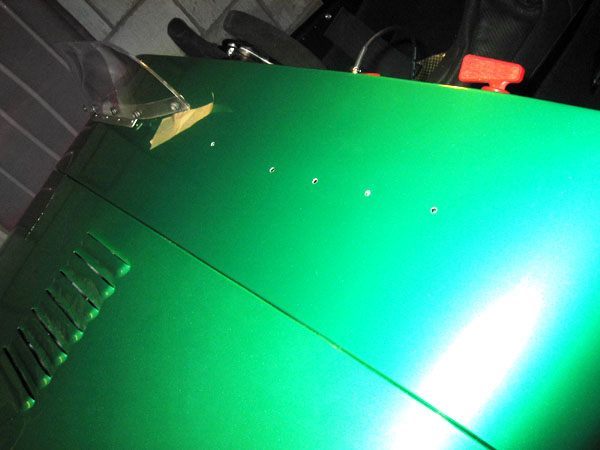
A new scuttle was in order as well. My old one had so many holes in it, from cut off swicthes to old wiper holes, rivet holes from where the old aces shift light unit had been and also various tonneau poppers as well. Dave Townley did me a great paint match.
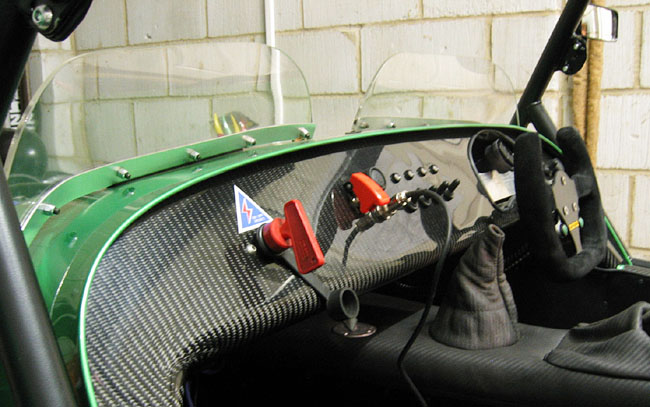
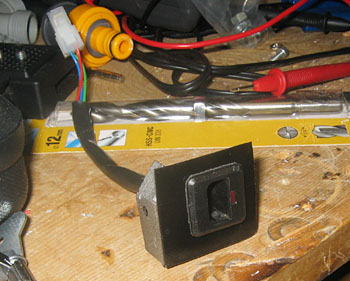
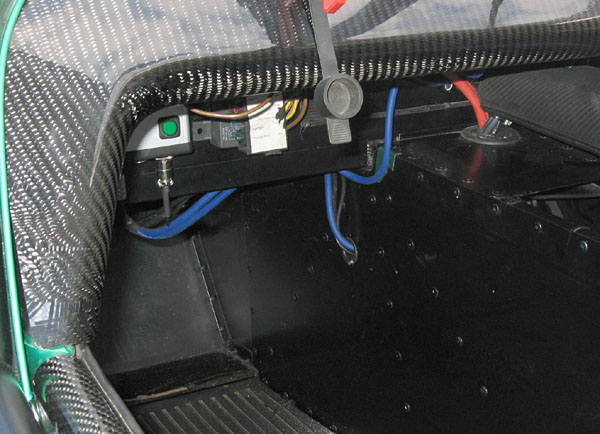
The dash I decided to keep pretty minimal with cut off, power switch, starter, headlight switch, JBOX power, fog light, dipped beam, horn and flasher. Also theres a neat locking multipin female socket just below the starter into which plugs the USB lead to control the MXL from a PC and download logged data. For the lights I used some 12v chassis mount LED units with black anodised bezels from RS Components... neat and also nice and bright ! For toggles I used basic toggles from vehicle wiring products with waterproof boots. It wasn't my intention to have a wheel with a cut top but without going stupidly big on the diameter, it was the best way to make the MXL visible, especially the shift lights which reside at the top rim of the unit. I intend to go a stage further with this wheel at some point . I would like to have a carbon fibre assembly with 4 buttons in total; 2 for the existing indicators, one for the Lance remote to switch the camera record on and off and a final button to change the display of the MXL and cycle through the channels.
This wiring looks real messy but thats partially the light and the photo. Compared to how it was this is very neat and intelligible ! Still, there's simply so much unwanted stuff in my loom now and i'll be very very tempted to make a new loom from scratch next winter. Make no mistake, this was a VERY long job and it took about 5 times the amount of time that I was expecting. It was not just a simple case of cage off, cut new dash, glue on new dash, plug in and put cage back on. It took many days to get all the wiring sorted,cut out sections of loom, seal off an inteminable number of unwated wires, install the barebones senders, cut the dash properly and angle grind the chassis to make it and the MXL fit. I also took the opportunity to tidy up some of the wiring in the engine bay and the many wires that go into the ECU and multi relay box.
Wiring in the MXL wasn't all fun. The VDO's still read -5 at zero and I had problems getting a thermocouple working. We also had to change the speedo sensor to a magnetic one. However, it was easy to get it talking to the mbe ECU,
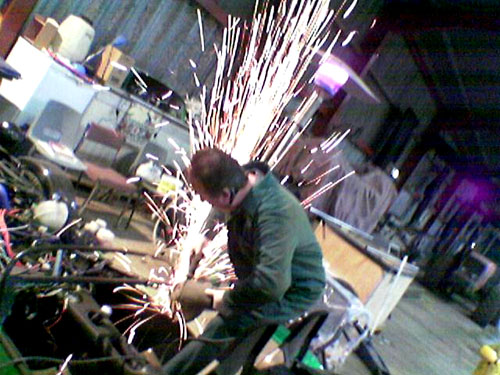
Fitting the race aeroscreens needed lots of care and concentration but it was fun. Fitting the cage wasn't too bad until I realised that leaving the mounts in the boot till last was completely the wrong thing to do (they are still not bolted on properly and I have yet to undo the whole cage and then bolt everything up in the correct order). Wherever possible I softmounted everything with some foam cushioning. You can never be too careful.
NEW AV WIRING AND SOUND
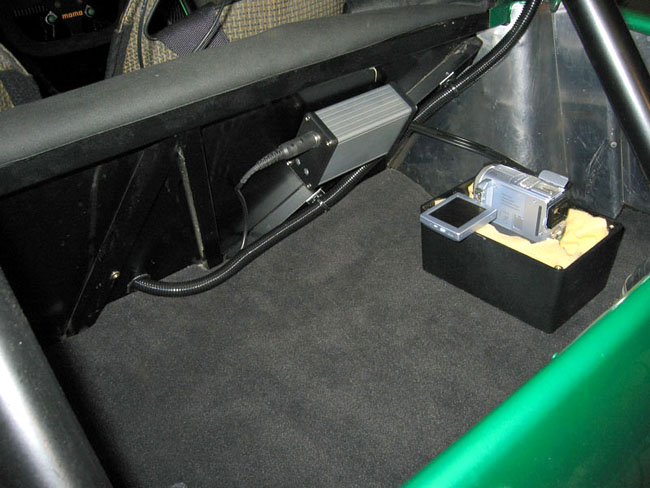
Winter 2004. Time to wire the JBOX in properly and sort out the sound and the dreaded camera shake. My little tripod mount on the top of the transmission tunnel had successfully managed to shake the camera during 2004 to a point where I always got pixelated drop out and intermittent sound when recording. The solution .... soft mount the DV camera in the boot.
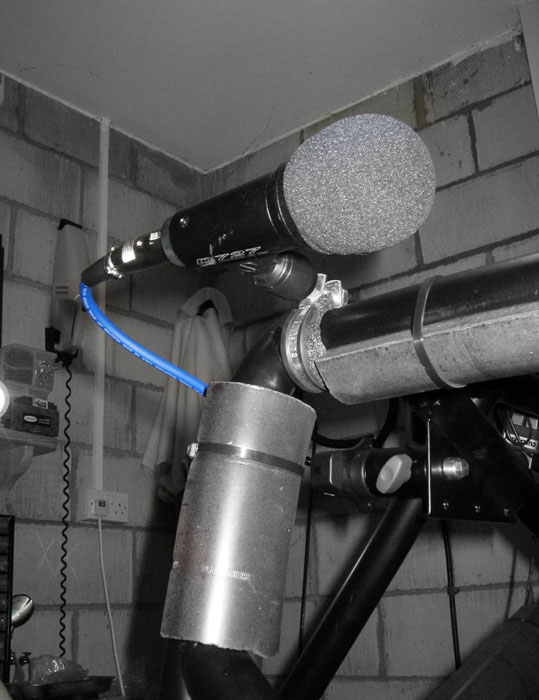
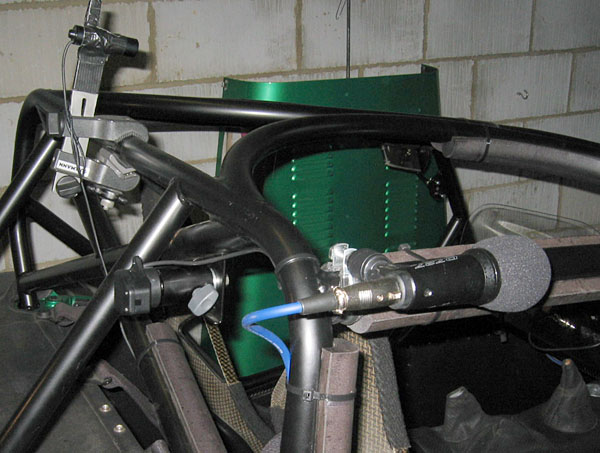
Also, the cheap, nasty sounding maplin microphone that I was using before had to go. The solution .... x2 omnidirectional professional percussion microhpones with XLR connectors (used to record bass drums etc.. so good with loud noise), plugged into my all-in-one sound preamp plus bullet cam switcher 'JBOX' still residing under the dash. I also extended the main output lead from the JBOX to the camera which contains the output audio and video from the bullet cams. This lead and the main rear microphone and the main bullet camera lead and also the lead for the pitwall beacon reciever are all bundled and run inside the transmission tunnel then emerge out into the boot. in the photo above you can see that I keep all those wires neat in some plastic tubing and another ali box contains the excess length of the AV lead that connects into the DV camera. The foam padded box is bolted directly to the boot floor and I chose to have something open so that access to the camera wasn't restricted. There's no way the camera can move though, its already been tested up over 1.3G at Rockingham... lets just hope that the camera survives and doesn't need a rebuild again. Its pretty padded in there so should be ok. All that remains is to have a Lanc button on teh steering wheel so I can turn on the recodring from my seat and also a dummy sony battery that takes power from the JBOX so I can forget the need for charged up sony batteries.
I have yet to find the optimum location for the micrphones. The idea is to use windjammers and have one soft mounted mounted on the rollcage as pictured and another inside the engine bay.
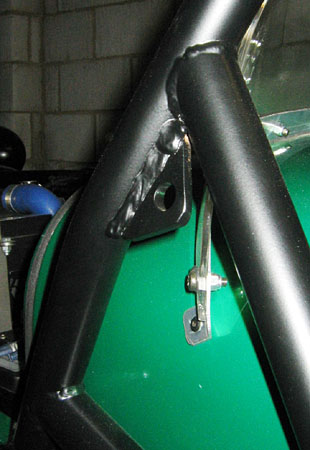
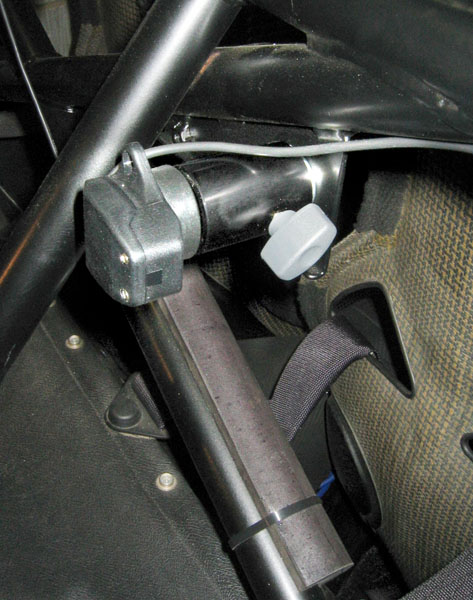
Here you can see the infra red reciever which is bolted to a culman ball and socket joint which is in turn bolted to the flat plate of the rollcage behind the drivers head. In this way it can very eaily be swivelled 180 degrees and pointed to one side of the circuit or the other,
This is no longer a car. Its a home discover-electronics kit for kids and all the family.
|