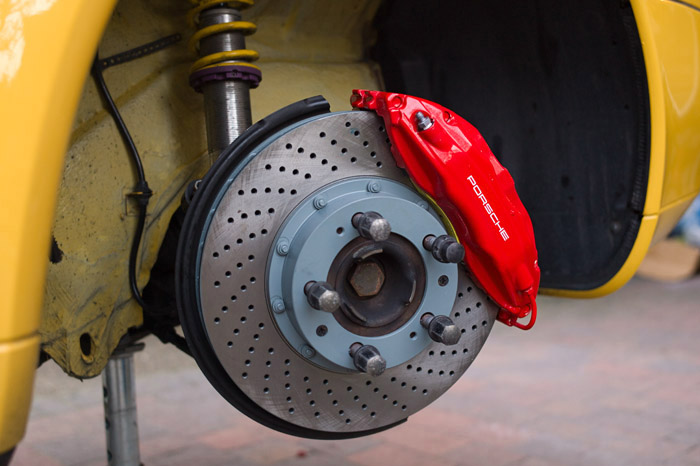
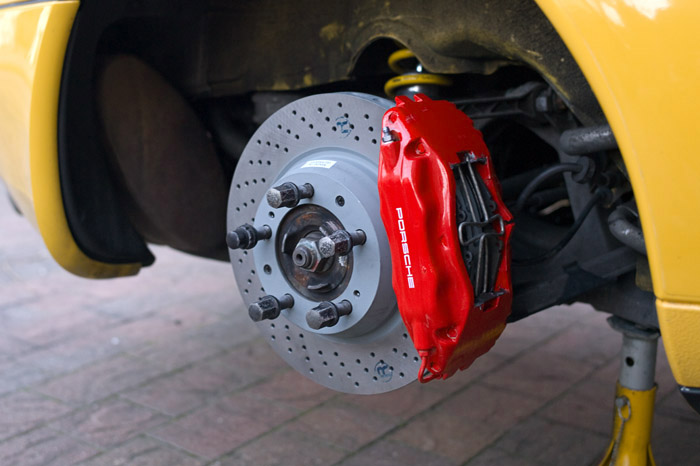
RS brakes
Brakes, Discs, Pads and calipers are all very easy things to DIY.
First a few facts, myths and legends: 1. No you don't need RS brakes. I am doing this mainly for looks and mainly to make the car more RS like. The standard 993 brakes are more than up to the task and if used on track with decent fluid and pads then again they are well up to the job there too. RS brakes probably won't make you stop quicker but that said, for the most serious circuit drivers there is no doubt that they will stay cooler for longer. 2. The RS front caliper is the same as the 993 Turbo front caliper, commonly known as 'Big Red'. The same part number. 3. The RS rear caliper is unique and different to the Turbo rear caliper and different to the standard 993 rear caliper. 3. Putting just big reds onto the front of a narrow body 993 is NOT an upgrade. The car will be very heavily front biased in the braking department. The AWD system of the Turbo car adds a lot of rearward bias to the braking, so much so that the pistons on the Turbo rear calipers ARE SMALLER Than the standard 993 calipers, giving LESS overall braking power at the rear. Conversely, the RS rear calipers have larger pistons than the std. calipers (30 + 36mm) and as such, keep the braking better balanced front to rear on a narrow body car. If you go from a 993 front caliper to a bigger turbo/RS front caliper then it makes sense that you will want to increase the braking at the rear proportionally too. It's not quite as simple as that though because the RS actually uses dual master cylinders, a PV valve and hydraulic assistance with the ABD system so RS braking is a whole lot more complicated. Suffice to say that if you want to upgrade your narrow body 993 to 'BIG REDS', don't just stick some 993tt calipers on the front, the best way to do it is to run full RS calipers front and rear and then dial in a smidgen of front bias back into the system by using a stronger pad in the front. 4. Rear RS discs are the SAME as rear Turbo discs. Same part number. 5. Front RS discs are basically Front Turbo but one piece instead of 2 piece. Most people use Turbo discs because the true RS fronts are outrageously expensive and pointless and the only people who will notice that your froint discs are actually trubo and not RS are the sorts of people who never leave their bedrooms so you'll never encounter them in any case ! 6. Front standard 993 pads are the same size as rear RS pads which is good for me as I can reuse what i already have. Front RS pads are obviously the same as front 993 turbo pads.
TOOLS & PARTS REQUIRED A good socket set and spanners.
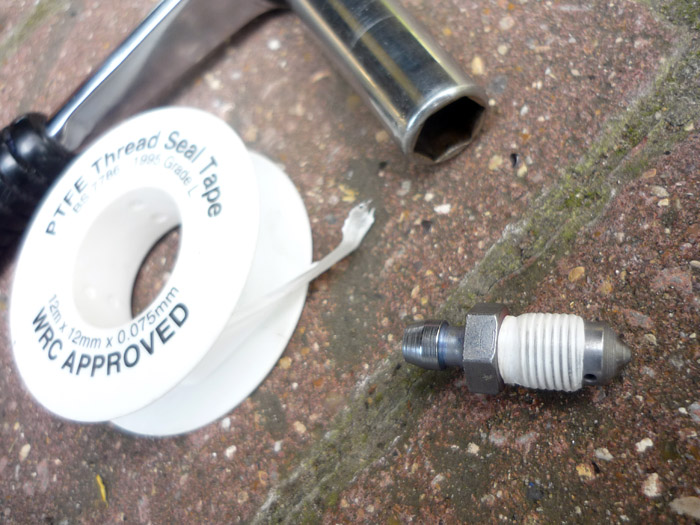
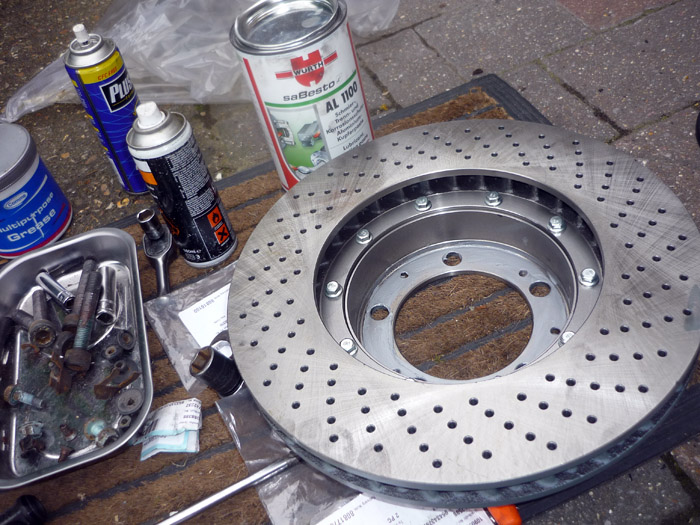
Preparing the Calipers As lovely as the 90's porsche/brembo calipers are, in my opinion they have a few issues that need to be addressed. All the 1990's aluminium bodied calipers suffer from 'plate lift' where water ingress between those plates and the caliper body (esp. with salt water during winter) can lead to bimetallic corrosion which eventually becomes severe enough to push the caliper upward, trapping the pad so its stuck. Braking performance dminishes and if left untreated the caliper can start to rot away. You can read about this more in my 968 section. When this occurs you have to refurbish the caliper by removing the caliper plates, removing any corrosion and fitting new plates. The little torx headed scres that hold the plates can be notouriously difficult to remove. I like to futureproof a little by removing the threadlock which posrche puts on these screws form new. Porsche see this as a wise move as the expansion of the screw is different to the expansion of the caliper body during heat build up. My opinion is that the plates are not going anywhere with pads jammed in between them and I would rather lose a screw one day than have them all stuck solid in a few years time when they need refurbishing. The back of the caliper plates are painted. This helps prevent any corrosion but of course that doesn't last. I like to add in a layer of high temperature sealant to further prevent water ingress and corrosoin build up. Finally, the 1990's brembos have a lovely habit of bleeding from the nipple threads rather than the nipples ! I wind some PTFE tape round all the nipples before I go anywhere near any brake fluid. Ignore this at your peril... you do not want gallons of fluid pouring over your lovely shiny new calipers and destroying their beautiful red finish.
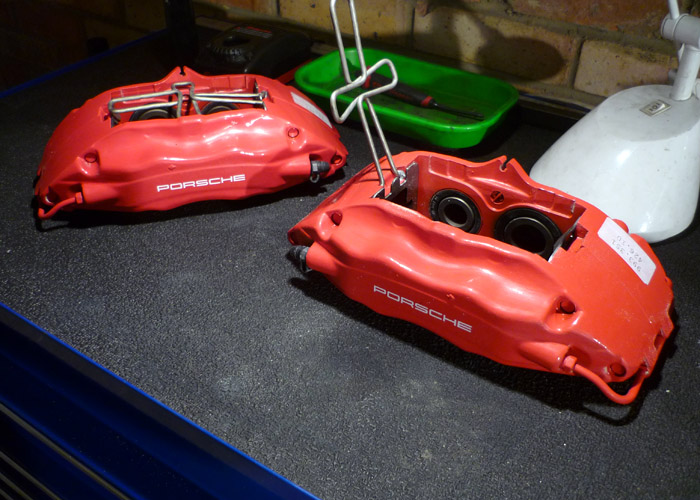
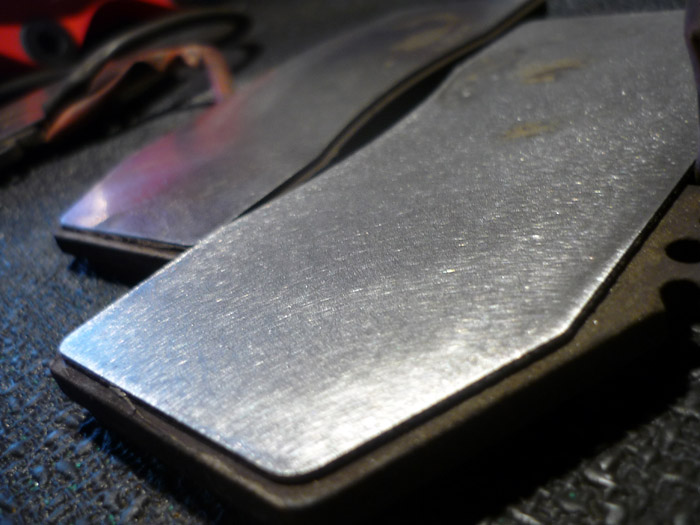
Front RS or 993tt calipers.
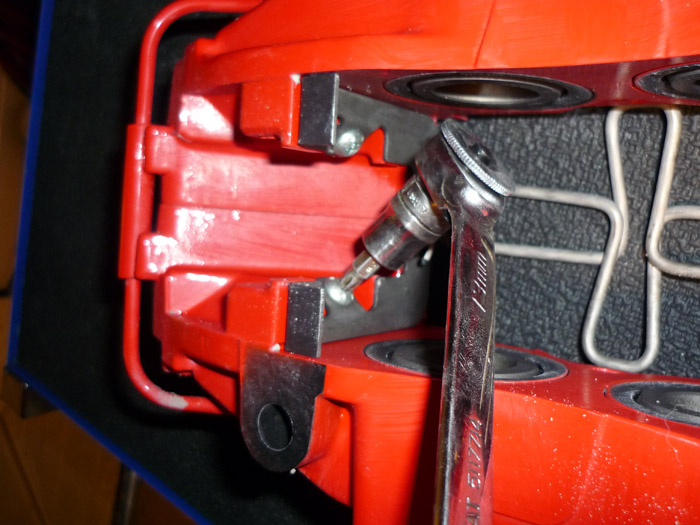
Removing those pesky star heads.
All 4 plates & screws removed.
Removing the threadlocker.
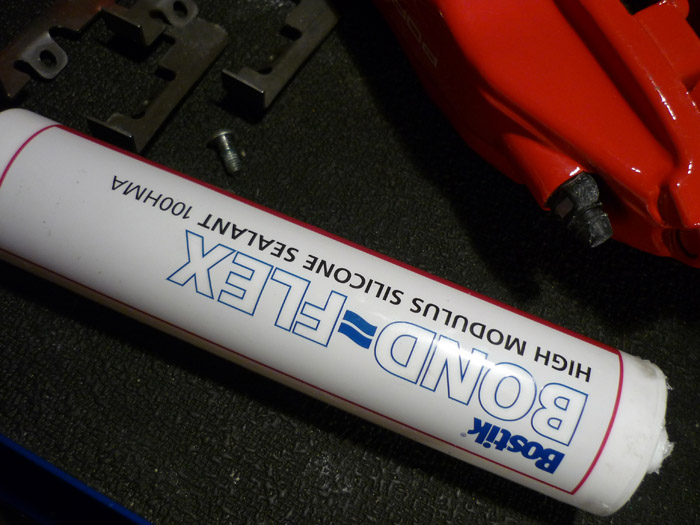
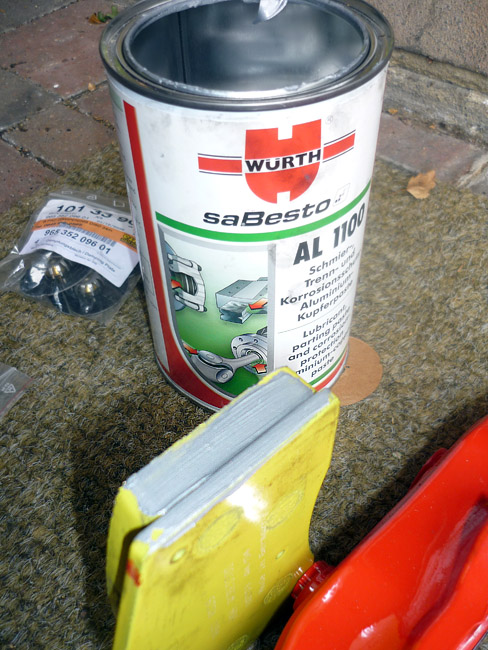
My high temp sealant.
Pasting it onto the surfaces that will mate with the caliper plates.
Plates back on. I also gave my calipers 2 coats of the very durable FK1000p detailing wax/sealant. This will protect them better from water, dirt and brake dust and make them easier to clean.
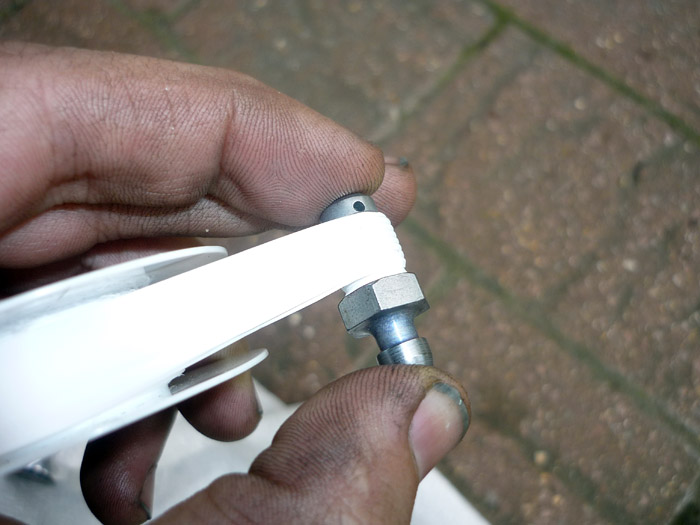
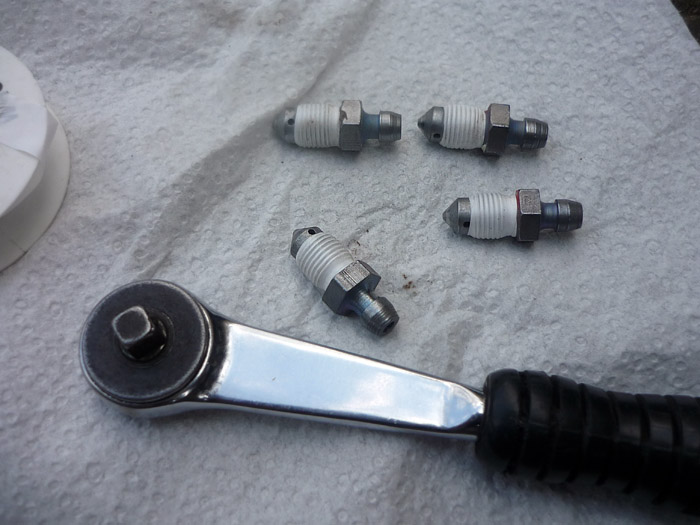
Roll the nipples ... Ooo errr
A couple of revolutions of tape will do.
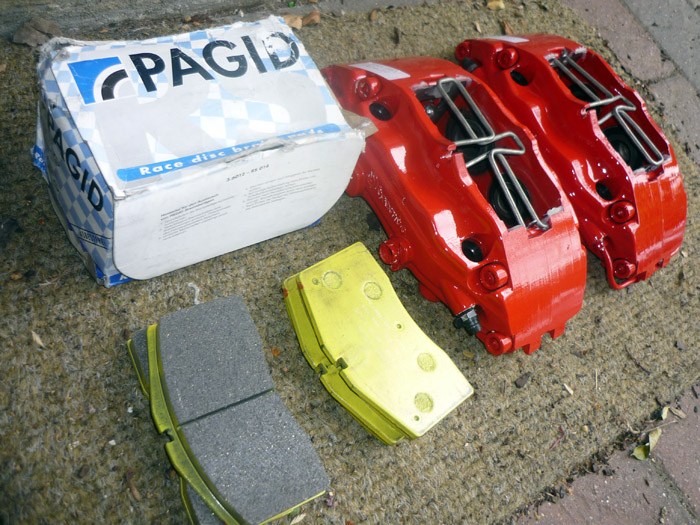
I went for Pagid yellows RS29 in the front. Brake pads don't come much better than this. I wanted more power to the front as well to shift the bias to the front a little. At over £280 a set for one axle, they are crazy money though but then they do last a long long time and are very kind to your disks as well. I am expecting some squealing around town but i'll hopefully live with it.
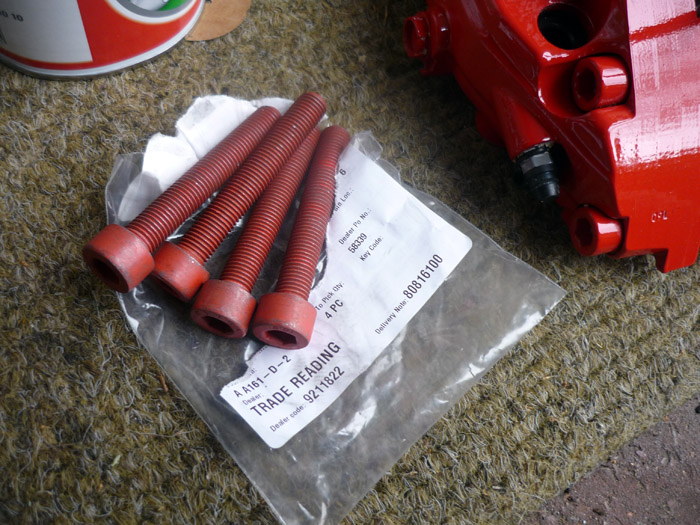
The RS front calipers require slightly longer caliper bolts. You should always get new ones in any case.
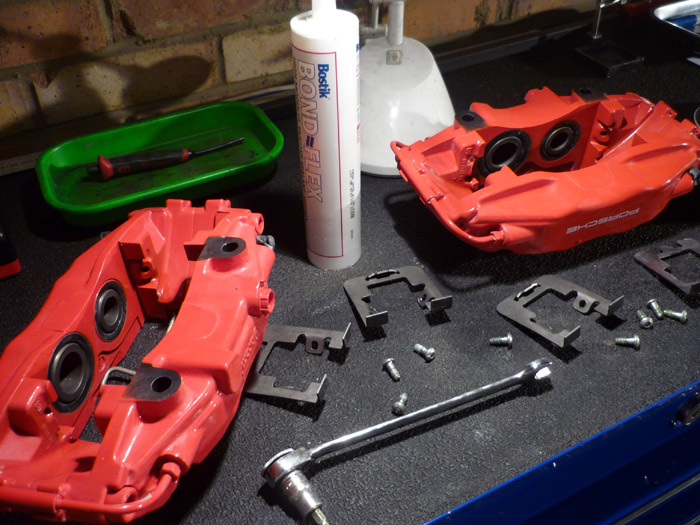
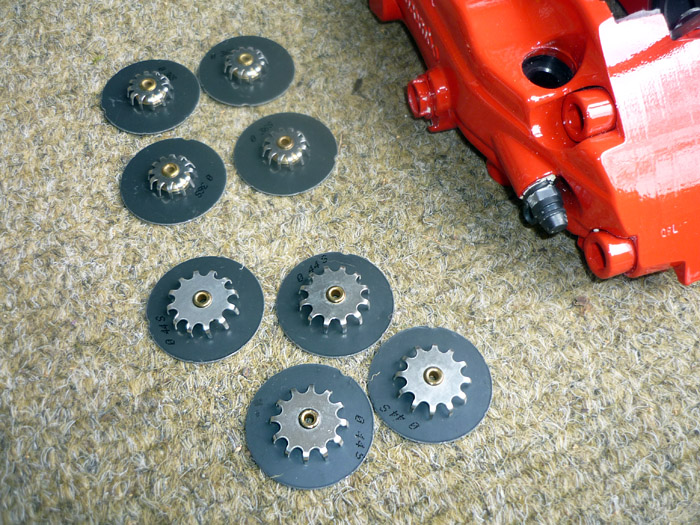
4 x 44mm and x 36mm ant vibration pads. The cost of 16 of these for all 4 calipers really mounts up. They are far too expensive for what they are. The RS rear caliper uses 2x 30mm and 2x 36mm.
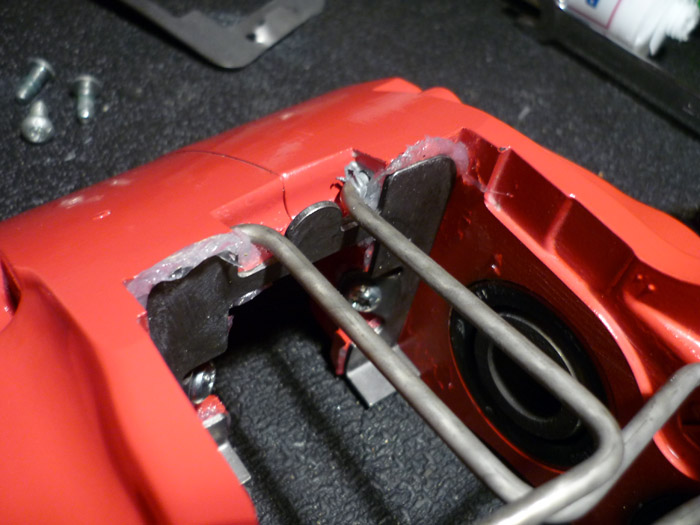
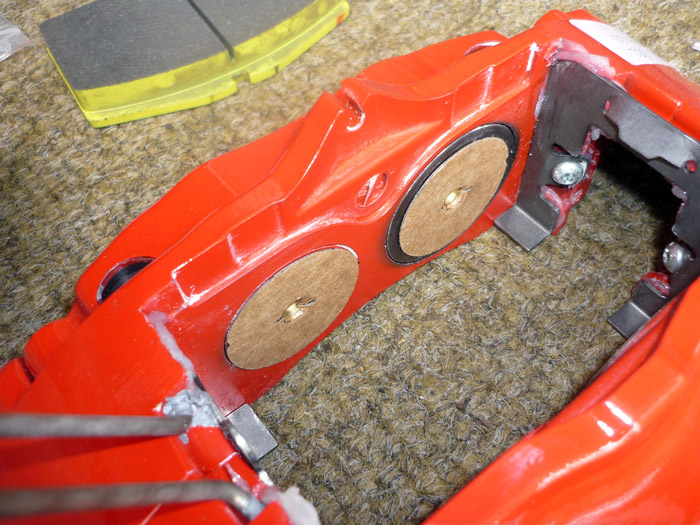
Slot the anti vibration pads in and then remove their paper backing.
Rub some coppergrease or optimoly onto the pad edges. Some pads may also need to be filed a little top and bottom so they fit into the caliper.
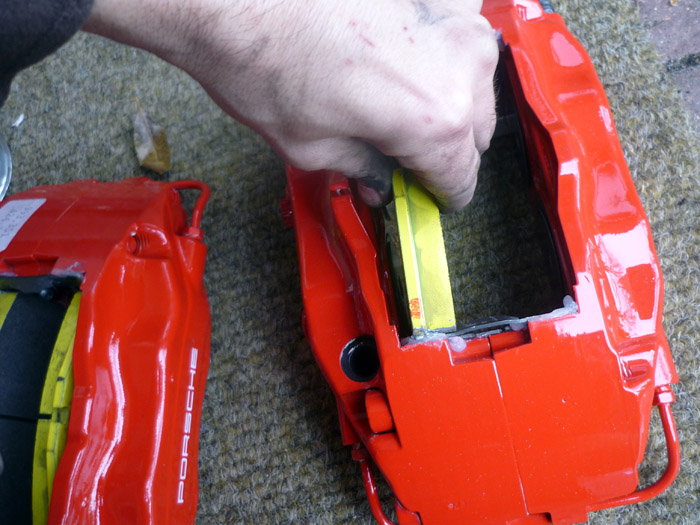
Slide them in all the way down till they hit the lip of the plates and the slide across against the sticky anti vibration dampers.
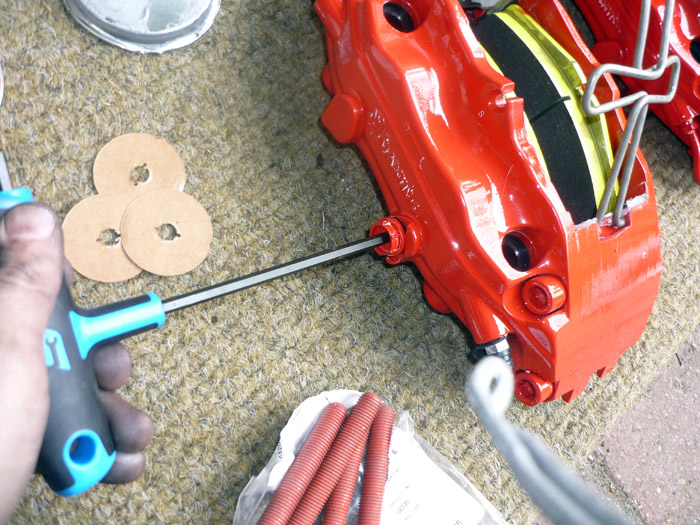
Don't foget to undo the inlet blanking screw.
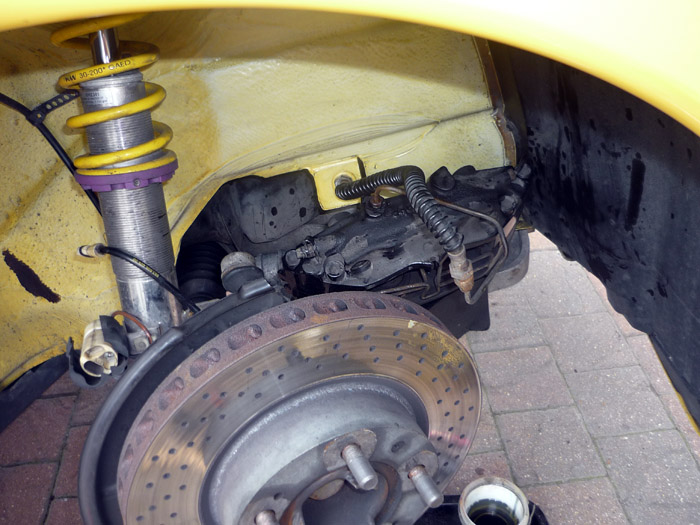
Fitting the front Brakes
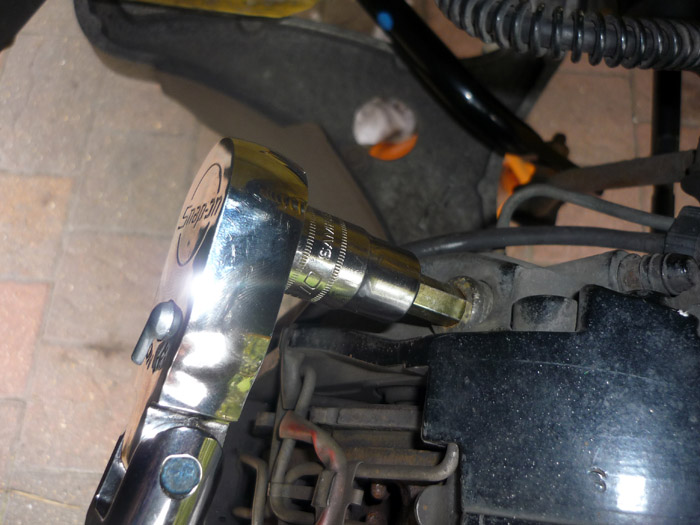
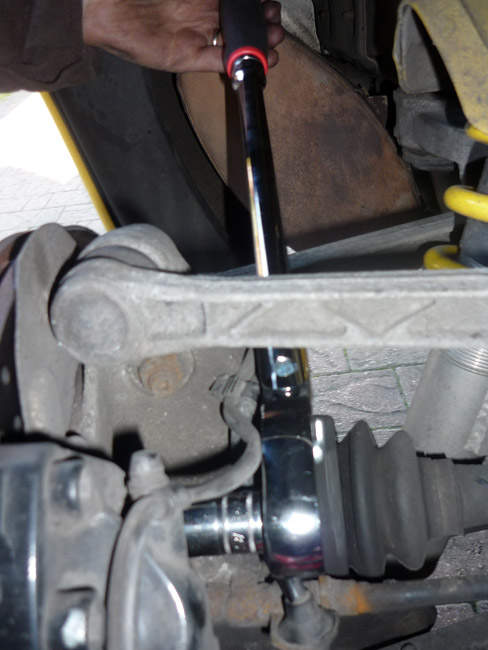
Undo the 2 main caliper bolts with a long ratchet or breaker. You will need your 10mm hex driver.
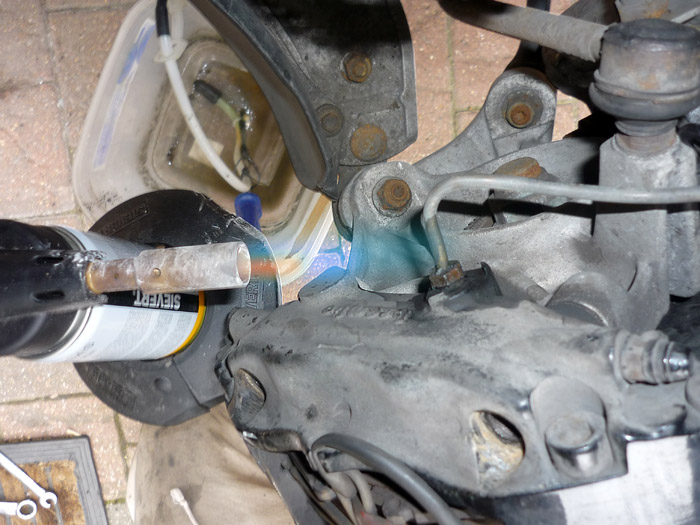
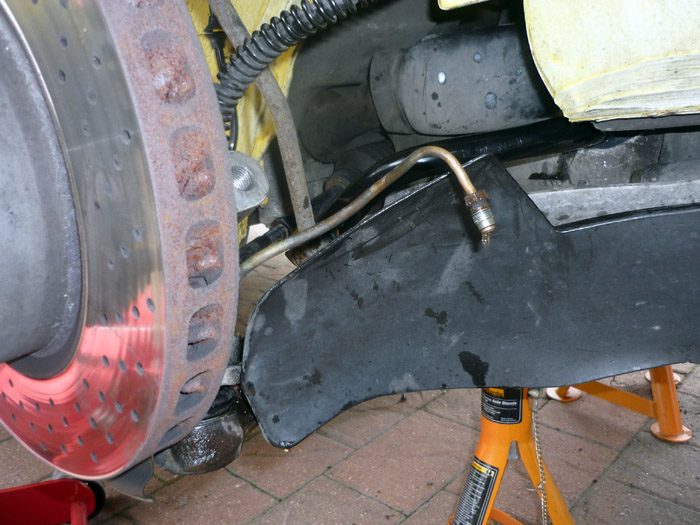
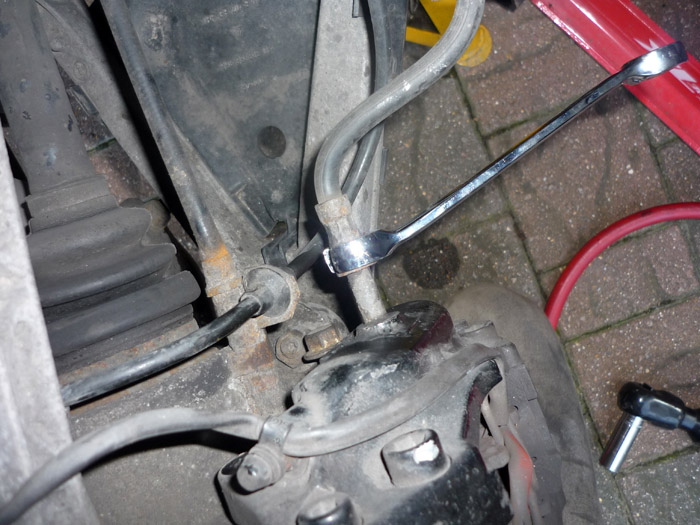
Soak in penetrating fluid and/or heat your brake pipe connection.
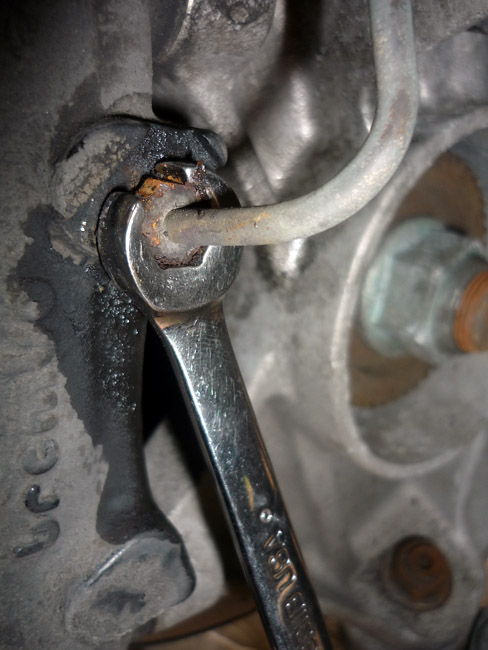
Crack it open with a decent flare nut spanner. It may help to nip it up slightly first and then anti clockwise. Don't undo it at this stage, just crack it so its free. You don't want any leaking just at this time. Corrosion or muck on the flats will actually help you get a good tight grip with the spanner.
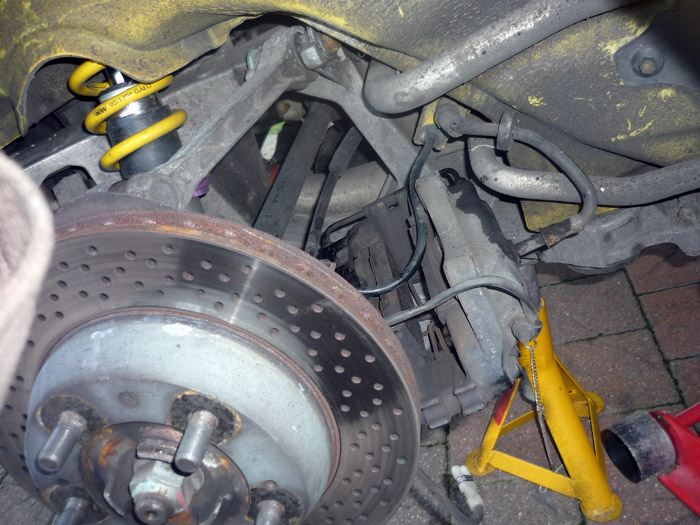
Disconnet your brake pad wear plug from the multiconnector thats mounted to the strut and then pull the caliper off the disc and guiding the brake line out of the bracket on the damper body, either rest the caliper on a shoebox or something similar or rest it behind on the wishbone. The caliper may need a slight tap with a mallett to free it.
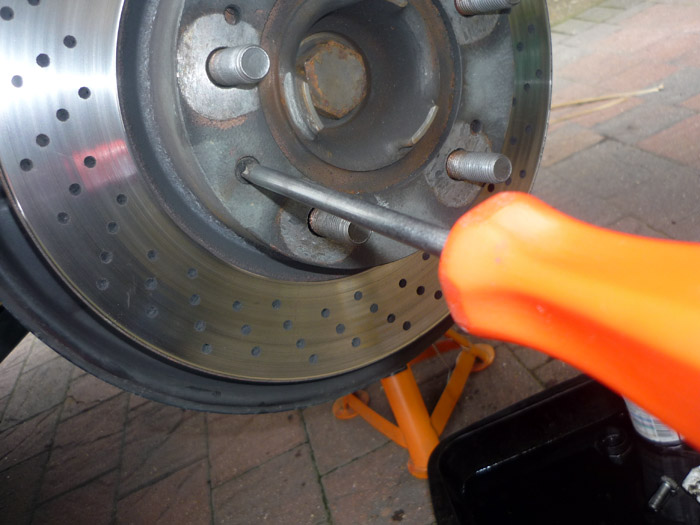
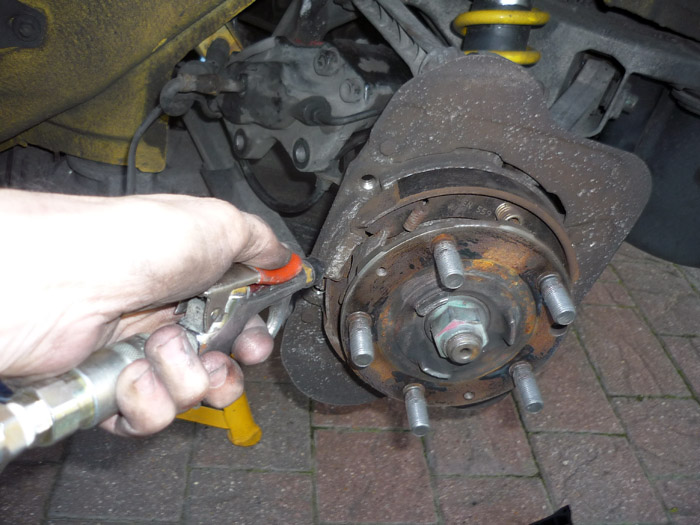
Undo the 2 disc screws.
Pull of the disc. Again, it may need several taps from behind with a mallet.
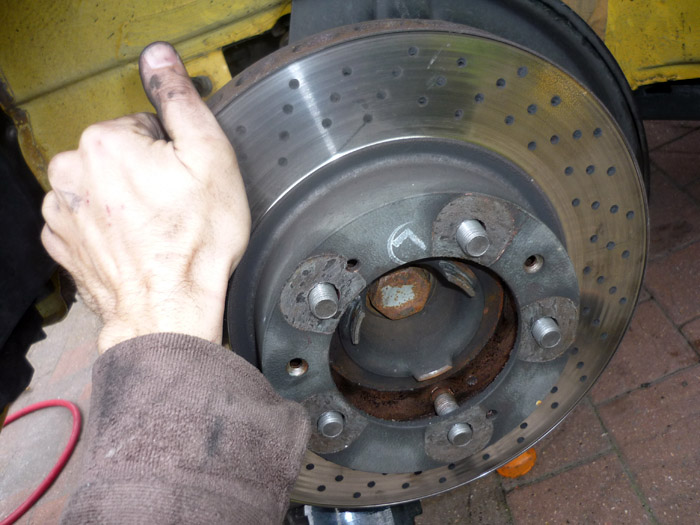
Coat the inside of the new disc with some copper grease or optymoly.
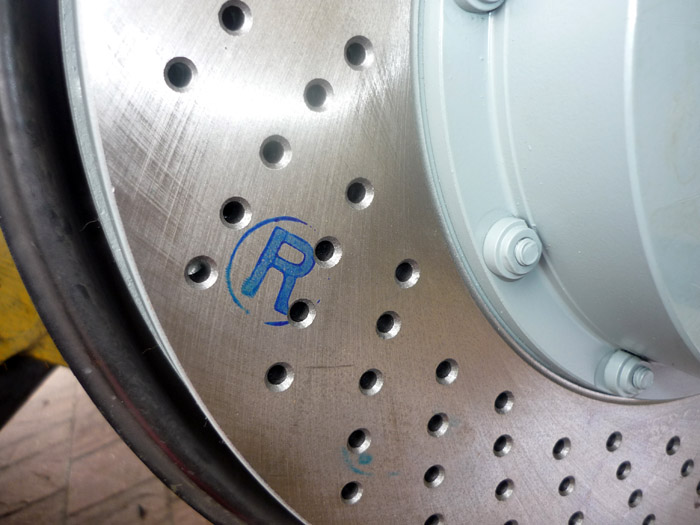
Porsche are kind enough to tell you which side is which but remember that the penultimate 3 digits o the part number will tell you as well ... odd will be nearside, even will be offside. e.g. '045 10' and '046 10'
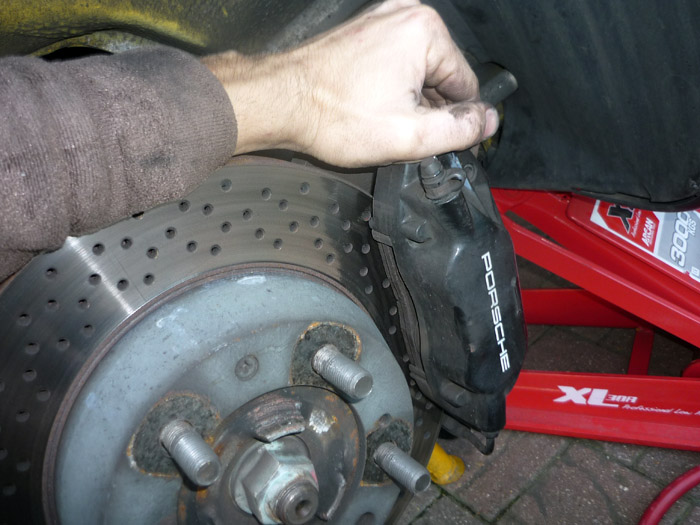
Place the new caliper and pads over the disc and tighten the 2 caliper bolts to 85nm.
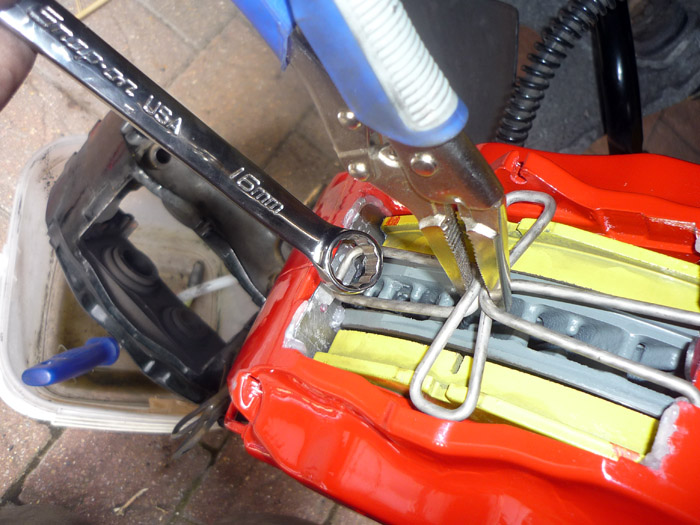
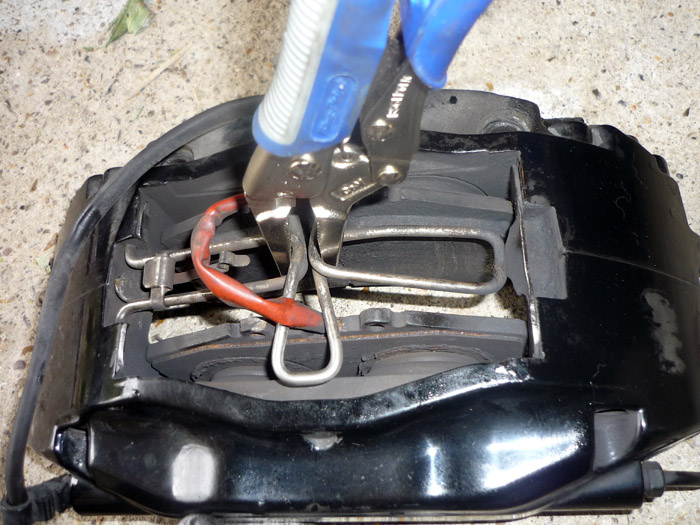
Crimp the centre of the spring and the push back on the free end so that it clears the lip on the caliper plate. Release the pliers and the retaning spring will expand and clamp everything shut.
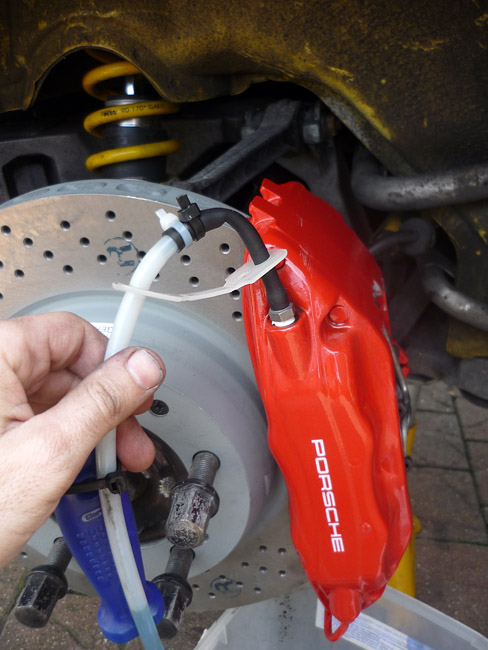
Now you can fully undo your brake line and insert in into the new caliper. The official torque is 12nm. I tend to place of dollop of waxoyl or something similar onto the ends of my connecting pipes as well. The last thing you need is corrosion there. If you want you can have someone sit in the car and press the brake pedal which will prevent an everlasting stream of fluid pouring out. Some people also like to bleed the calipers beforehand so that they are already filled with brake fluid.
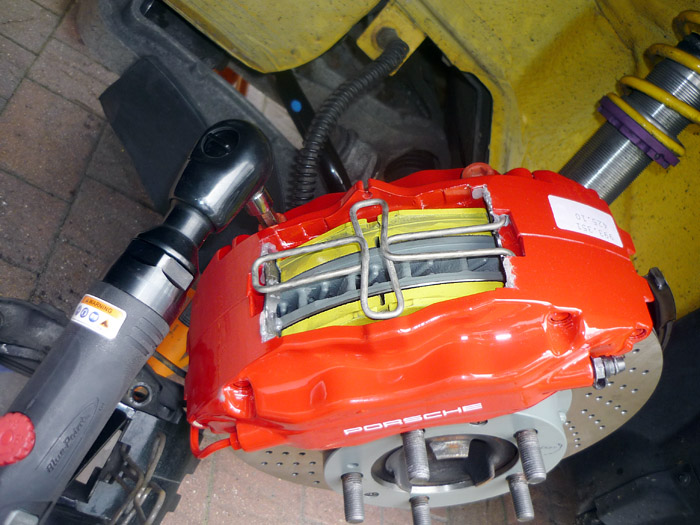
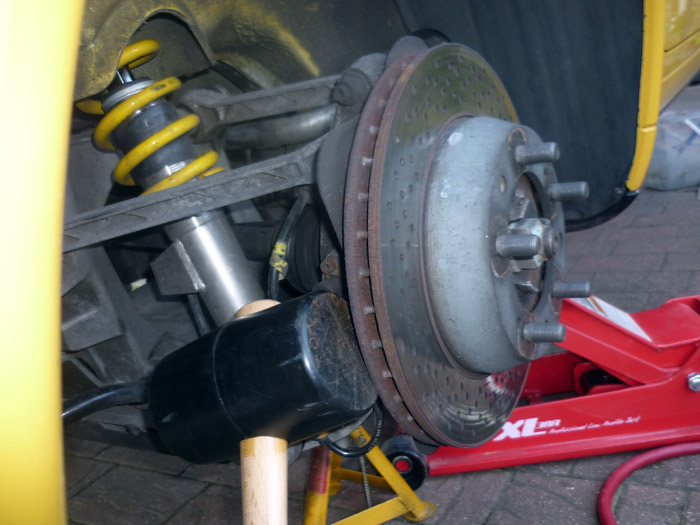
Front completed. Note that the trubo or RS discs will work fine with the standard backing or protective plates. There is a specific RS protective plate but its just cut differently for better cooling.
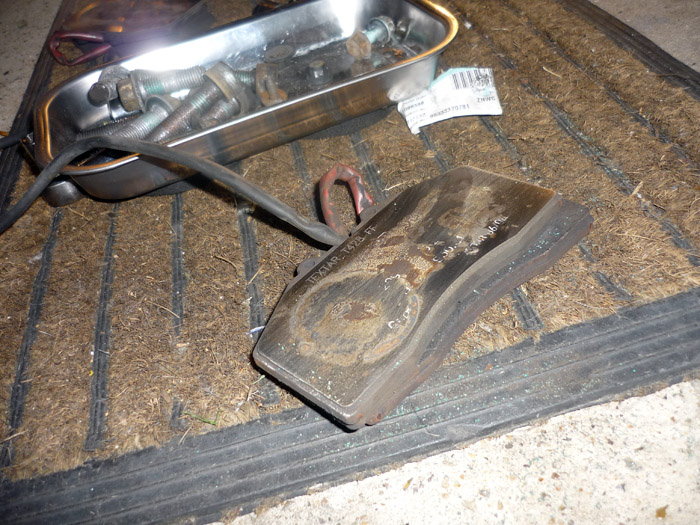
Prepping and reusing the old front pads RS rear pads are the same size as 993 standard fronts.
So here you see me pulling out my caliper expanding spring.
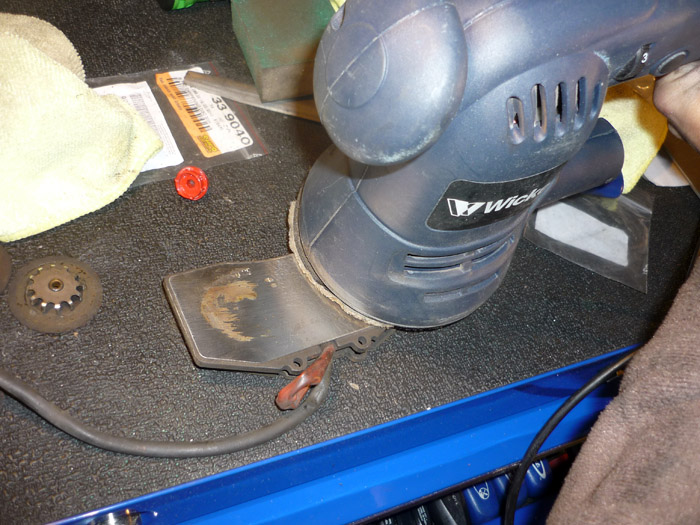
Now I have the old front pads removed with the damping plates ripped off. No point keeping those as the damping plates inside the rear RS caliper are a different size. Here you can see I have rubbed the back of the pad with some wet and dry. It's still pretty rough though and has a lot of crud stuck onto it, but ideally needs to be nice and smooth for the new ant vibration dampers to stick properly.
Out with the sander then.
Ready for insertion. Grease ends with optymoly and insert against new damper plates inside rear caliipers as per the front calipers.
Fitting the rear Brakes
Crack the brake pipe connector just to loosen it (easier whilst the caliper is in situ)
Undo the 2 main caliiper bolts that this time run axially through the caliper.
Push off the caliper. Use a soft mallet if necessary.
Stand the caliper on a support or rest it behind on the lower arms.
Bash off the disk after removing the 2 screws.
I gave my rear drive flanges and the handbrake assembly and backing plates a bit of a clean with compressed air. There seemed to be a lot of rusty dust here.
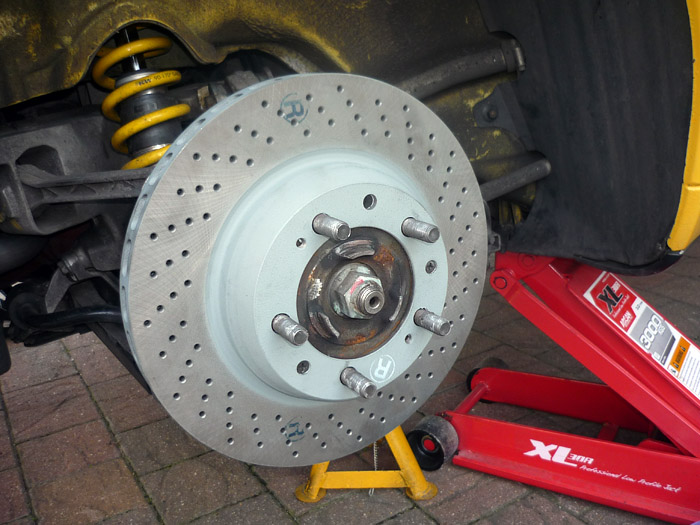
New disc on. Note the orientation of the drilled holes.
Bit of a weird one this one. The flexi hose cannot twist so you have to twist the whole caliper onto it. Its actually easier to do this by holding the pipe upwards up in the top of the wheelarch as then no brake fluid will come out.
Get your caliper on. Tighten your bolts to 83nm. Tighten the brake hose.
Now you can bleed. I do not really want to cover this in detail here. Just find a generic brake bleed guide if you are unsure. I use the Gunzon pressure bleed kit which plugs onto the master cylinder and the other end into a car tyre with 20psi of pressure. I use this to do an inital bleed and then I redo every nipple with someone on the brake pedal. Also make sure you start with the caliper furthest away from the master cylinder and then work towards the one that is closest. Again, a dollop of waxoyl gets my vote onto the flats of the nipples.
|