RS engine Carrier When fitting RS engine mounts it is recommended the car is also upgraded with the stronger RS engine carrier. This is basically a strengethened version with a double skinner upper section. I don't know the exact science involved but I would imagine that along with the more direct solid RS engine mounts the carrier gets put under more stress and suffers more vibration. Now please don't be alarmed because reports of failures of the standard engine carrier are very very rare and many many owners have upgraded their engine mounts with no ill effects whatsoever. If you want peace of mind though, or are building a proper trackcar then it really is the best way. Porsche thought it necessary to fit the RS with one so there you go. Me ? Well, this is part of a whole stack of mods and improvements that I am undertaking whilst my rear bumper and catalyst is off. It makes sense for me to fit the RS carrier now whilst access is fairly simple. There are other options here and I know that Rennline in the USA do a reinforced engine carrier for far less than the genuine Porsche RS part so maybe consider that route too. The job is relatively easy but does involve a few hard to reach places and also involves lowering the engine a few inches. The hardest part is probably removing the engine tray cap head screws. I recomend the use of a long allen socket driver with a ball head and then some wobble extensions. Use of more than one jack is also useful.
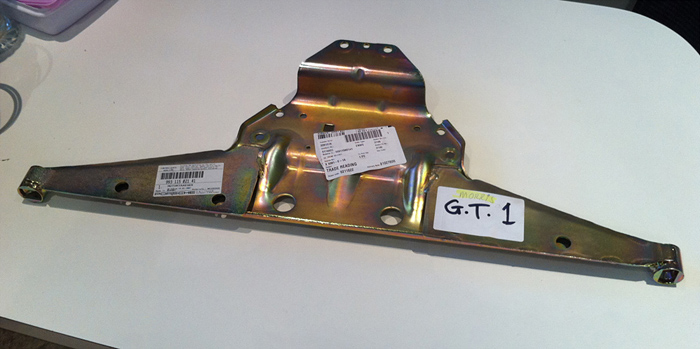
Here you can see the RS part ... well over £300 which is crazy money but then you wanted a porsche and so did I !
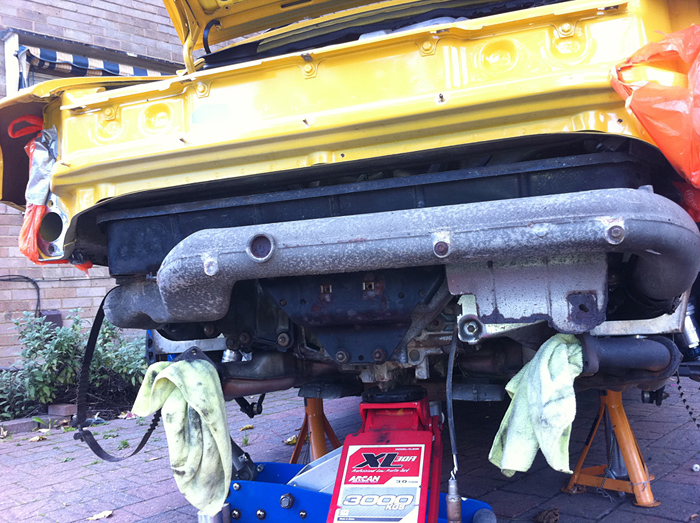
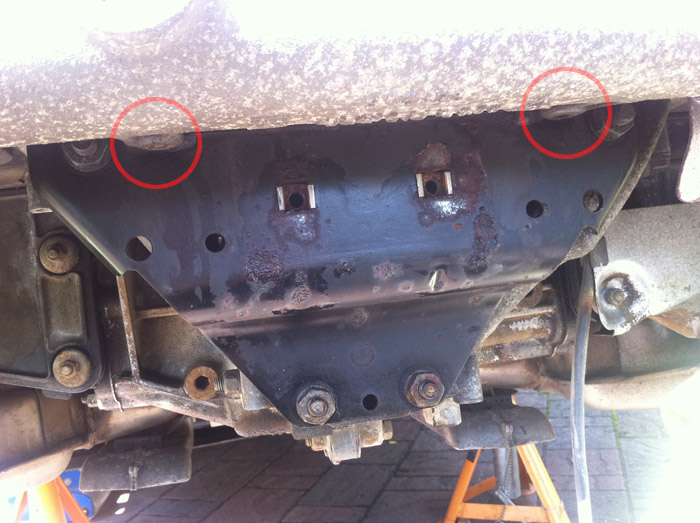
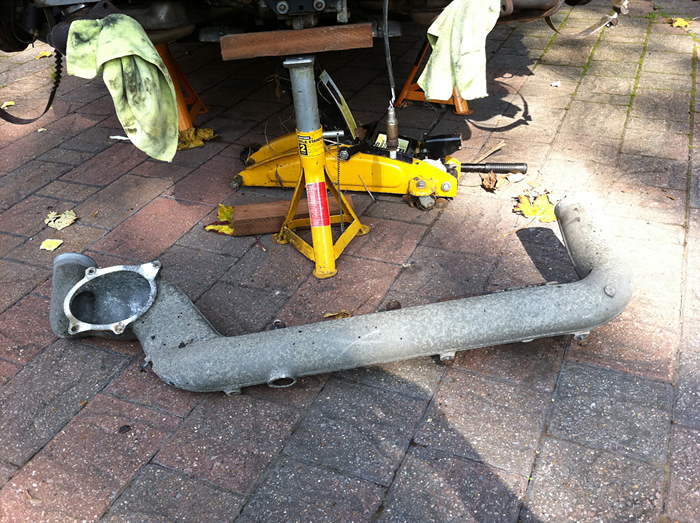
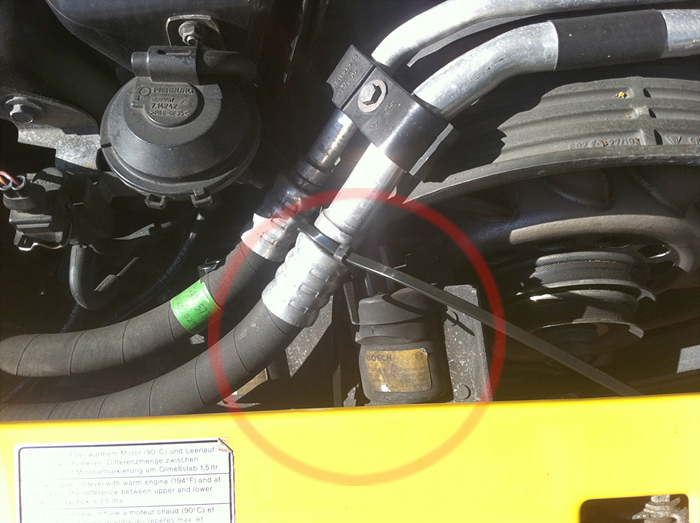
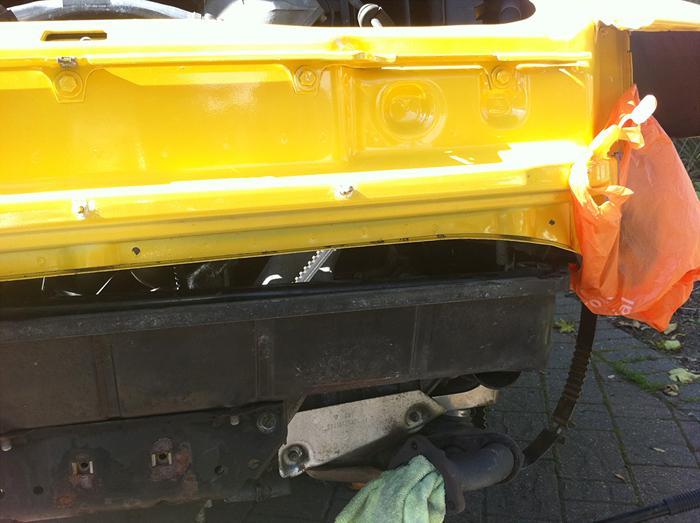
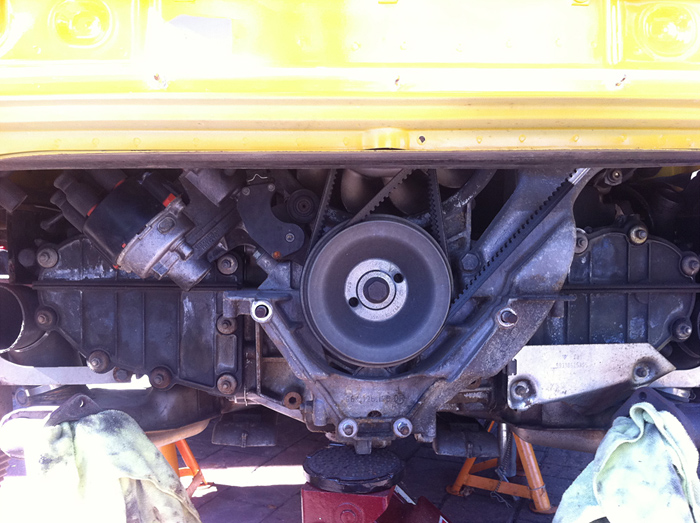
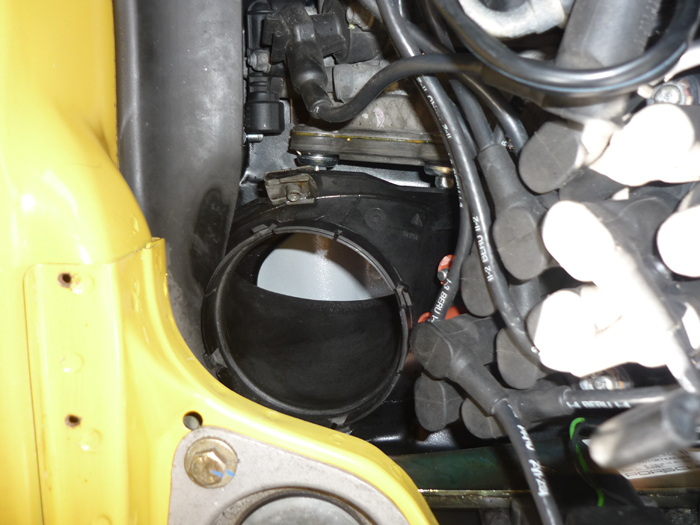
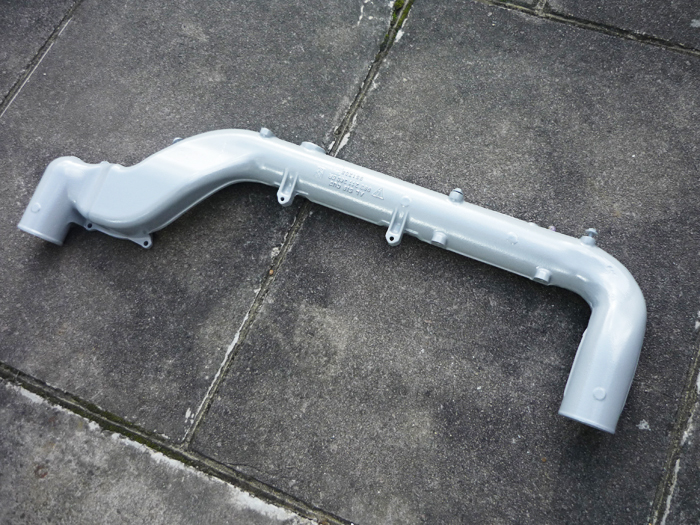
Here is the car already prepped with its rear bumper, catalyst, heatshields and silencers removed. For the guide on how to get this far see my cat bypass fitment page which will show you how to get everything off. In short, removing the OEM carrier is performed like this: 1. remove horizontal heater tube (that long aluminium tube you see there)
actually step back a moment because this plate has to be removed before you get to my first picture .... just 2 simple screws here but they could well be nice and rusty like mine
Now onto disconnecting the heater tube. On the nearside there are 4 screws here that go through the engine tray and then into the lower plastic pipe that feeds the heater assembly in the engine bay.
On the backside the other 2 screws are more hidden but fairly easy to get to.
You may just need a wobble extension for one of them.
Now undo the worm drive jubillee clips on those hoses that attach into the ends of the heater tube. Whilst you are there, undo the small 10mm screws than fasten the sides of the rearward engine tray to the flaking pieces.
And on the offisde....
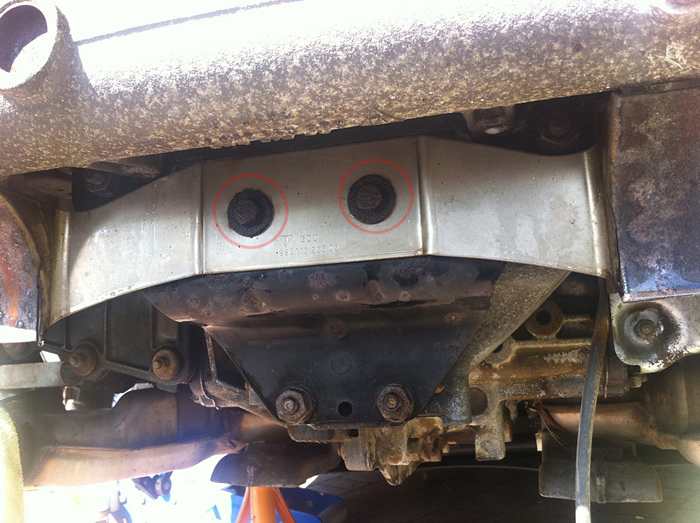
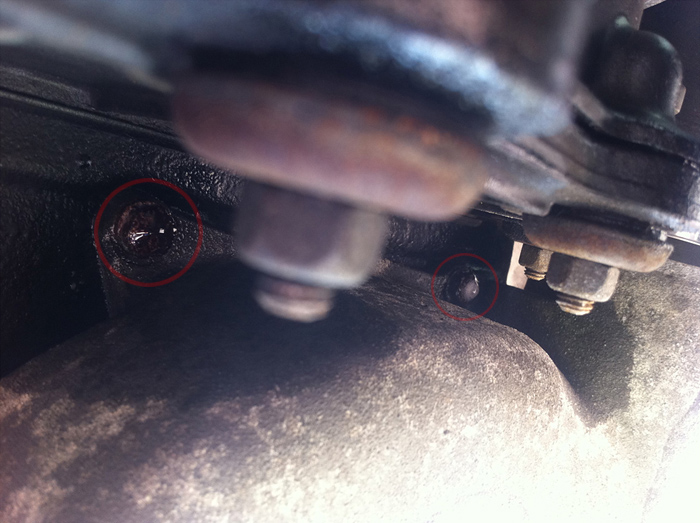
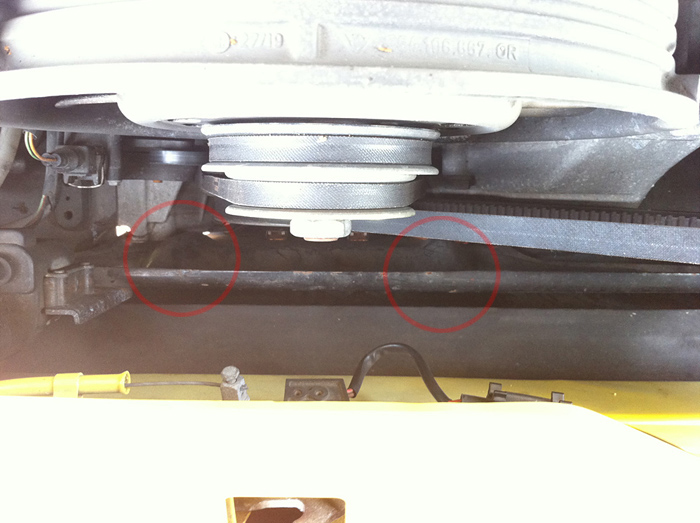
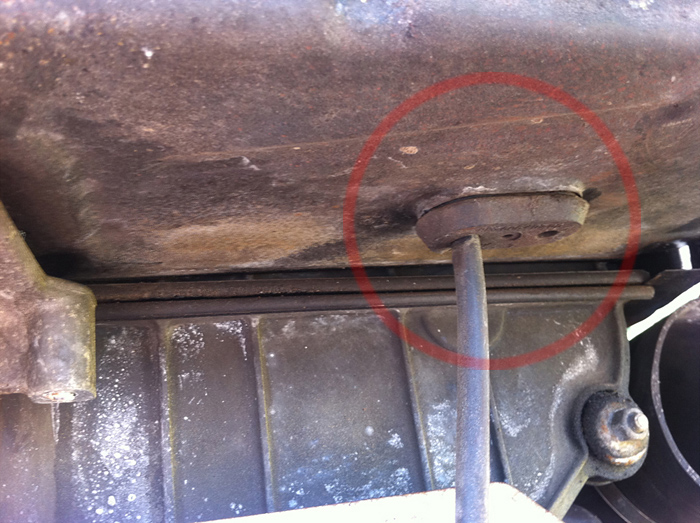
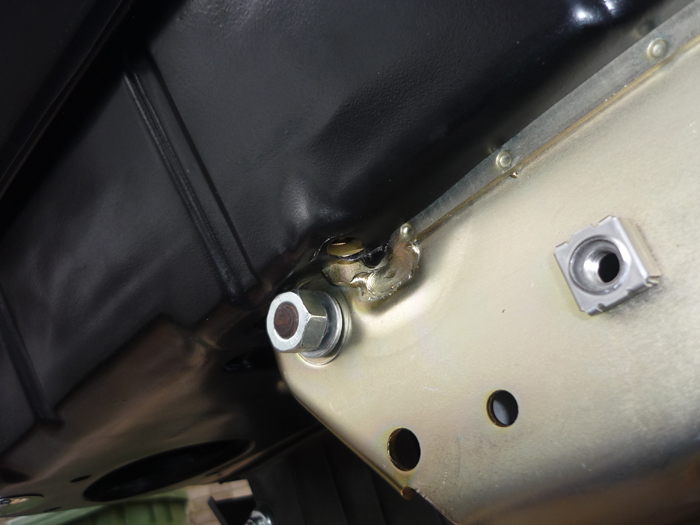
The heater tube is bolted up against a lip of the engine carrier. You can just about see the ends of the cavities which take 2 downward screws in my pic above.
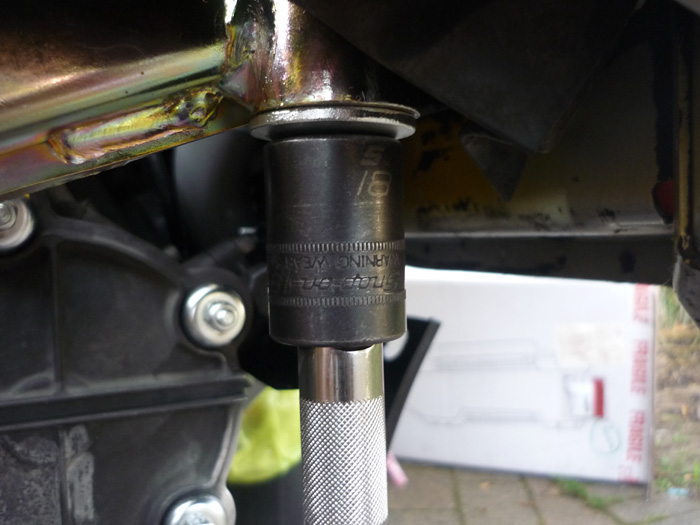
To get these screws off is the hardest part of the job. Look top down into the engine bay and you will see two bulges in the OEM carrier. Poke the rubber engine bay seal back and you will see that there are two cap head bolts down there that go through the tray, through the lip in the carrier and then into the heater tube.
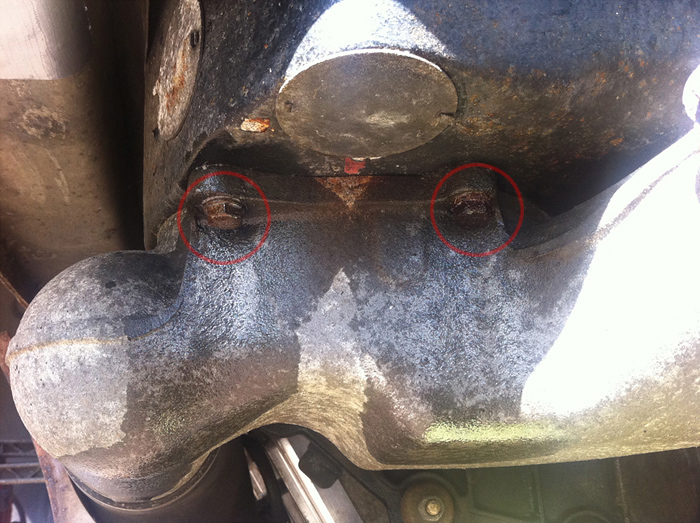
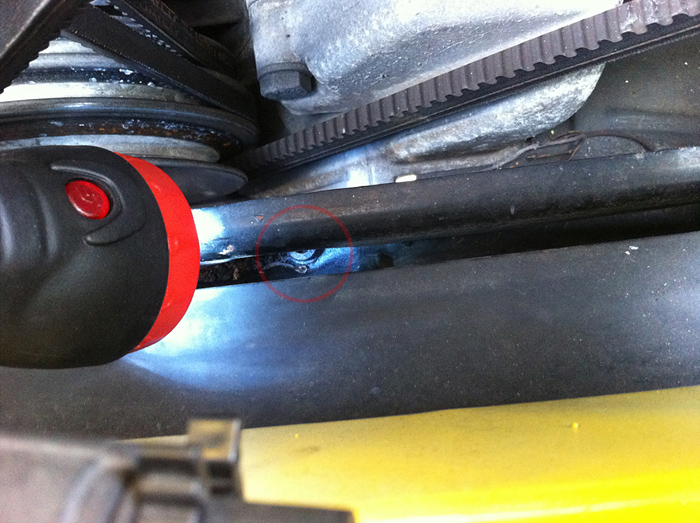
Theres the rightmost one. You can see that it is partially obscured by the top of the engine carrier which means you can only really attack it at an angle.
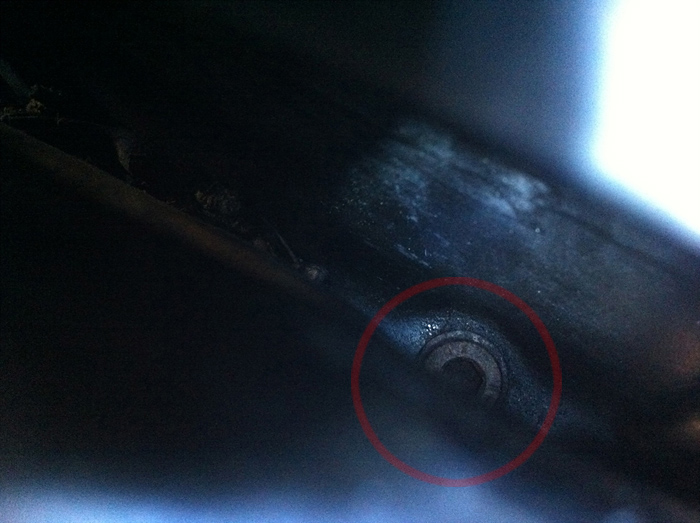
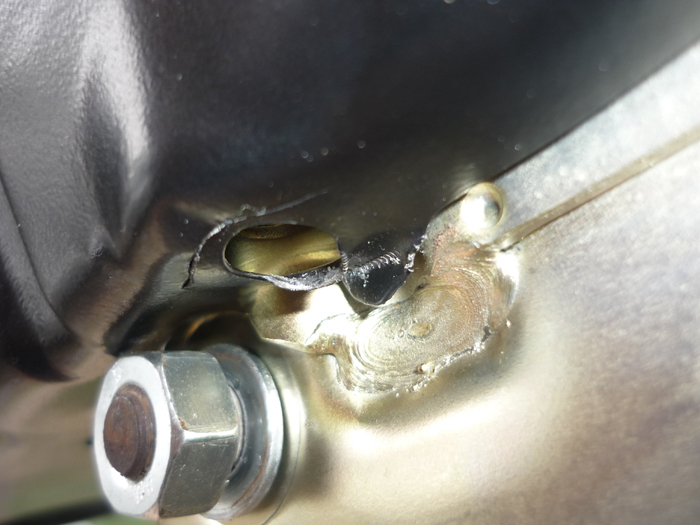
here is the other .... i sprayed some penetrating fluid down here a few hours before
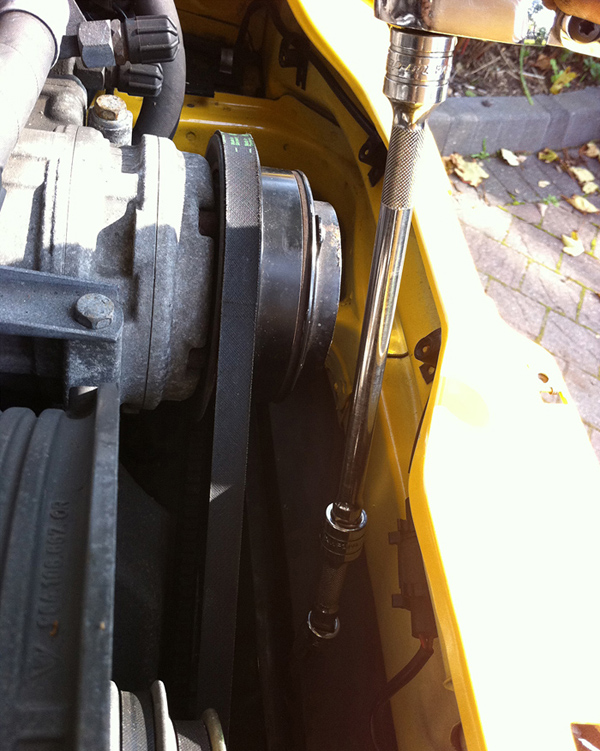
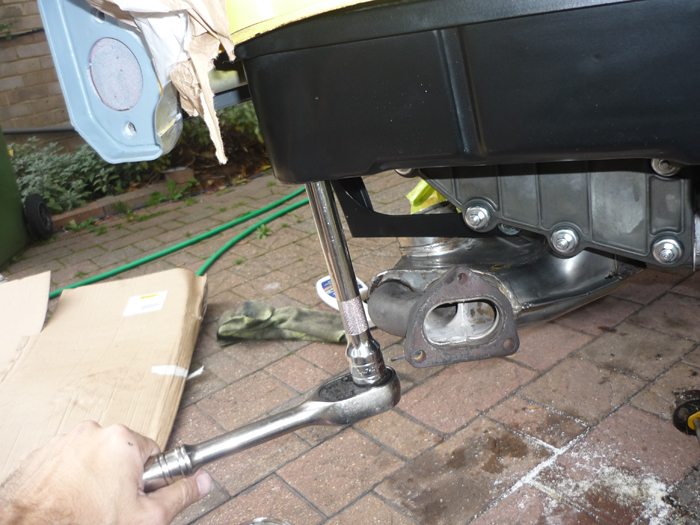
And here's why you can never have enough tools. After ttrying all sorts of extensions, midget ratchets, T bars, allen keys etc.. I found this was the only answer. It's a very long 6mm driver which means it is thin for a good few inches meaning good access.
It can attack those screws at the right angle then a few wobble extensions later and you can crack the thing loose.
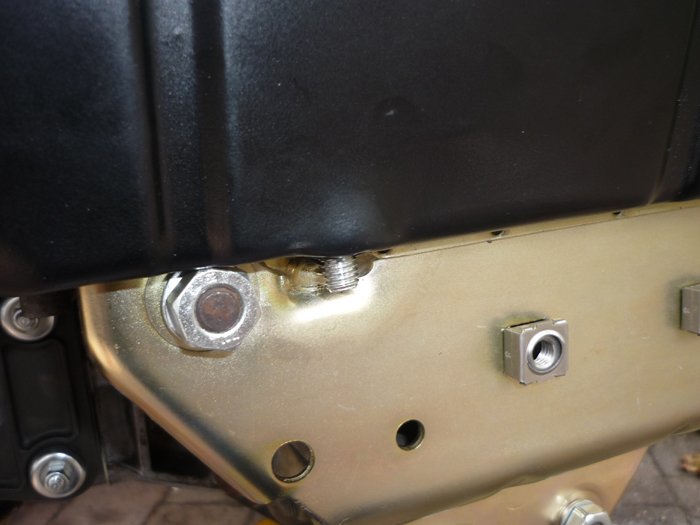
Once you have those two free the tube will pretty much fall to the floor.
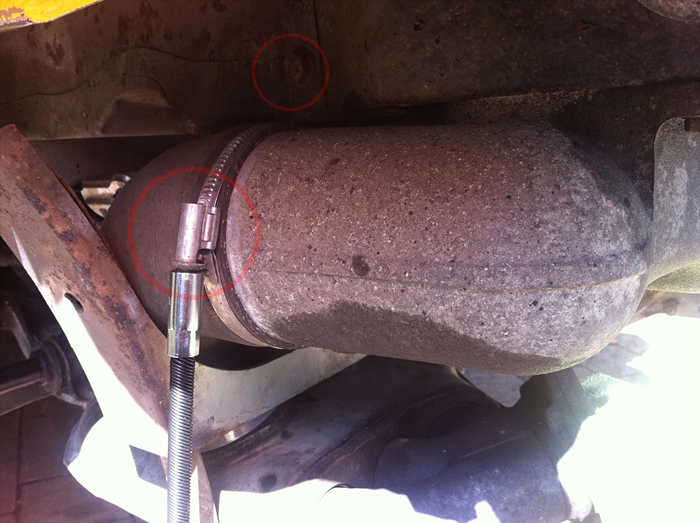
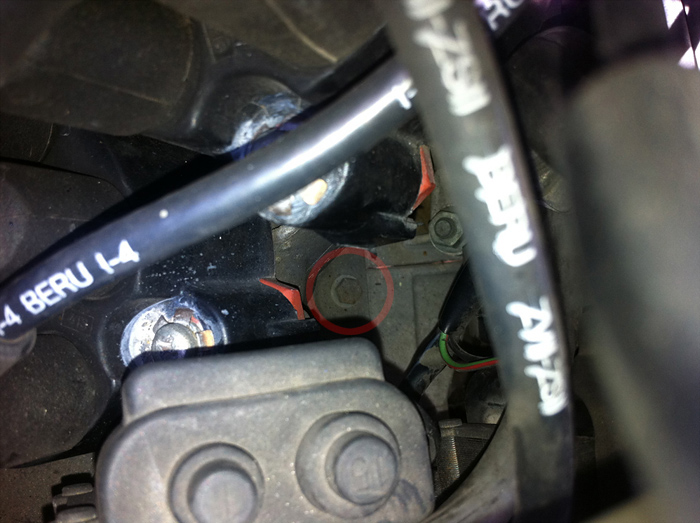
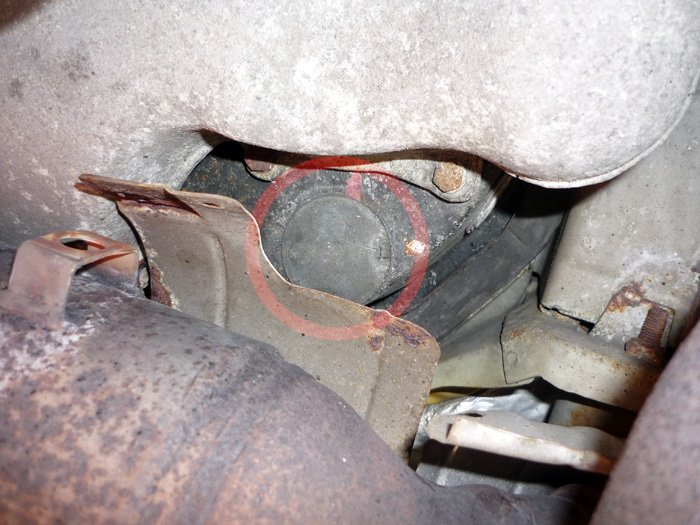
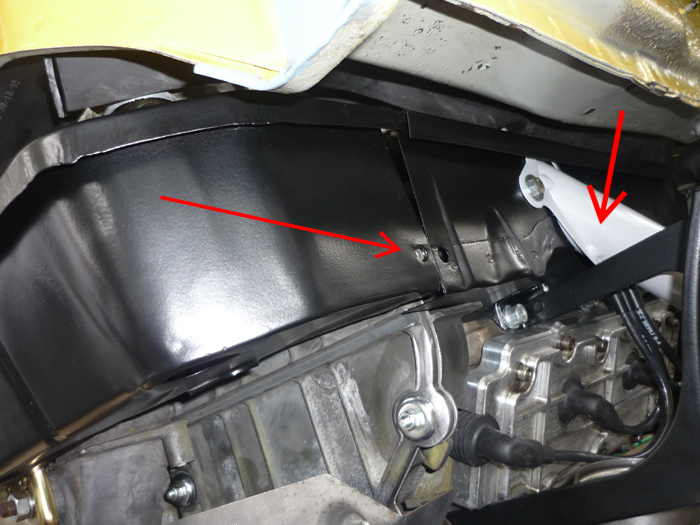
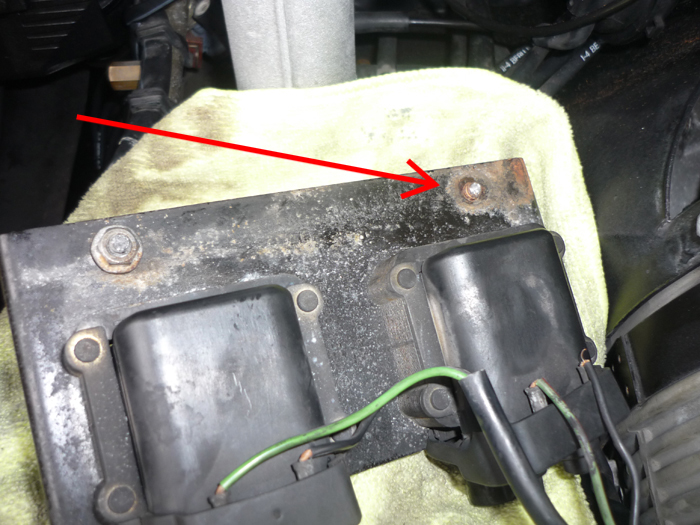
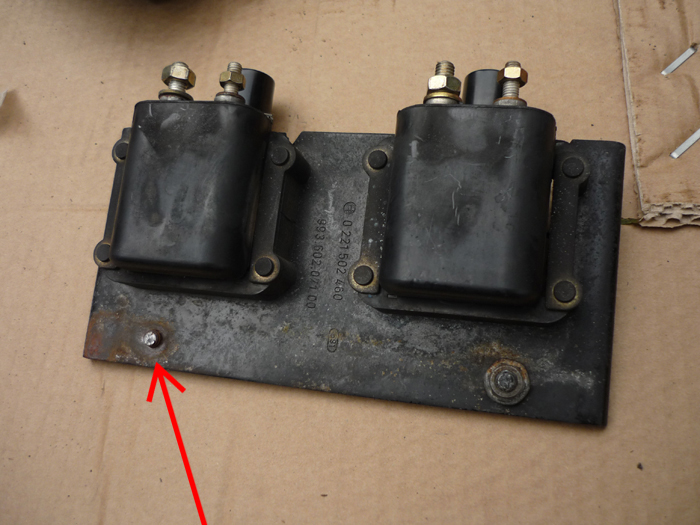
Now onto the engine tray and carrier. Look down, just to the right of your distributor and you will see a lone screw head which goes through the tin tray and into another thread on the engine carrier. You need to unscrew this and then that's everything loosened as far as the engine tray is concerned.
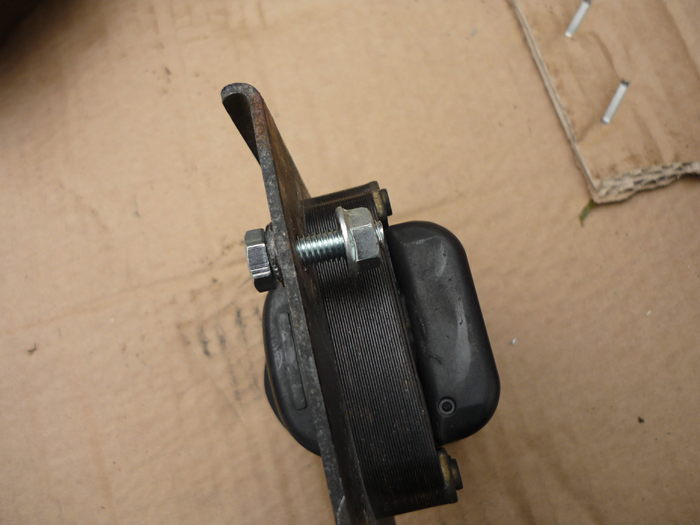
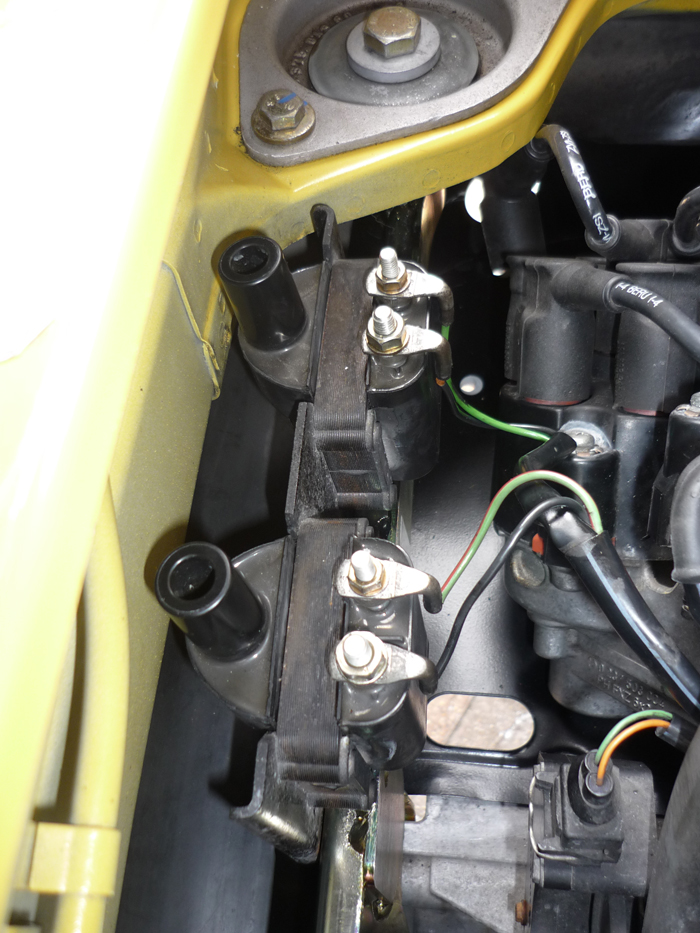
Now yuo have to remove the coils from the carrier. Pretty simple one this but you will need small hands and a small ratchet or spanner. You can see my mirror here is showing you the 10mm nut securing the coil on.
Once youve undone them I would suggest getting the coils out of the way and supported. I cable tied them to my AC lines.
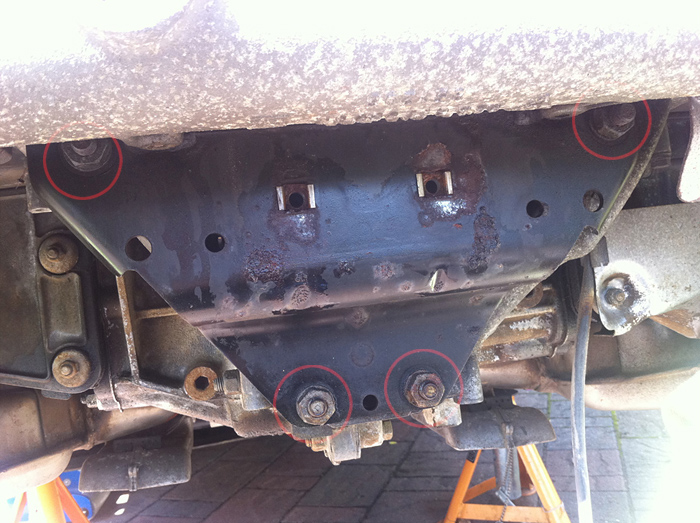
Now back to the lower part of the carrier. Undo all these 4 nuts.
To get this. (pleaes ignore the fact that my heater tube is still on ... i did it the wrong way round and you are getting the benefit of hindsight here)
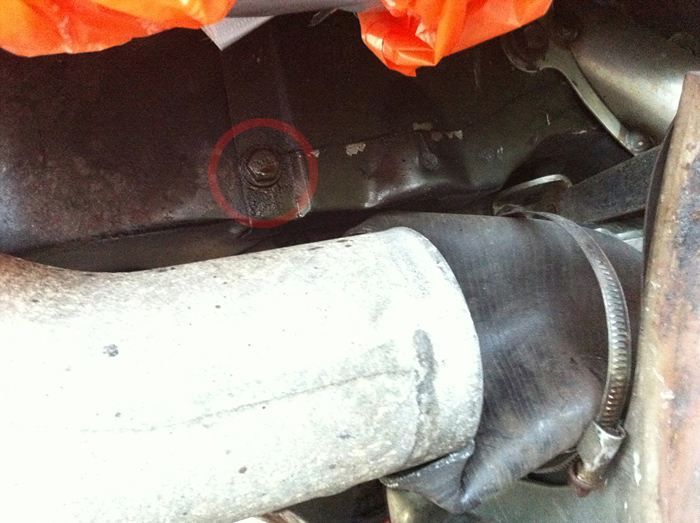
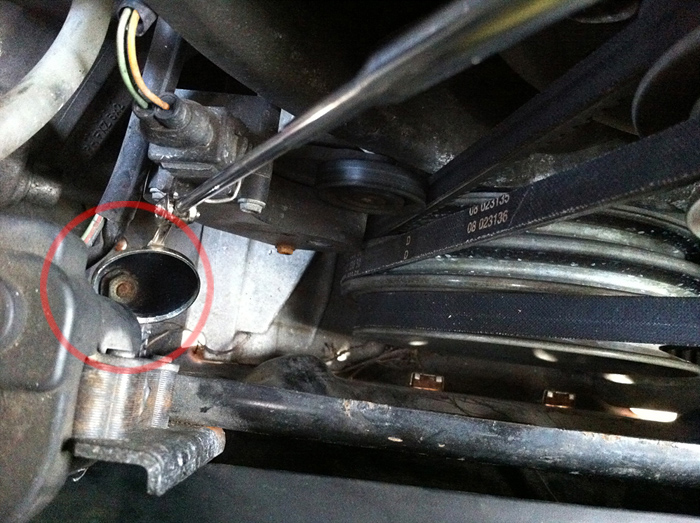
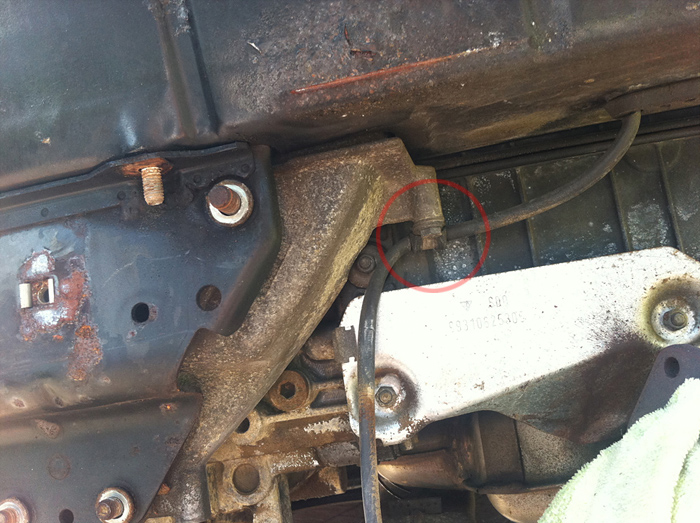
Now you want to loosen this screw here which holds a p clip for the oxygen sensor wire.
Once its free you can then push and pull this rubber seal in the tray out and then push the seal, the wire and the actual o2 sensor up into the engine bay and out of harms way.
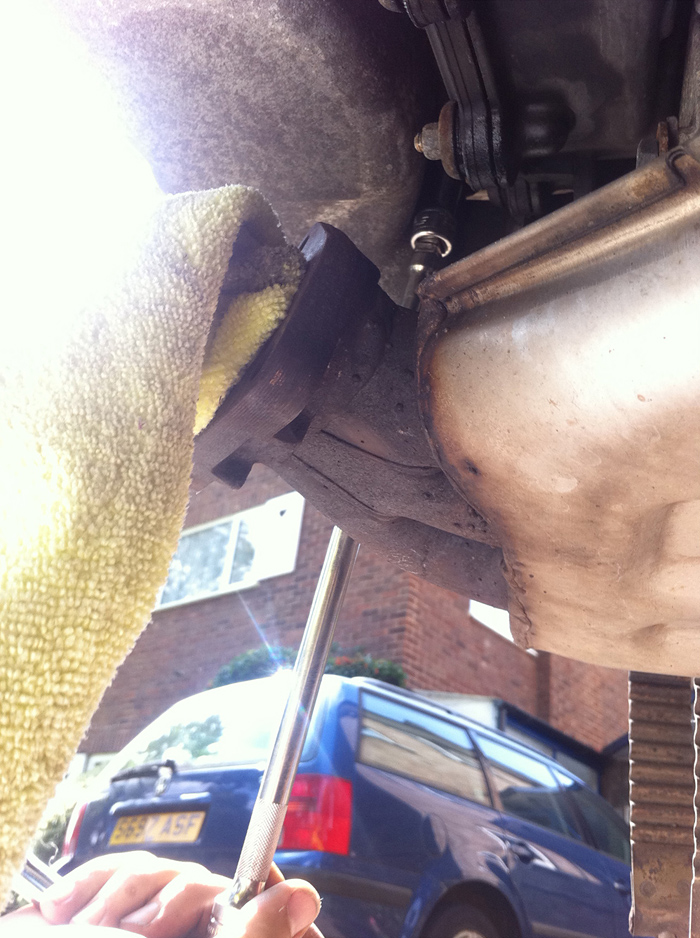
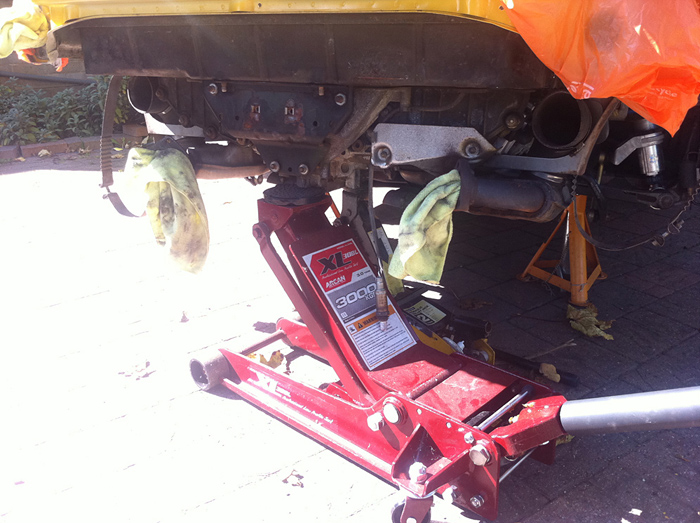
Here we are then. All that remains now is to unattach the carrier from the 2 main engine mounts. Get a couple of jacks underneath and make sure they work properly and havent blown any seals of late. You do NOT want to lower the engine too much and start stretching and ripping wires and ac lines and fuel lines etc...
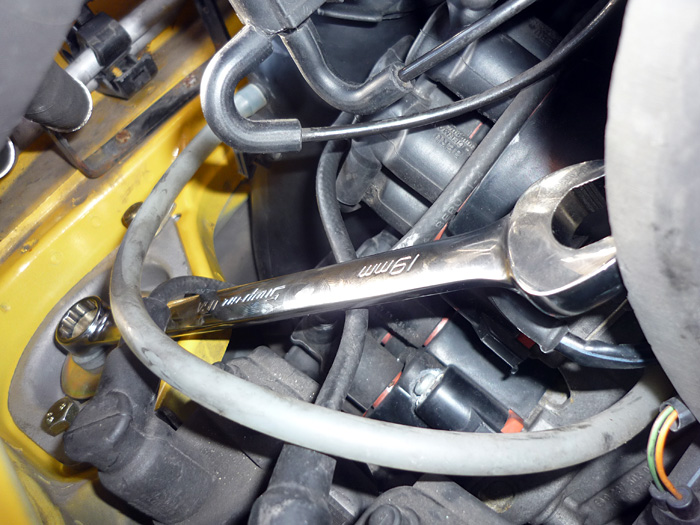
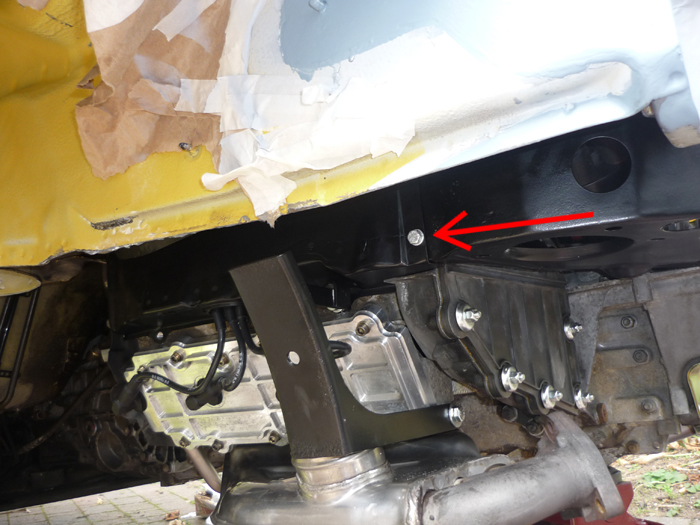
This is very simple and with the cat and heatshields out of the way even easier. Undo the plastic caps in the tray and you'll want a 19mm socket to undo the nuts. My pics here are from my RS mount install so the catalyst is confusingly still in place.
Counter hold if you have RS mounts.
Now you can go ahead and carefully lower the engine just a couple of inches.
The tray and old carrier should come off with a bit of jiggling. If you have RS engine mounts it can help to pull their central screws upwards out of the carrier completely.
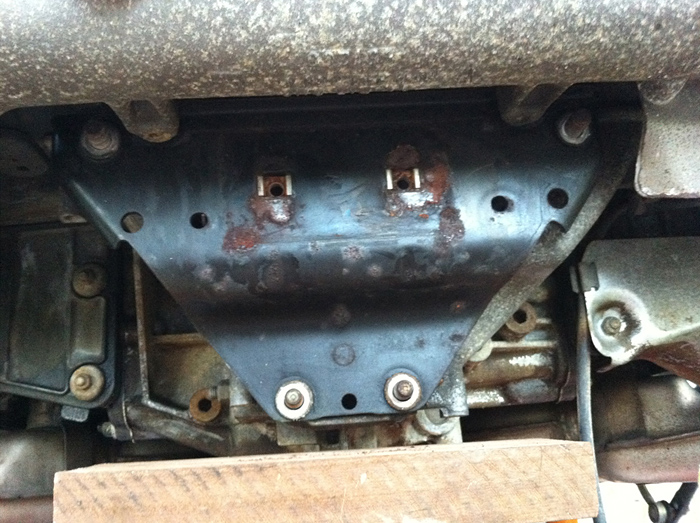
carrier-less .... assembly is fairly straightforward just with a few tips
with the engine still lowered you can slide the new RS carrier up and onto the 4 studs that come out the crankcase. Probably best to get the long engine mounts screws well out of the way, get the thing roughly in place and then slide the engine mout bolts back in from the top.
Here's a good shot showing how the RS carrier sits in the bay
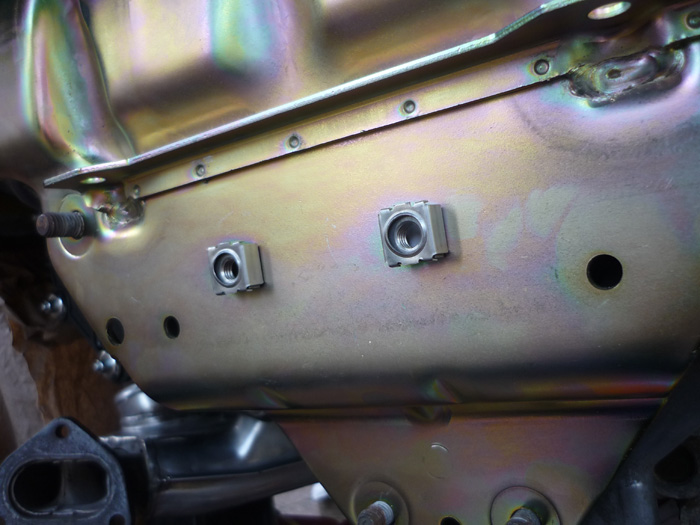
There are two square nuts that need to pop into the carrier.
These hold one of the cat heat protectors on.
Now before you raise the engine back up you need to get the rear tin tray on. before you do anything else, roughly place the plastic connector that screws up against the horizontal heater tube down into the bottom of the engine bay. You will not be able to get this down past the dizzy once the tinware is in place.
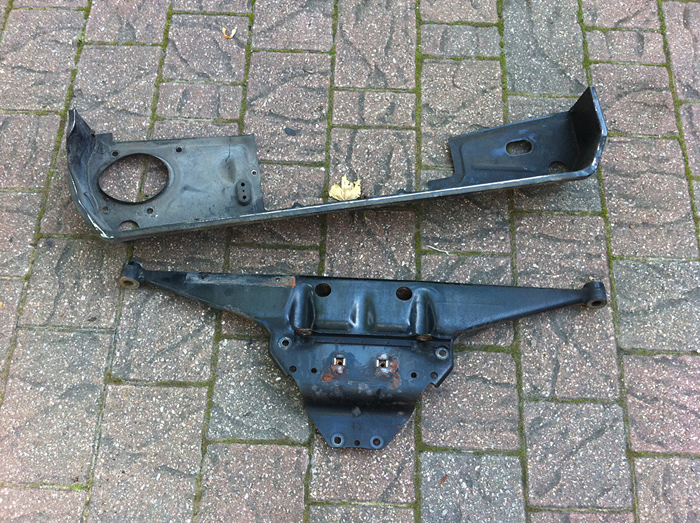
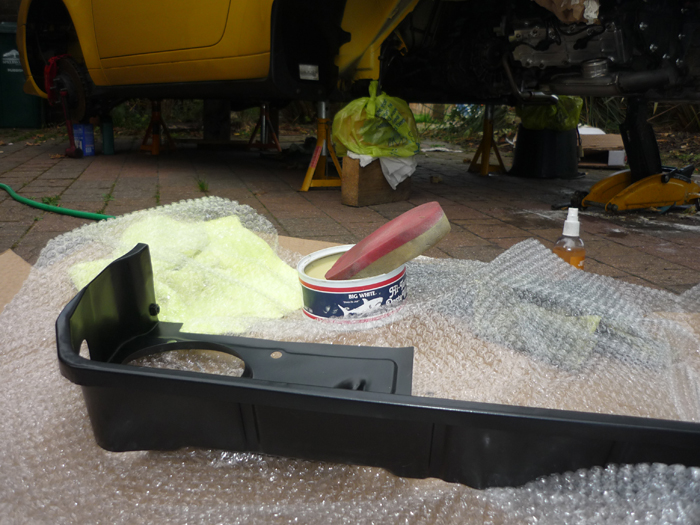
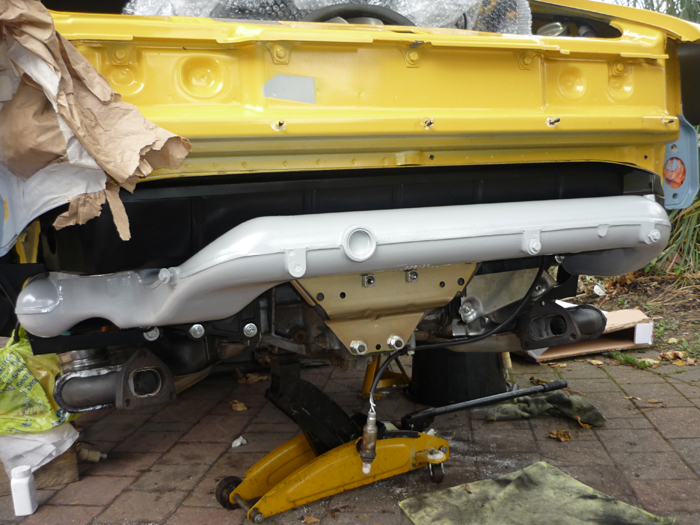
Here's my rear tray, freshly powder coated and I gave it a few coats of FK1000p wax for protection.
Carefully slide it on. The inner portion slides on top of two flat ledges machined into that Ac compressor support bracket. The key here is kind of bidge it on and bend the tray where you need to. The fit will not be perfect by any means. Once its on you can then bend parts of the tray back down and flush with other surfaces.
I found that mine didn't go on so well, maybe because of the larger thickness of the RS carrier. The holes here did not line up with the actual vertical holes in the carrier so I had to bend the tin around a bit to get them to line up.
If in doubt, use brute force ...
With a bit of cajoling I could pop the screws down into the engine bay and through the tray ready to attach to the horizontal heater tube.
Screw the rear tray into the two side pieces.
And on the other side
Back in the engine bay you have one last screw that tightens the tin down onto the flat face of the Ac compressor bracket. I found this one a bit tricky too and had to push the hell out of the tray to get the holes to line up.
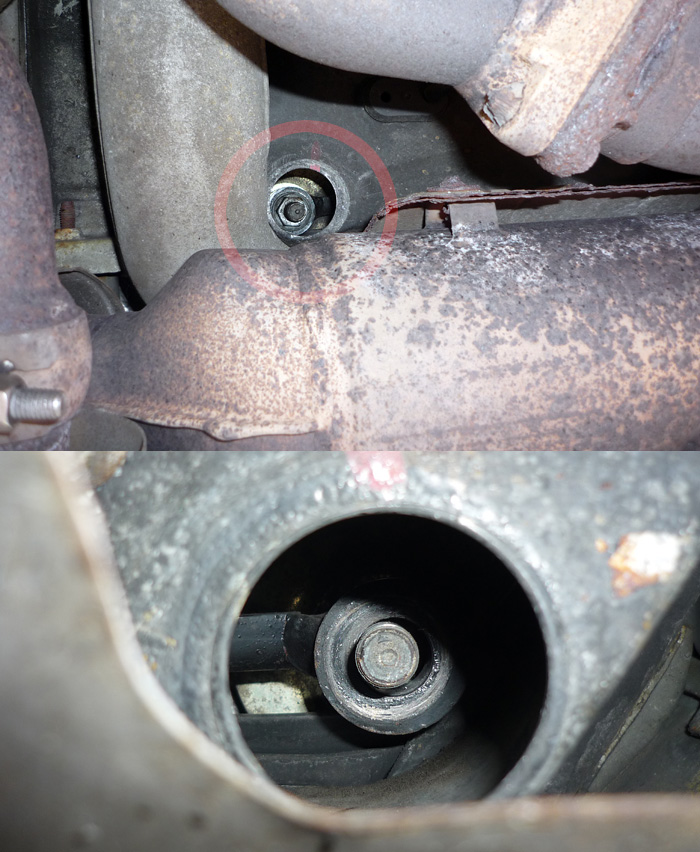
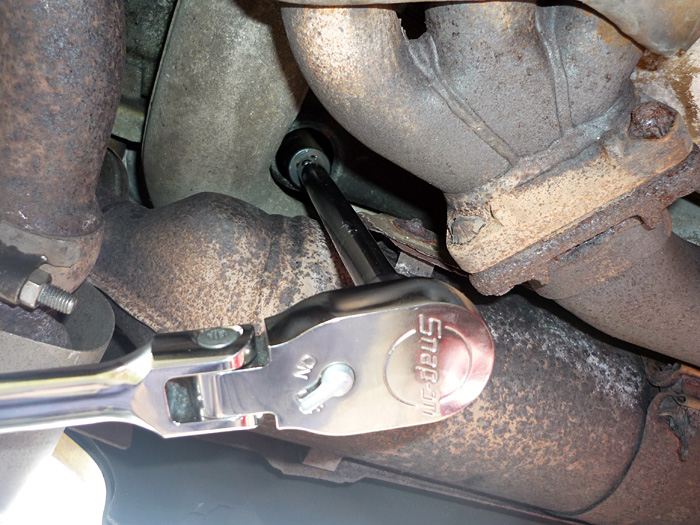
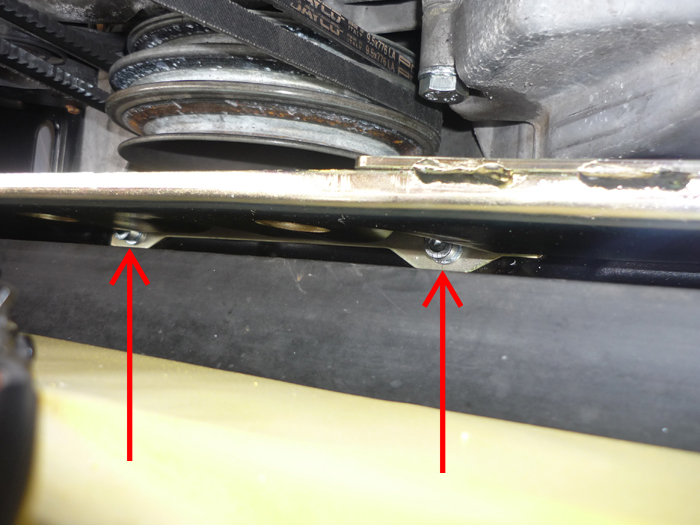
Now you can jack the engine up and tighten your engine mounts.
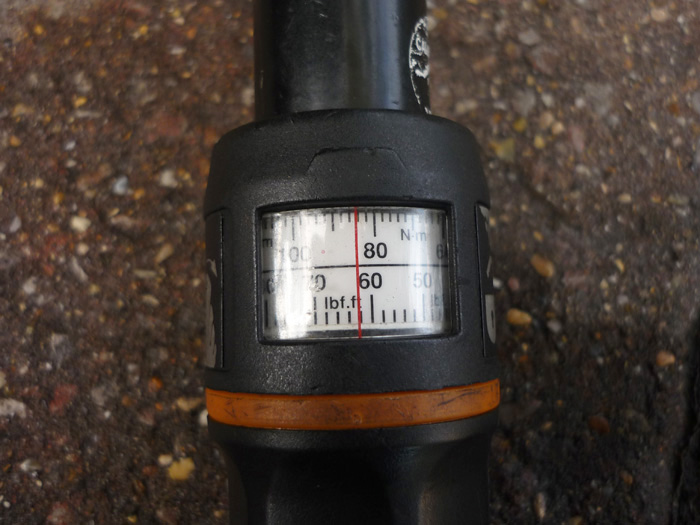
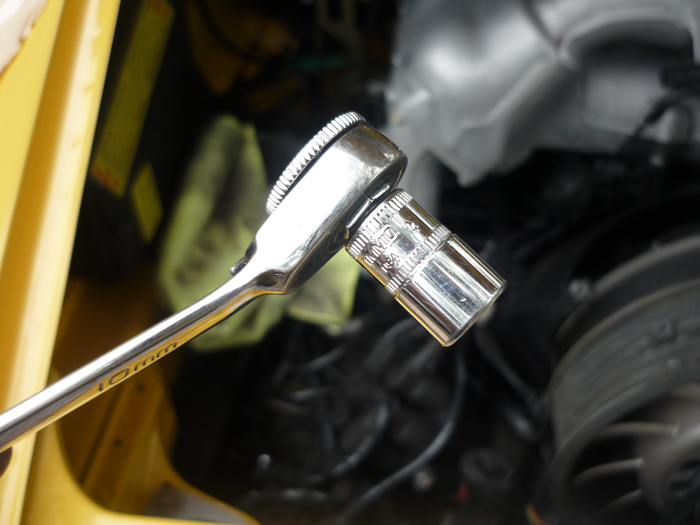
Counter hold inside the engine bay and torque to 85nm (picture shows tools without engine tray for clarity)
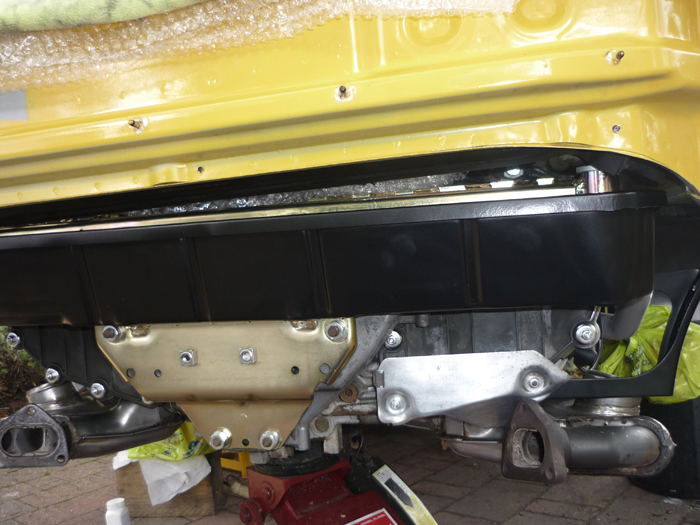
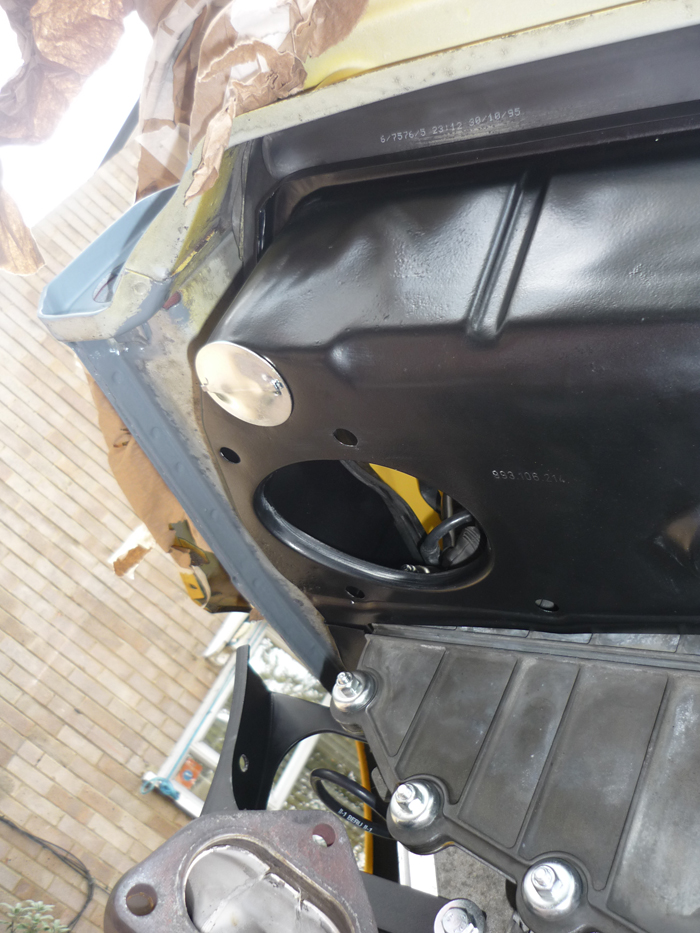
This is what it'll really look like with the tinware in place.
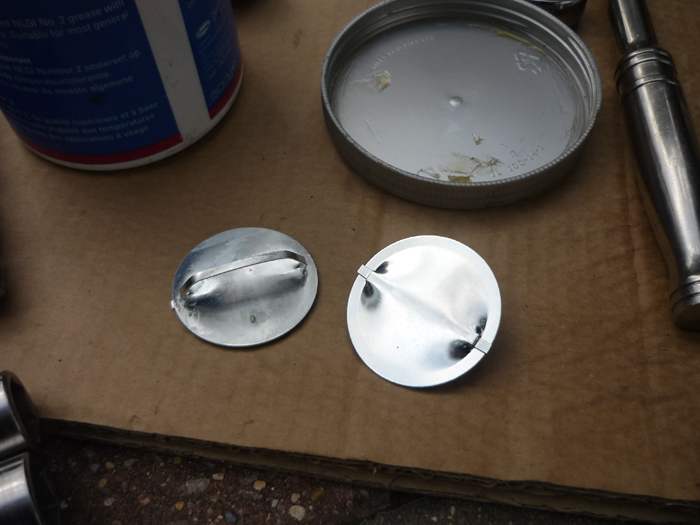
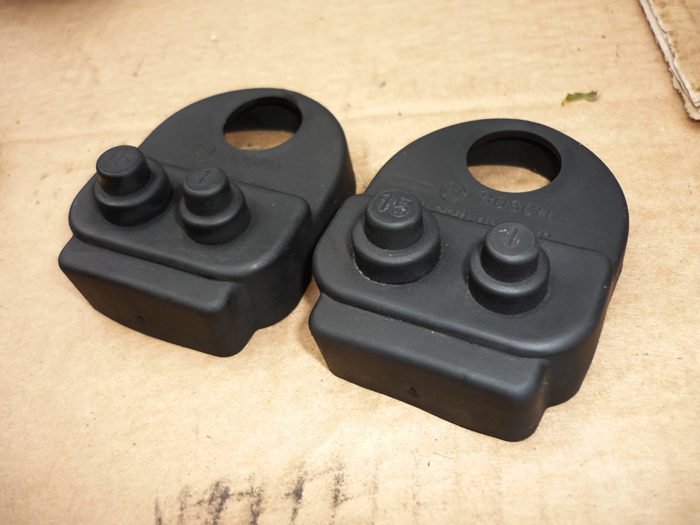
A little grease on the trim plugs.
Pop them in.
Now your horizontal heater tube can go back on pretty much a reverse of how you took it off. Don't forget a long bendy ratchet assembly to get those cap heads on.
here they are tightened up in case you forgot. Access is actually even worse with the RS carrier so have all your tools to hand to work out a solution.
Now your coil can go back on. I discovered that mine had sheared one its its short stubby screws.
So i took it off completely (just pull off the boot and unscrew the electrical spades)
I then drilled through the dodgy captive screw to remove it and then fitted in my own longer stainless screw and nut.
To get it back on the carrier space is tight so you need something pretty thin down there. A spanner is no good because the RS carrier has a thickness and you need a socket driver to get into the thickness and onto the nut on the back face. I used a small spanner with a ratchet converter on it. I prepped my socket by folding some sellotape into it and then slipped the nut into the socket. Doing it this way meant that the nut was held securely in place in the socket and I could just point the socket through the hole in the carrier and then onto the screw thread coming out of the coil bracket with absolutely no chance of losing the nut. Bear in mind that if it slips off and between the walls of the RS carrier then the only way to get it back out would be to take the whole carrier off again and jingle it upside down ! You don't want to go there so get that sellotape out. A dollop of wax inside the socket would do something similar.
Now fitted. This pic shows just how thick that RS carrier is.
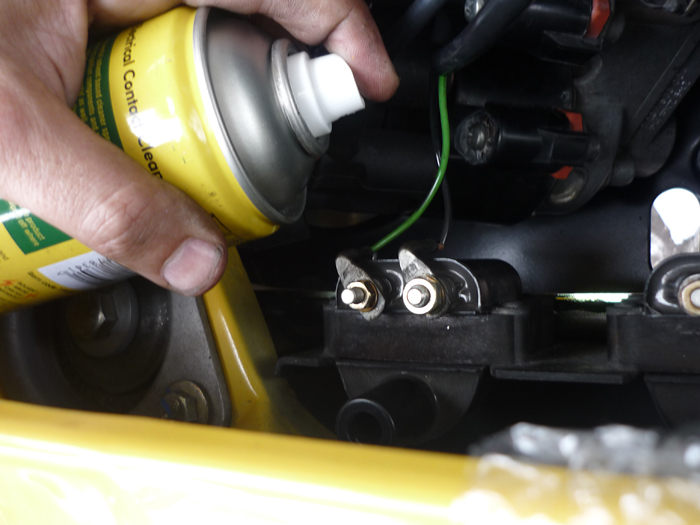
A little contact cleaner whilst we are there.
And some aerospace 303 on the rubber boots.
Voila. The heater tube just needs its 4 screws on the LHS fitted. Remember that these screw upwards, through the tin tray and then into that plastic connector that fires up into the heater assembly matrix and blower. I also left out the O2 sensor but that's fairly obvious. Just thread it back through your tray and fit the rubber seal back on. I'll finish the article here but of course you will need to now fit your catalyst, heatshields, silencers, and your rear PU. You can look at my cat bypass article for more on this.
|